Last updated November 18, 2026

Free written scope consultation - allowances, timeline, and change-order rules on paper before a single trade is scheduled
Home Additions & ADU Warning Signs Every Homeowner Should Know
By the time drywall goes up on an addition, the decisions that determine whether it lasts 50 years or starts failing in 5 have already been made. Most homeowners aren’t watching at the right time. They tour the framing once, nod at the progress, and sign off on the finishes – the parts they can see. Meanwhile the structural connections, load calculations, and permit documentation get buried behind insulation and paint, where nobody checks them again until a floor feels spongy or a door stops closing. In our work across Vacaville, we’ve seen five-year-old additions with cracked corner joints, sagging headers, and inspections that were never called in. This guide shows you what to check, when to check it, and what to demand in writing.
Quick Answer
The biggest warning signs on a home addition or ADU project are invisible ones: framing connections that aren’t engineered, foundations value-engineered below what the soils report specified, and permit inspections skipped or delayed. Homeowners should request a pre-drywall walkthrough, verify inspection records directly with the city, and ask direct questions about load path continuity before walls close. Visible sloppiness at finish is a symptom; structural shortcuts behind the walls are the disease.
Styles & brands we work with
- Kitchen remodeling
- Bathroom remodeling
- Home additions & ADU
- Roofing
- Windows & doors
- Driveway & pavers
- Fence
Table of Contents
- The Pre-Drywall Inspection Window: Your Most Important Walkthrough
- How to Read a Soils Report and Verify the Foundation
- Permit Card Red Flags and How to Verify Inspections
- The Contract Language That Separates Accountable Contractors
- Load Path Continuity: The Question That Reveals Real Expertise
- ADU-Specific Signals: Prefab vs. Site-Built Pitfalls
- Red Flags Before You Sign Anything
- Common Mistakes to Avoid
The Pre-Drywall Inspection Window: Your Most Important Walkthrough
The pre-drywall walkthrough is the single most valuable hour of your entire addition project. At this point, framing, rough plumbing, rough electrical, and HVAC are exposed. You can see every decision the contractor made. Once drywall covers that work, correcting a mistake can run 5 to 10 times the cost of doing it right the first time – and in many cases the mistake never gets corrected because nobody sees it.
Here’s what to check at that walkthrough, and what each item tells you.
- Framing connections. Look at every joint where new framing meets the existing house. There should be engineered hardware – structural screws, joist hangers, tie-downs, and hold-downs – not nails alone. Ask to see the framing plan and match it piece for piece.
- Insulation installation. Check that batts are cut to fit and not compressed into gaps. Look behind outlets and in corners; compressed insulation loses R-value.
- Rough MEP (mechanical, electrical, plumbing). Plumbing should run through wall studs in drilled holes, not notched through. Electrical boxes should be properly secured. HVAC duct runs should be short and sealed at every joint.
- Fire blocking and draft stopping. Look for horizontal blocking at floor-line transitions in wall cavities. Missing fire blocking is a common inspection failure in California.
- Sheathing and flashing transitions. Where new roof lines meet old, look for step flashing and ice-and-water membrane. Water intrusion at these joints is the most common cause of premature failure in Vacaville additions.
Ask your contractor in the contract for a written pre-drywall walkthrough notice with at least 48 hours’ notice. A contractor who resists this step – who says “we’ve got it handled, don’t worry” – is telling you something. Every project we run includes that walkthrough as a scheduled milestone, not a favor. If you’re comparing contractors, ask each one if it’s in writing. If it’s not, it isn’t happening.
How to Read a Soils Report and Verify the Foundation
A soils report (sometimes called a geotechnical report) is a short document, usually 6 to 12 pages, that a licensed geotechnical engineer produces after drilling test borings on your lot. It tells the structural engineer what kind of soil you’re building on, how much it will expand and contract with moisture, and what foundation type will perform. In Vacaville, that matters enormously because the soils vary block to block – clay-heavy expansiveness near Browns Valley, sandy alluvium toward the flats near the Nut Tree area, and higher water tables in some low-lying pockets.
Two things about soils reports trip homeowners up:
- They’re often “value-engineered” during bidding. A structural engineer designs a foundation based on the soils report. A contractor who doesn’t like the cost may ask for a “revised” report or a lighter foundation design without telling you. That’s a red flag. Only the geotechnical engineer and the structural engineer should modify those specs.
- They’re required but rarely reviewed by the customer. You don’t need to be an engineer to review one, but you do need to look at the foundation spec sheet against what’s actually being built. Ask for the structural plans and confirm the footing depth, rebar sizing, and slab thickness match what’s on the plans.
Concrete pour day is a good time to be on site. Confirm the rebar is spaced as drawn, the concrete is the specified PSI (usually noted on the plans), and the inspector has signed the pre-pour inspection. Once concrete is in the ground, you can’t verify it without a core sample – which nobody wants to pay for.
Permit Card Red Flags and How to Verify Inspections
Every permitted addition or ADU in Vacaville has a permit card posted somewhere visible (usually inside a front window or on a stake near the entry). That card is your fastest diagnostic tool. Local building departments list every required inspection on it – foundation, framing, MEP rough-in, insulation, and final – and each one gets signed and dated when it passes.
Here’s how to read it and what to watch for:
- Empty inspection columns after weeks of work. If drywall is going in but the framing inspection box is blank, stop. That’s a serious red flag.
- Inspections “called in” but not signed. A contractor who says “the inspector’s scheduled” repeatedly is either lying or has a problem. Verify with the city directly.
- Any work without a permit. Additions and ADUs always need permits in California. If your contractor suggests skipping a permit to save time or money, walk away – the cost of remediation down the line will dwarf whatever you saved.
- Inspection failures followed by quick “fixes” without reinspection. If an inspection fails and the contractor says “we’ll handle it,” the correct response is a re-inspection pass. Nothing less.
Verifying inspections directly with the city is easy. Call the Vacaville building department, give them the permit number, and ask for the current inspection status. Most cities will confirm by phone; some offer online portals. This is a five-minute call that has saved homeowners six figures. Do it at least once per month while construction runs.
The Contract Language That Separates Accountable Contractors
The contract is where accountability either exists or doesn’t. Two contracts for the same $180,000 addition can be structured so that one contractor owns the outcome and the other can blame subs, suppliers, and weather for every problem. Here’s the language to look for – and the language to refuse.
Language you want in writing
- A fixed price with no change orders unless you sign them in writing. This is the standard for “upfront pricing, no surprises.” Any “time and materials” or “cost plus” clause is a red flag for an addition.
- Named responsibility for permits. The contract should state explicitly that the contractor pulls the permits, calls the inspections, and pays any re-inspection fees. That’s how it works on every Groundwork project.
- A specific workmanship warranty duration. Ours is the 730-Day Done Right Promise – if it’s not done right, we make it right – which is one of the longest workmanship guarantees in the residential construction space. Ask every contractor you interview what their warranty actually covers and for how many months.
- A written milestone schedule. Foundation complete by X, framing complete by Y, drywall by Z. Vague schedules make it impossible to hold anyone accountable.
- Lien waivers from every subcontractor. Otherwise a sub who isn’t paid can file a mechanic’s lien against your house – even if you paid the general contractor in full.
Language to refuse
- “Contractor is not responsible for delays due to weather, suppliers, or subcontractors.” Weather happens; a professional schedules around it and absorbs the risk.
- “Owner to obtain permits.” Unless you specifically want to act as your own general contractor, the contractor should pull the permits.
- “Client responsible for verifying inspection compliance.” No – that’s the contractor’s job, and it’s what you’re paying for.
- Any warranty stated verbally but not in the signed contract.
If a contractor’s contract has three or more of the refused clauses, that contractor will not finish your project cleanly. Move on.
Load Path Continuity: The Question That Reveals Real Expertise
Load path continuity is the structural concept that separates an addition that performs well from one that racks, settles, and develops drywall cracks within a few years. Every load on a house – roof weight, floor live load, wind, seismic shear – needs an unbroken path from the top of the house down to the foundation. An addition interrupts that path. A good contractor reestablishes it. A mediocre one hopes nobody notices.
Here are the questions to ask at the framing stage, and what good answers sound like:
- “How is the roof load transferred from the new section into the existing structure?” Good answer: a specific reference to a load-bearing beam, a header sized by the engineer, and engineered connections (Simpson strong-ties or similar) at the tie-in points. Bad answer: “the framing handles it.”
- “What’s the shear path through the new walls?” Good answer: sheathing details, nailing schedules, and hold-downs at wall ends. Bad answer: silence, or confusion.
- “Have you had this connection detail reviewed by the structural engineer?” Good answer: yes, and here’s where it’s drawn. Bad answer: “we do this all the time.”
- “How are we handling the seismic tie between the new and old foundation?” In Vacaville this question matters. Good answer: a specific detail, usually Simpson or Hilti hardware specified by the engineer. Bad answer: “we just bolt it.”
If your contractor can walk you through these answers without looking at notes, you’re probably in good hands. If they get defensive, deflect, or tell you that you’re being paranoid, that’s the moment to slow down and ask for the structural engineer’s contact so you can verify.
ADU-Specific Signals: Prefab vs. Site-Built Pitfalls
ADUs have become one of the most requested projects in Vacaville, and the contractor landscape around them has gotten crowded fast. Prefabricated and panelized ADUs – the models you see from companies like Abodu, Cover, Dvele, and Mighty Buildings – can be excellent solutions when the contractor handling them knows the site work, foundation, and utility tie-ins as well as the module. They can become disasters when the site work is treated as an afterthought.
Here’s what to verify on an ADU project, whether prefab or site-built:
- Who owns the foundation? The prefab manufacturer typically delivers the box; the general contractor is responsible for the foundation, utility trenches, and connections. If the contractor seems vague about this, that’s the warning sign.
- Are the utility tie-ins drawn? Water, sewer, gas, and electrical all need to connect from the ADU to the main house or the street. Those tie-ins are permitted work and are typically inspected separately from the module itself.
- Has the manufacturer’s site prep checklist been reviewed against the actual lot? Slope, soil, drainage, and existing utility locations are the details that kill ADU schedules. A good contractor walks the lot with the manufacturer’s checklist in hand.
- Who’s pulling permits for what? Some prefab manufacturers pull the module permit; the general contractor usually pulls the site permit. Make sure both are accounted for.
Our own Home Additions & ADU in Vacaville work runs through the same pre-drywall, permit-verification, and load-path checkpoints as any other addition – because ADUs aren’t a different category structurally, they’re a different shape of the same work.
Red Flags Before You Sign Anything
Some warning signs show up before demolition starts. Watch for these:
- A bid that’s 25% below the others. In construction, a bid that’s dramatically cheaper means one of three things: the contractor is cutting scope, cutting corners, or doesn’t actually know what the project costs. All three are your problem.
- No written line-item bid. A single lump sum without a breakdown makes it impossible to know what’s included. You should see line items for foundation, framing, MEP, insulation, drywall, finishes, permits, and contingency.
- No license or insurance verification. California requires contractors to be licensed by the CSLB and to carry workers’ comp and general liability insurance. Ask for the license number, look it up on the CSLB website, and ask for the certificate of insurance to be sent directly from the insurer.
- Pushing you to skip the design phase. Additions and ADUs need architectural drawings and (usually) structural engineering. A contractor who skips design is gambling with your house.
- Pressure to sign today. Nothing ruins a project faster than a homeowner signing under time pressure. Legitimate contractors will give you a week to review.
- Cash-only or “no contract needed.” Both are ways to avoid accountability. Both are dealbreakers.
- No references from projects 3+ years old. Any contractor can point to a finished project from last year. Ask for references from at least three years ago and check with those homeowners about how the addition has held up.
Common Mistakes to Avoid
- Waiting to check the permit card until the project is done. By then, the opportunity to catch a skipped inspection has passed. Check it monthly while work is running, and verify with the city on the same schedule.
- Skipping the pre-drywall walkthrough because the contractor says it’s “not needed.” Every addition needs one. Insist on it in writing, with 48 hours’ notice, before drywall goes up – once it’s up, the story the walls tell is closed.
- Assuming the soils report and the foundation plan match what’s being built. They frequently don’t, and the difference is often invisible until the first settlement cracks show up 3 or 4 years later. Ask for the structural plans and compare them to what’s on site before the concrete pour.
- Accepting a bid that isn’t line-itemed. A single lump sum hides whether design, permits, engineering, and inspections are included. In Vacaville, missing permit costs on an ADU can run $8,000 to $15,000 – a nasty surprise if nobody flagged it in the bid.
- Choosing a contractor who hasn’t worked with the specific soil type on your lot. Vacaville has expansive clay pockets and sandy alluvium within a few miles. A contractor who has only built on one soil type will miss the foundation adjustments that another lot needs.
- Skipping the mechanics’ lien protection. Pay the contractor, not the subs directly, and require lien waivers at each milestone. This is a standard practice and any contractor who resists it is telling you something.
- Trusting the warranty conversation without reading the contract language. Ask what the warranty actually covers, for how many months, and what’s excluded. Ours is 730 days – most are 12 to 24 months, and many exclude “settling” or “structural movement.”
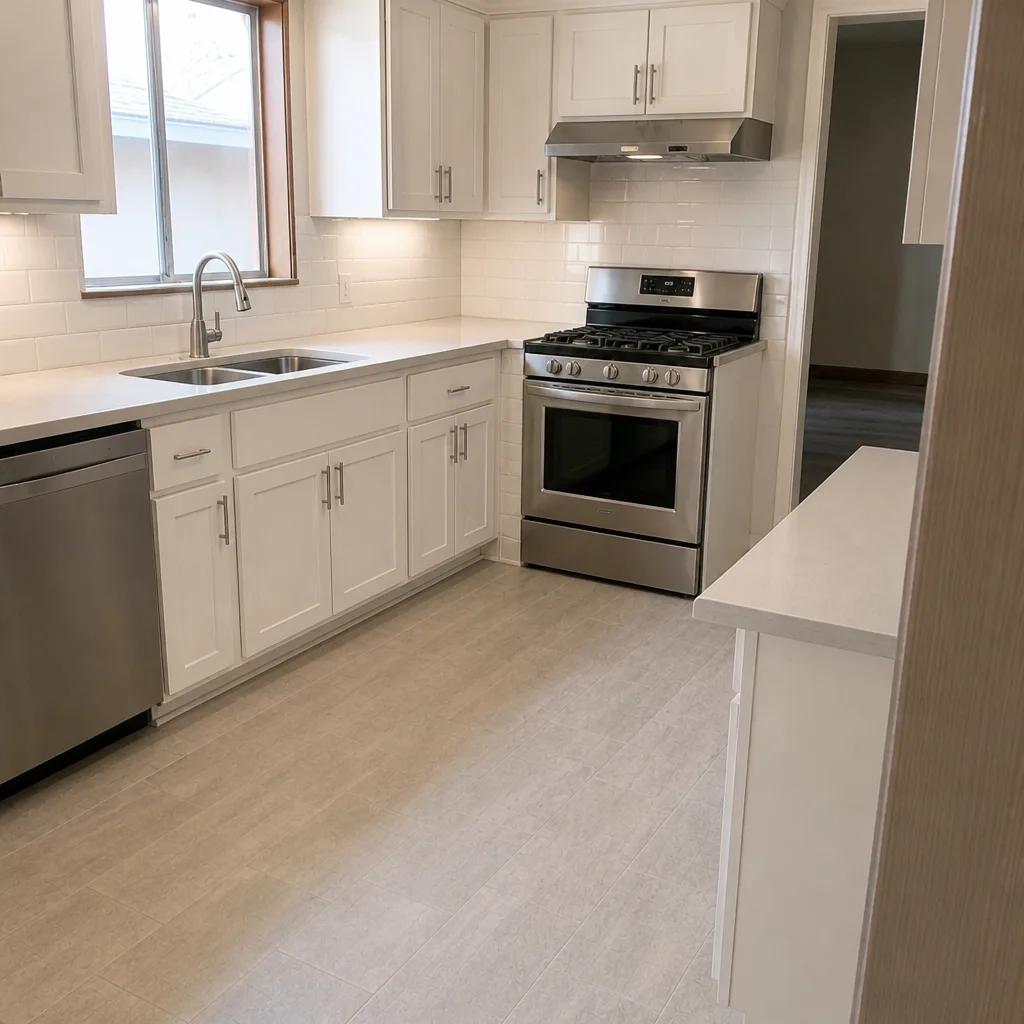
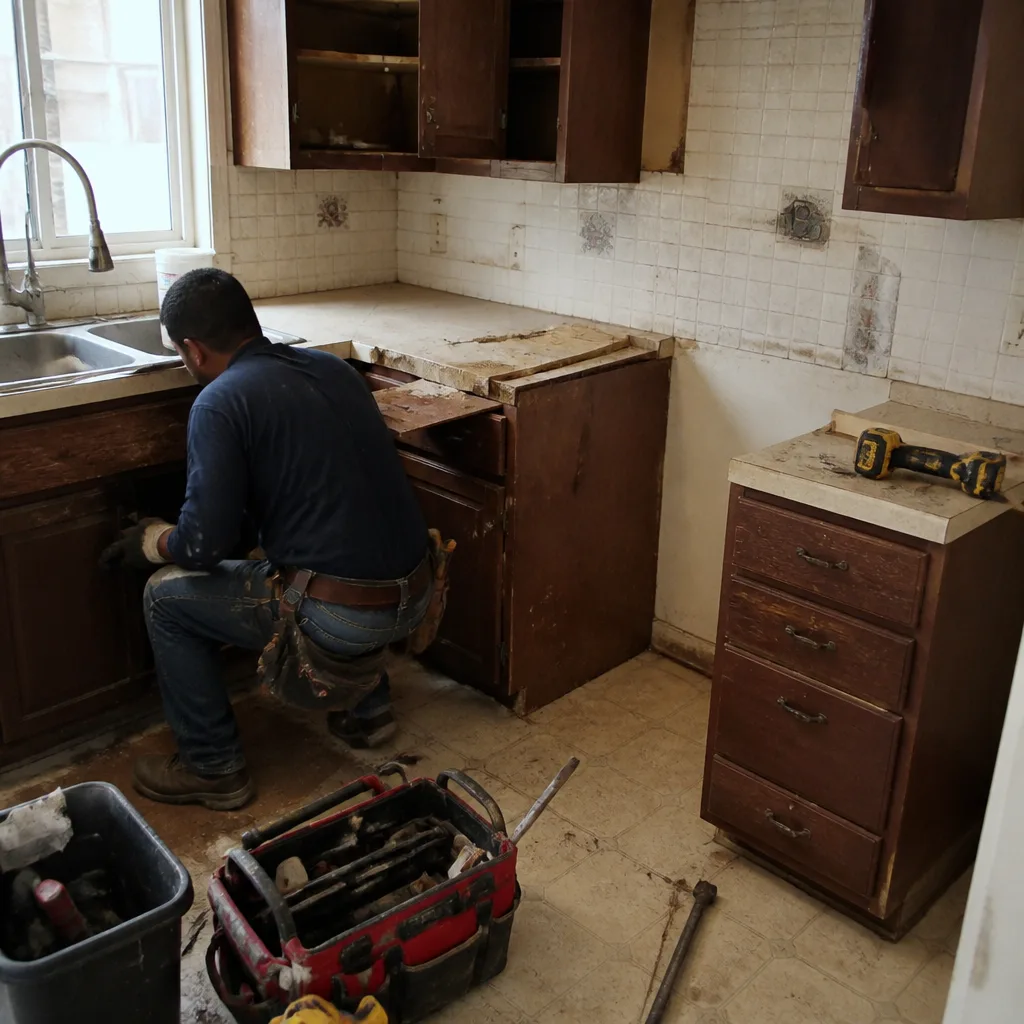
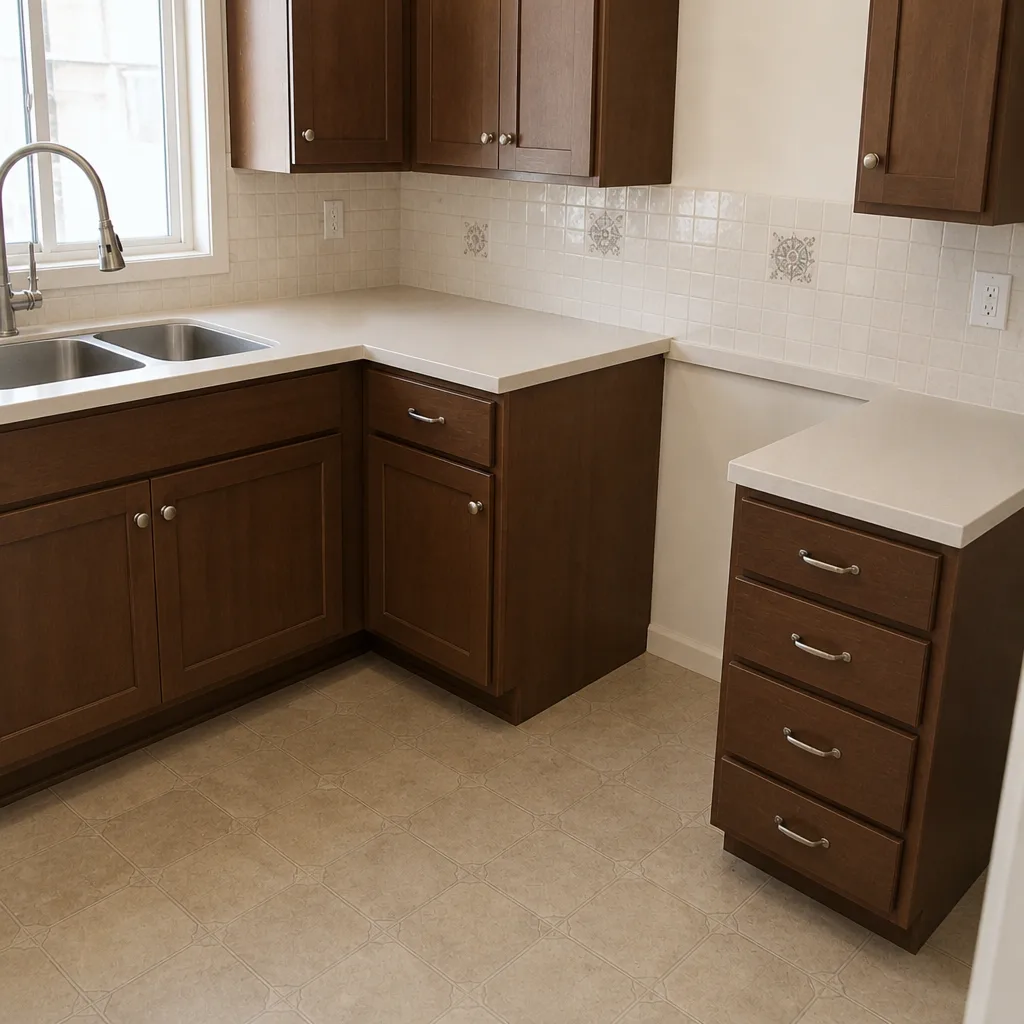
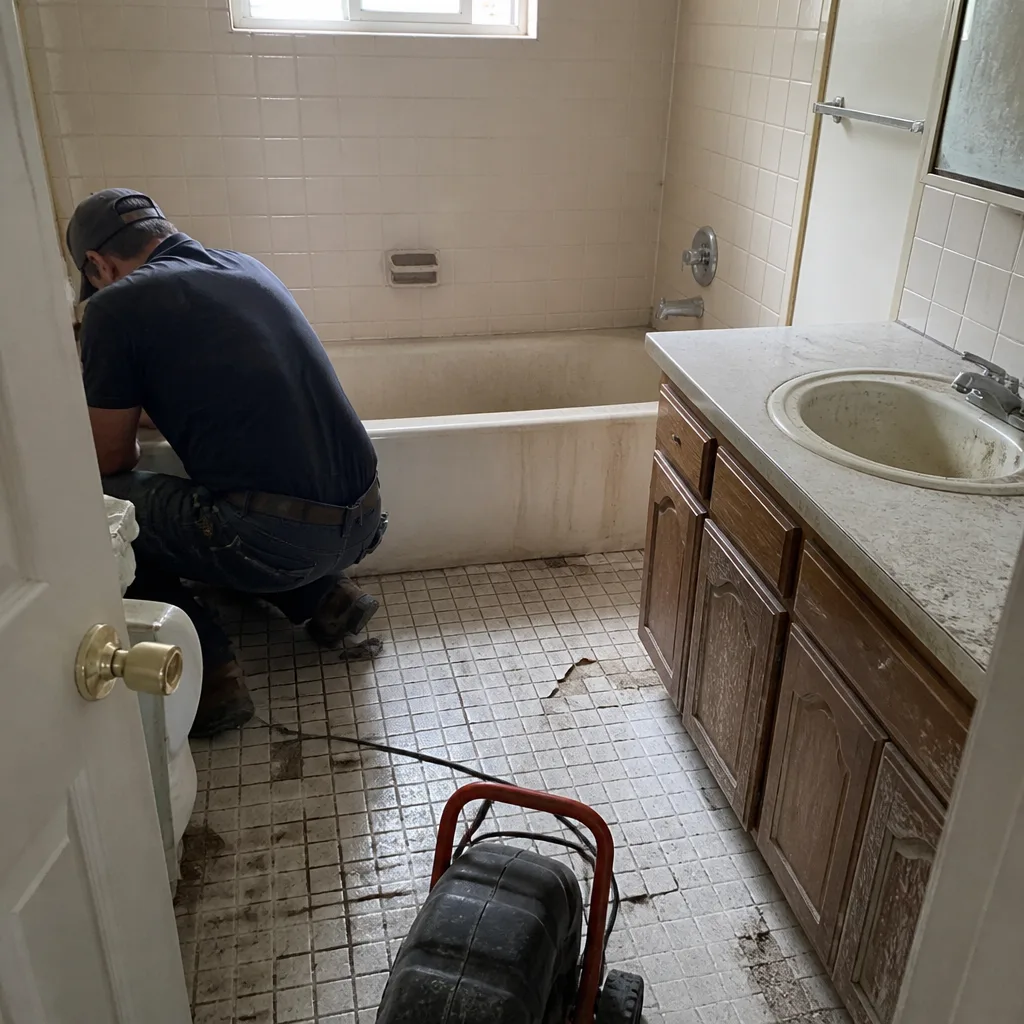
See the difference
 Before
 After
 Before
 After
 Before
 After
When to Call a Professional
Any time the work involves new structural framing, foundation work, utility reroutes, or permit-required scopes, you need a licensed contractor with design and engineering relationships – not a handyman. The stakes are simple: additions and ADUs run $150,000 to $400,000+ in the Vacaville market, and the failure points happen behind the walls. If you’re comparing bids, if a contractor is resisting the pre-drywall walkthrough, if the permit card looks off, or if you’re three years into an addition that’s already cracking or settling, call in someone who can read the drawings and the site. Groundwork Construction Co. of Vacaville offers free estimates in Vacaville – call (888) 276-8078. All projects are covered by the 730-Day Done Right Promise, and calls are answered by a live person 24/7.
Frequently Asked Questions
The biggest warning signs are invisible: no pre-drywall walkthrough scheduled, permit inspections not being called in on schedule, a foundation that doesn’t match the structural plans, and a contract that shifts responsibility for weather, subs, or suppliers onto the homeowner. Visible sloppiness at finish gets noticed, but structural shortcuts behind the walls are what actually cause failures years later. Verify the permit card monthly with the Vacaville building department, insist on the pre-drywall walkthrough in the contract, and ask direct questions about load path continuity. Call (888) 276-8078 for a free estimate – we’ll walk you through the pre-drywall checklist on your project.
Check the framing connections at every joint where new meets old, verify the insulation is cut to fit and not compressed, confirm the rough plumbing and electrical are properly secured, and look for fire blocking at floor-line transitions. Bring the structural plans and compare the connections to the drawings piece by piece. Ask the contractor to walk you through how the roof load and shear loads transfer from new framing into the existing structure. If any part of that walkthrough feels vague or rushed, delay the drywall installation until you’re satisfied. Call (888) 276-8078 – we schedule pre-drywall walkthroughs as milestones, not favors.
Call the Vacaville building department, give them the permit number from the card posted on your site, and ask for the current inspection status and dates. Most cities confirm by phone in a few minutes. Look for signed and dated entries on every required inspection: foundation, framing, MEP rough-in, insulation, and final. Blank boxes after weeks of visible progress are a serious red flag. Do this once per month during construction – a five-minute call catches the problems that would otherwise stay buried under drywall. Call (888) 276-8078 to talk through inspection verification on your project.
No. Prefab ADUs still require foundation work, utility tie-ins, and site permits, and those scopes go through the same inspections as a site-built addition. The module itself is inspected at the factory, but the site work is inspected locally. Verify with your general contractor which permits are pulled by the manufacturer (usually the module) and which are pulled by the contractor (usually the site). Abodu, Cover, Dvele, and Mighty Buildings all deliver excellent modules – the failure point is almost always the site foundation, not the box. Call (888) 276-8078 for a free ADU estimate.
Ask for the structural plans and the soils report, and compare them to what’s actually being built before the concrete pour. Verify footing depth, rebar sizing and spacing, and slab thickness against the drawings. Any deviation from the plans should come from the structural engineer in writing, not from the contractor’s judgment. Watch for “value-engineered” changes made during bidding without your knowledge – that’s one of the most common failure patterns we see. Call (888) 276-8078 for a free estimate that includes walking you through the plans.
A typical addition in Vacaville runs 6 to 10 months from permits to final walkthrough; an ADU runs 5 to 9 months. Watch for two schedule warnings: a contract with no written milestone schedule, and a crew that’s not on site consistently. Ten days of silence after a framing milestone means either a permit problem or a supply problem the contractor should have flagged. A live person should be reachable at any point during the project – our calls are answered 24/7 for exactly this reason. Call (888) 276-8078 for a free estimate with a written schedule.
The Bottom Line
The failure points in additions and ADUs are behind the walls, and the window to catch them is short. Insist on a written pre-drywall walkthrough, verify inspections directly with the city every month, and ask load path questions that a competent contractor can walk you through without notes. Read the contract for the accountability language – permit responsibility, fixed pricing, lien waivers, and a real workmanship warranty in writing – because the contract is what holds up when things go sideways. Everything you can’t see is what decides whether your addition lasts 50 years or starts failing in 5. The visible finishes are the easy part.
If you’re planning an addition or ADU in Vacaville, Groundwork Construction Co. of Vacaville is ready to walk you through the plans before you sign anything. Our technicians have up to 12 years of experience, all projects are covered by the 730-Day Done Right Promise, and pricing is upfront with no change-order surprises – plus $1,000 off projects over $10,000 and 0% financing for 18 months. Our Groundwork Construction Co. of Vacaville home page covers the full scope of services; when you’re planning site work around the addition, our Driveway & Pavers in Vacaville and Fence Installation in Vacaville teams layer in without slowing down the main scope. Call (888) 276-8078 for a free estimate and design consult – a live person answers, day or night.
Written by the team at Groundwork Construction Co. of Vacaville.