Last updated November 18, 2026






Free written scope consultation - allowances, timeline, and change-order rules on paper before a single trade is scheduled
Bathroom Remodeling Troubleshooting: Common Problems and How to Fix Them
A bathroom that smells musty six months after a remodel isn’t bad luck. It’s a ventilation or waterproofing failure that was built in on day one, and it won’t get better by itself. We’ve walked into Vacaville bathrooms where a homeowner spent five figures on tile and a frameless shower door, only to be told the smell is “just what happens when you shower a lot.” That’s not true, and the fix usually costs less than the diagnosis sounds like it will. In this guide you’ll learn how to tell efflorescence from mold, how to run a shower pan leak test before anyone touches the tile, why corners crack and what the correct material actually is, how to test whether your exhaust fan moves the air it claims to, and how to present a problem to a contractor so a warranty claim moves fast instead of getting deflected.
Quick Answer
Most bathroom remodel problems that show up within two years trace back to three root causes: improper waterproofing behind the tile, inadequate ventilation (undersized or underperforming exhaust fans), and grout used where caulk belongs. You can diagnose all three before demo. A shower pan leak test isolates surface, liner, and drain leaks. A tissue test tells you if your fan actually moves rated CFM. And cracking at inside corners is almost always a material problem, not a workmanship mystery.
Styles & brands we work with
- Kitchen remodeling
- Bathroom remodeling
- Home additions & ADU
- Roofing
- Windows & doors
- Driveway & pavers
- Fence
Table of Contents
- Efflorescence vs. Mold: Two White Stains, Two Fixes
- The Shower Pan Leak Test That Saves Your Tile
- Why Grout Cracks at Corners (and the Right Material for Every Joint)
- Testing Whether Your Exhaust Fan Actually Works
- Drainage and Slope Failures: Water Where It Shouldn’t Be
- How to Document a Problem So a Warranty Claim Sticks
- Your Rights Under California Contractor Warranty Law
Efflorescence vs. Mold: Two White Stains, Two Fixes
They look nearly identical: a chalky or speckled white-to-gray build-up along a grout line, usually near the bottom of a shower wall or where tile meets the floor pan. Homeowners in Vacaville assume it’s mold because mold is the scary word, and sometimes it is. But roughly half the time on shower walls, it’s efflorescence, and that changes the whole approach.
Here’s the difference that matters.
- Efflorescence is a mineral salt. Water moves through grout or porous tile, dissolves salts from the cement underneath, then evaporates at the surface and leaves the salt behind. It crumbles to a powder between your fingers. It’s white, sometimes slightly yellow. It returns in the same spot after you scrub it.
- Mold is organic growth. It grows in a spreading pattern, often with a fuzzy or slimy texture. It doesn’t powder. It may have a dark center and a lighter halo. It stains, and it smells earthy even when dry.
Put a few drops of white vinegar on it. Efflorescence fizzes slightly because it’s alkaline. Handled that way, it often disappears entirely with a stiff brush. Mold won’t fizz, and it needs a proper biocide and a moisture source fix.
But here’s the part most people miss: neither one is really the problem. Both are symptoms. Efflorescence means water is passing through your tile surface because the grout and sealer have failed or were never properly applied, or because the shower was built without a continuous waterproofing membrane behind the tile. On a Vacaville shower wall that gets heavy daily use, efflorescence in the first year usually means the waterproofing layer is moving water to the outside face, which shouldn’t happen with a properly built assembly. The fix isn’t a stronger cleaner. It’s identifying where the water is coming from.
One more thing worth knowing: efflorescence often gets worse in spring. Vacaville sits in a climate with cool wet winters and fast-drying springs, and that cycle pushes salts to the surface. A stain that appears reliably every March isn’t a coincidence.
The Shower Pan Leak Test That Saves Your Tile
Before anyone knocks a tile off the wall, run the shower pan leak test. It takes about an hour of setup, an evening of waiting, and it isolates whether water is escaping through the tile and grout surface, the pan liner under the tile, or the drain connection. That distinction saves thousands of dollars because a surface-only leak is often a reseal job, while a failed pan liner usually means a full rebuild.
Here’s the sequence.
- Block the drain. Use a test plug sized for your drain, or a rubber bladder if the drain lacks a test plug seat. Inflate or tighten until it holds.
- Mark a water line. Fill the pan with water to just below the top of the curb, and put a piece of tape or a pencil line at the level. Note the time.
- Wait 15 to 24 hours. No showers, no use. Check the level every few hours if you can.
- Interpret the result. A drop of more than about a quarter inch over the test window means water is leaving the pan through the liner or the drain seal. No drop, but a leak appears below your ceiling or a wet spot on an adjacent wall, means the leak is at the curb or pan edge. No drop and no ceiling stain, but persistent moisture around the shower, points to surface water passing the grout due to a failed sealant or grout line.
- Check the drain last. If the water drops only near the drain, a loose clamping ring, a failed gasket, or a recessed drain assembly is the likely culprit and is usually an easier fix than a liner failure.
What this test does not cover is wall waterproofing. A shower can pass the pan test and still leach water through the walls behind the tile. But the pan test is the first gate, and it’s the one that most homeowners skip. If your ceiling below has a slow stain, do this test before assuming anything. We’ve seen Vacaville showers where the pan and drain were both fine and the leak was a cracked supply line behind the wall.
A word of caution: on a second-floor bath, a failed pan test means you need to stop using the shower, not resume and “watch it.” The ceiling below gives you about a season of grace before the subfloor and joists start to see real damage. If your home was built over a crawlspace, watch for pooling under the bath, since water travels fast along joists.
Why Grout Cracks at Corners (and the Right Material for Every Joint)
Grout cracking at inside corners is not a workmanship mystery. It’s a material mismatch. Grout is rigid. Corners move. When tile expands and contracts with temperature and moisture cycles, the corner joint is the one place the movement concentrates. Grout can’t flex, so it cracks. Every time.
The right answer is caulk in any joint that changes plane, changes material, or meets a fixture. Grout in any joint that stays flat and uniform. Here’s how we spec it:
- Inside corners: 100% silicone or a top-tier latex-silicone blend.
- Floor-to-wall transition: 100% silicone, colored to match grout.
- Tile-to-tub or tile-to-shower pan: 100% silicone. Never grout.
- Tile-to-fixture (valve trim, towel bar mount): 100% silicone or silicone hybrid.
- Flat wall joints: cementitious grout, sealed.
- Niches, benches, and curb tops: silicone at the perimeter. Grout only on flat fields.
What we see in Vacaville bathrooms that were built or repaired quickly is a different pattern: grout in corners, then a bead of cheap acrylic caulk over the top to hide the crack. That hides the problem for a season. Acrylic caulk in a shower fails in months, and it traps moisture behind itself. The correct spec costs about the same. It just takes more care to install.
One thing to know before you re-caulk a failed corner: remove the old material fully with a plastic scraper and a utility knife. If the grout is still in the corner under the new caulk, the joint can’t move, and you’ll see exactly what you’re supposed to fix all over again. And if a cracked corner keeps failing despite good caulk, the tile behind may have detached from the wall – that’s a tile-set problem, not a caulk problem, and it needs a professional eye.
Testing Whether Your Exhaust Fan Actually Works
Exhaust fans are rated in CFM (cubic feet per minute) and most homeowners assume the number on the box is the number they’re getting. It rarely is. A fan rated for 110 CFM in a bathroom that needs 80 can underperform in real conditions because of long, flex-filled runs, undersized duct, and restrictive roof or wall caps. The tissue-paper test is a five-minute check that tells you whether the fan is actually moving air.
Run it like this.
- Turn the fan on and let it run for 30 seconds.
- Hold a single square of tissue paper or a sheet of toilet paper up to the grille. It should pull flat against the grille and stay there. If it flutters or slides down, the fan isn’t drawing.
- Do it at multiple points on the grille. A fan that only holds on one side may be running hot or partially blocked.
- Check the exterior cap. If the flap on the outside hood doesn’t open when the fan runs, or stays open after, duct or damper issues are limiting you.
- Check the timer. Run the fan for the full 20 to 30 minutes after a shower. If you shut it off with the light, you’re leaving moisture behind, no matter how good the fan is.
What it means when the fan fails the test: the fan is undersized, the duct is kinked or too long, or the grille is clogged. All three are fixable. All three leave the same signature: musty smell, paint peeling near the ceiling, and efflorescence or mold in the shower. If the fan is old and the bathroom in your Vacaville home was remodeled by a previous owner without a permit, there’s also a real chance the fan exhausts into the attic instead of outside. That’s a code violation and a mold problem waiting to happen.
If you have to choose between a bigger fan and a shorter duct run, pick the shorter run. Duct restriction is the single most common reason a correctly rated fan underperforms in a real bathroom.
Drainage and Slope Failures: Water Where It Shouldn’t Be
Water pooling at the edge of a shower pan or behind the toilet base is always telling you the same thing: gravity is finding a path it wasn’t supposed to find. In a well-built bathroom, water on the shower floor moves to the drain at roughly a quarter-inch per foot. If it doesn’t, you have a slope problem, and slope problems don’t self-correct.
Common drainage symptoms and what they usually mean:
- Water standing around the drain after a shower. Slope is too shallow, or the drain was set high during install. This usually isn’t fixable without surface work.
- Water pooling at the pan edge, near the curb. Slope runs wrong, or the liner is kinked or has a low spot that traps water.
- Grout around the base of the toilet darkening. Toilet flange seal is compromised, or the bowl is leaking around the wax ring. Contrary to what a lot of online guides suggest, a failing wax ring usually needs a plumber, not a homeowner. Removing and resetting a toilet over tile is doable, but if the flange itself is cracked, a homeowner repair often makes it worse.
- A soft or spongy spot at the tub surround. Almost always a failed caulk joint that allowed water behind the tile and into greenboard or cement board. Check the caulk first.
Slope failures also show up outside the shower: a bathroom door that sticks near the bottom, or floor tile that sounds hollow when you tap on it. Both suggest water has reached the subfloor. On a second-floor bathroom, this also deforms the ceiling below, which is the expensive part of the repair.
If water intrusion is spreading beyond the bathroom, stop using the shower and call for an inspection. Vacaville’s dry summers hide moisture quickly, but the damage it left behind doesn’t dry out. A quick moisture meter reading at a baseboard or against an adjacent wall is a real diagnostic step, not a sales pitch.
How to Document a Problem So a Warranty Claim Sticks
Most warranty claims that fail aren’t denied because the problem isn’t real. They’re denied because the homeowner called and described a symptom (“the shower smells”) instead of a documented defect with a timeline, photos, and a scope. Presenting the problem correctly doesn’t just help the claim – it also tells a good contractor that you’re serious, which tends to accelerate response.
Here’s the documentation sequence that actually works.
- Photograph the defect at three distances. Wide shot showing the room, mid-range shot showing the area, close-up shot of the specific defect. Include something for scale, like a coin or a tape measure.
- Write a one-paragraph issue statement with dates. Example: “Efflorescence reappeared on the back shower wall on March 3, 2025. It was first noted October 12, 2024, three months after project completion. Remedied on November 4, 2024 with a grout sealer. The issue returned in the same location.”
- Record what you’ve already tried. Re-caulked, re-grouted, cleaned, resealed. Each step in writing removes a contractor’s easiest deflection (“we need to confirm the homeowner didn’t cause it”).
- Reference the contract and the warranty language. Quote the exact clause in writing.
- Send it in writing, by email, with a read receipt. Not a phone call.
- Ask for a specific next step and a deadline. “Please schedule an inspection within 14 days so we can agree on a scope of repair.”
Keep a photo log with the time stamp. If the claim eventually requires any outside intervention, a clean paper trail is the entire case. “Whoever gets the best documentation wins” is the rule.
The reason we insist on this from the Groundwork side is simple: our 730-Day Done Right Promise – if it’s not done right, we make it right – only works when the communication is clean. A homeowner who sends a clear, documented issue is a homeowner we can help fast. We can walk through an example with any Vacaville homeowner who calls, and that’s not a sales conversation.
Your Rights Under California Contractor Warranty Law
California is one of the more protective states for homeowners on construction defects, but the protections are specific and time-limited. Knowing the basics before you call can make a real difference in how a claim gets handled.
Three things to know:
- Licensed contractors owe a warranty on workmanship. The standard legal window is generally one year from substantial completion for workmanship defects, and that’s a floor, not a ceiling. Many contractors offer longer. Ours runs to 730 days because we can afford to stand behind the work that long.
- Some defects are treated differently. Latent defects (ones that couldn’t reasonably be discovered at completion – a hidden shower pan liner that wasn’t installed correctly, for example) can be subject to longer windows under California law depending on how they manifest. A latent waterproofing failure is the classic case.
- The contract and the CSLB both matter. The state licensing board can be involved if a contractor refuses to respond to a valid warranty claim. Contractors are required to disclose their license, and license status is public record. Check it.
What this means for how you present a bathroom problem in Vacaville: don’t wait to report it. The single biggest self-inflicted wound in a warranty claim is a homeowner who noticed a leak in June and reported it in January. Water intrusion that gets worse on its own undercuts the claim and often absolves the contractor. Report early, document clearly, and keep it in writing.
If a claim is being deflected, an inspection by a licensed contractor who can put a report in writing carries real weight. That’s part of why we offer free estimates across the Vacaville area – and why our live phone line is staffed around the clock. A real person, 24/7.
Common Mistakes to Avoid
- Re-grouting before finding the water source. If you seal a shower with an active leak behind it, the moisture has nowhere to go but into the wall assembly. Fix the source, then re-grout.
- Using acrylic caulk in the shower. Acrylic caulk is fine for a painted baseboard. It fails in a shower within a season. Use 100% silicone in wet zones.
- Assuming a fan is working because you can hear it. Motor noise tells you nothing about airflow. Do the tissue test.
- Skipping the shower pan test on a second-floor bath. The ceiling below is your first warning, but the pan test tells you what kind of problem you have before you spend a dollar on tile.
- Letting a small efflorescence stain “settle.” It doesn’t. The salt is coming from somewhere. Vacaville’s dry summers are not going to reverse the process.
- Hiring on price alone for a bathroom remodel. Bathroom work is the most waterproofing-dependent trade in residential construction, and waterproofing is invisible on the estimate. Cheapest bid usually shows up in the failure list two years later.
- Not checking whether a permit was pulled. Vacaville requires permits for most bathroom remodels that involve plumbing reconfiguration or electrical additions. An unpermitted remodel can void certain insurance coverage and complicate a future sale.
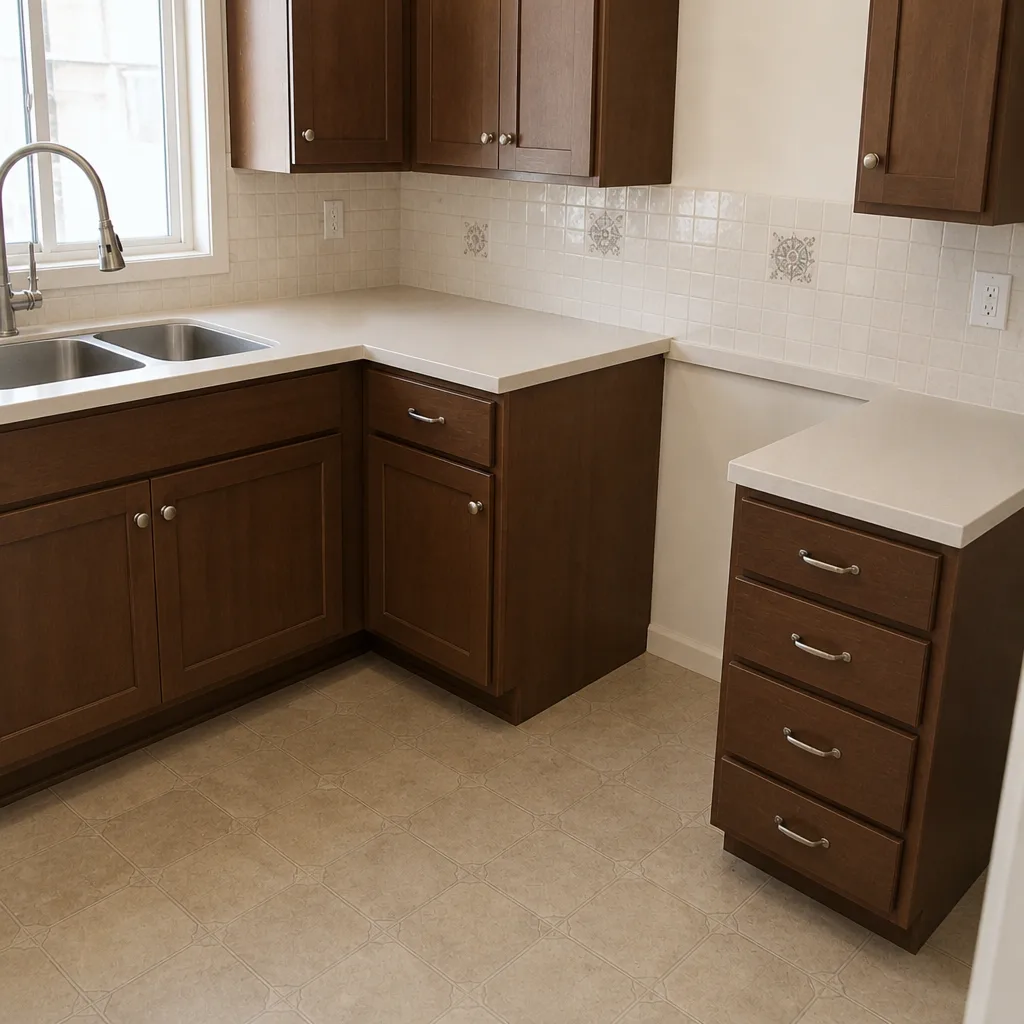
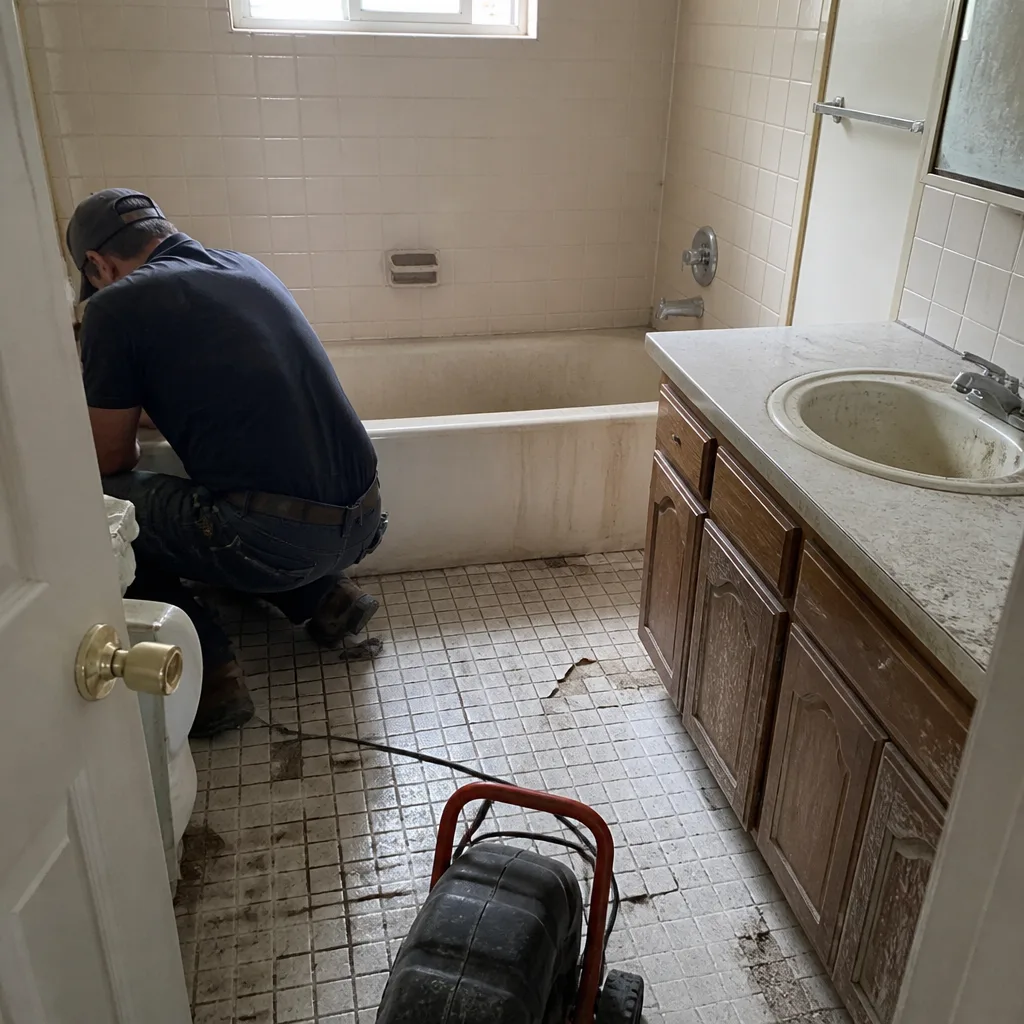
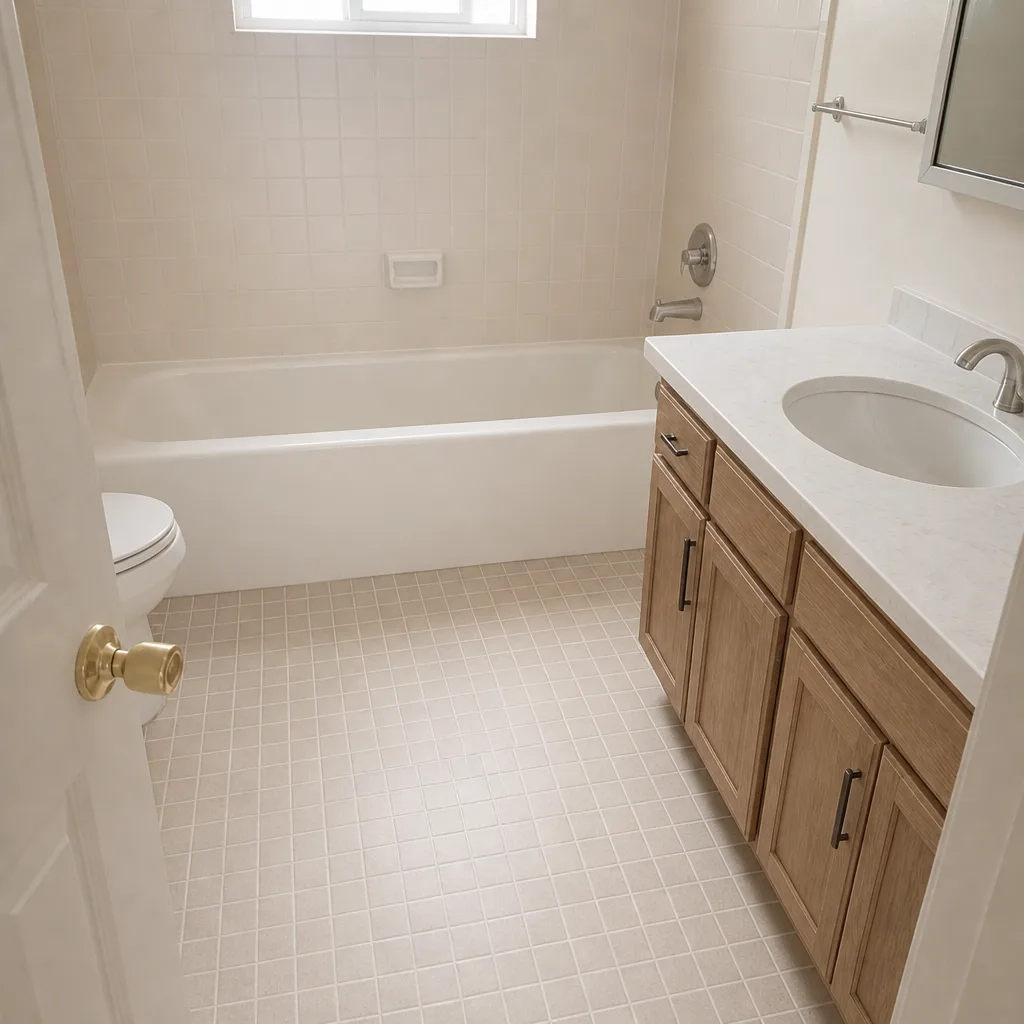
See the difference
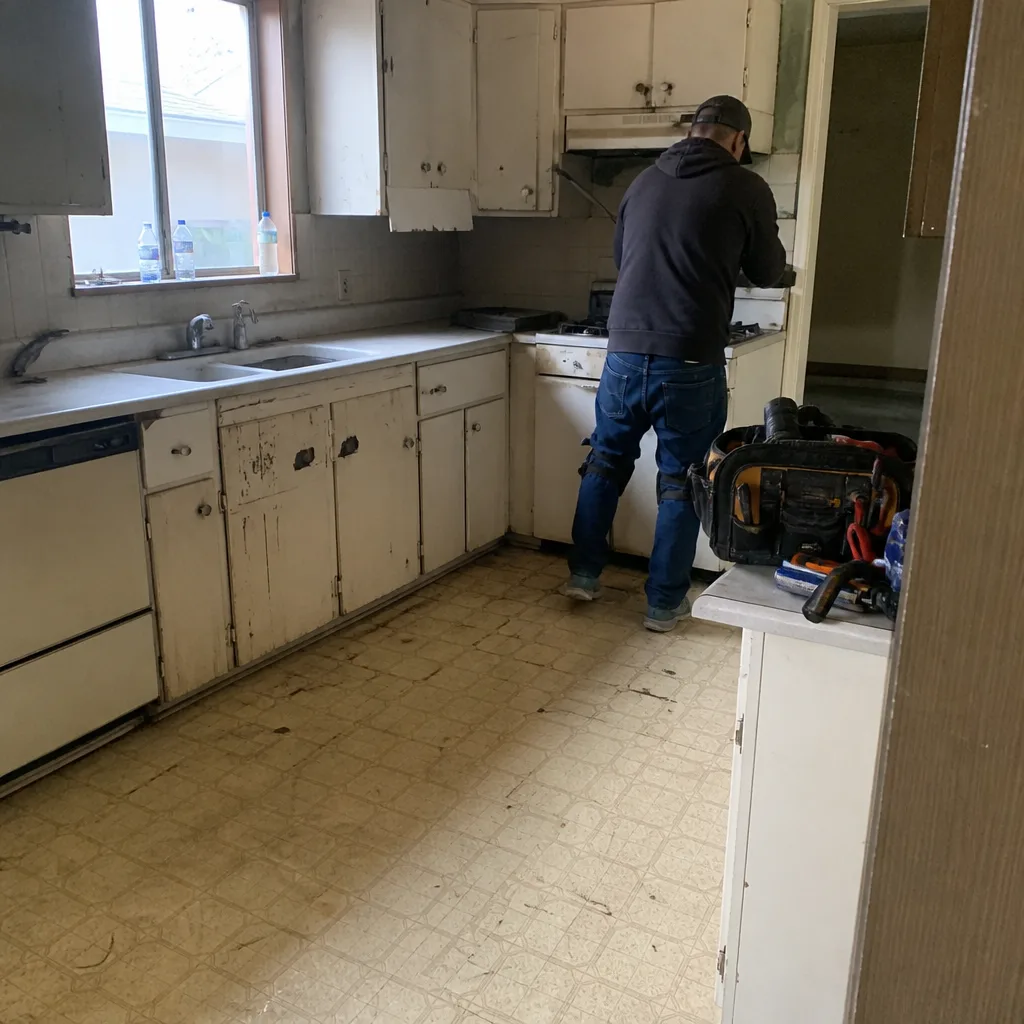 Before
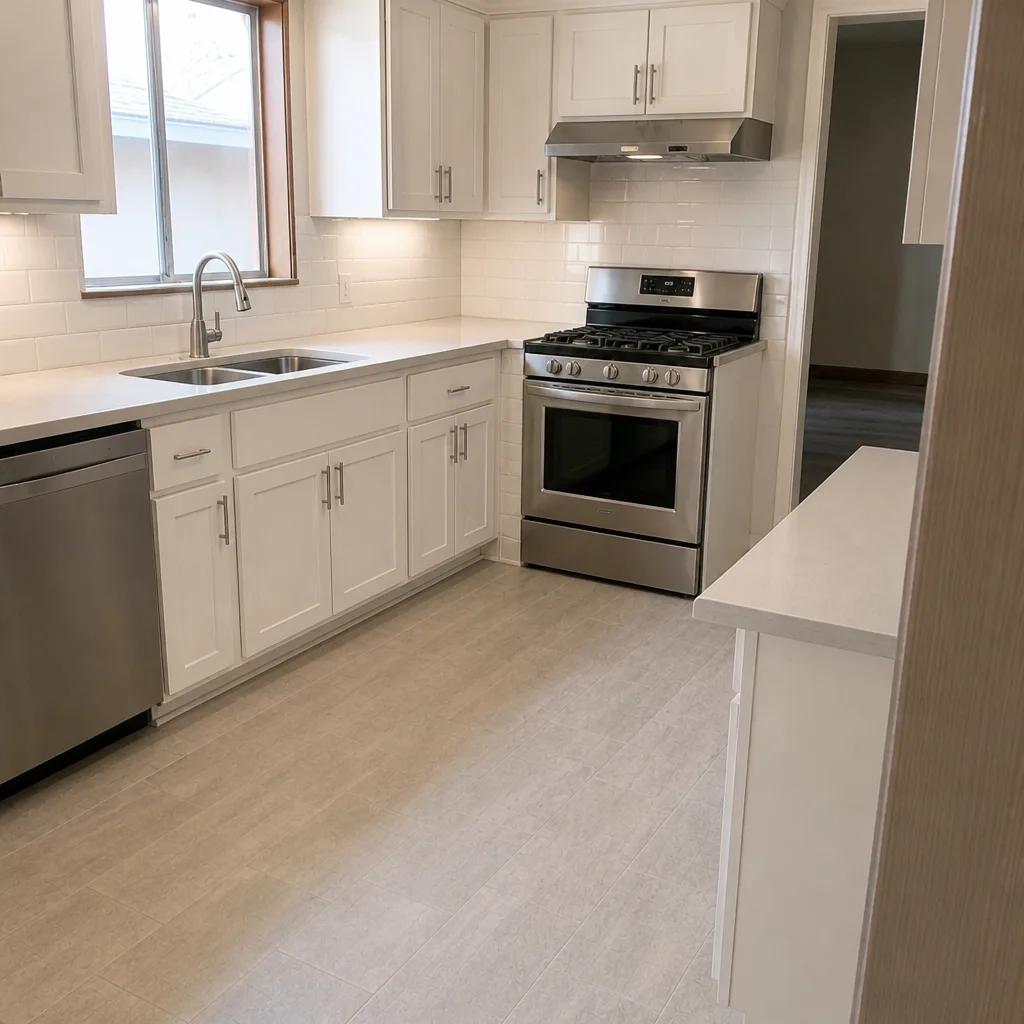 After
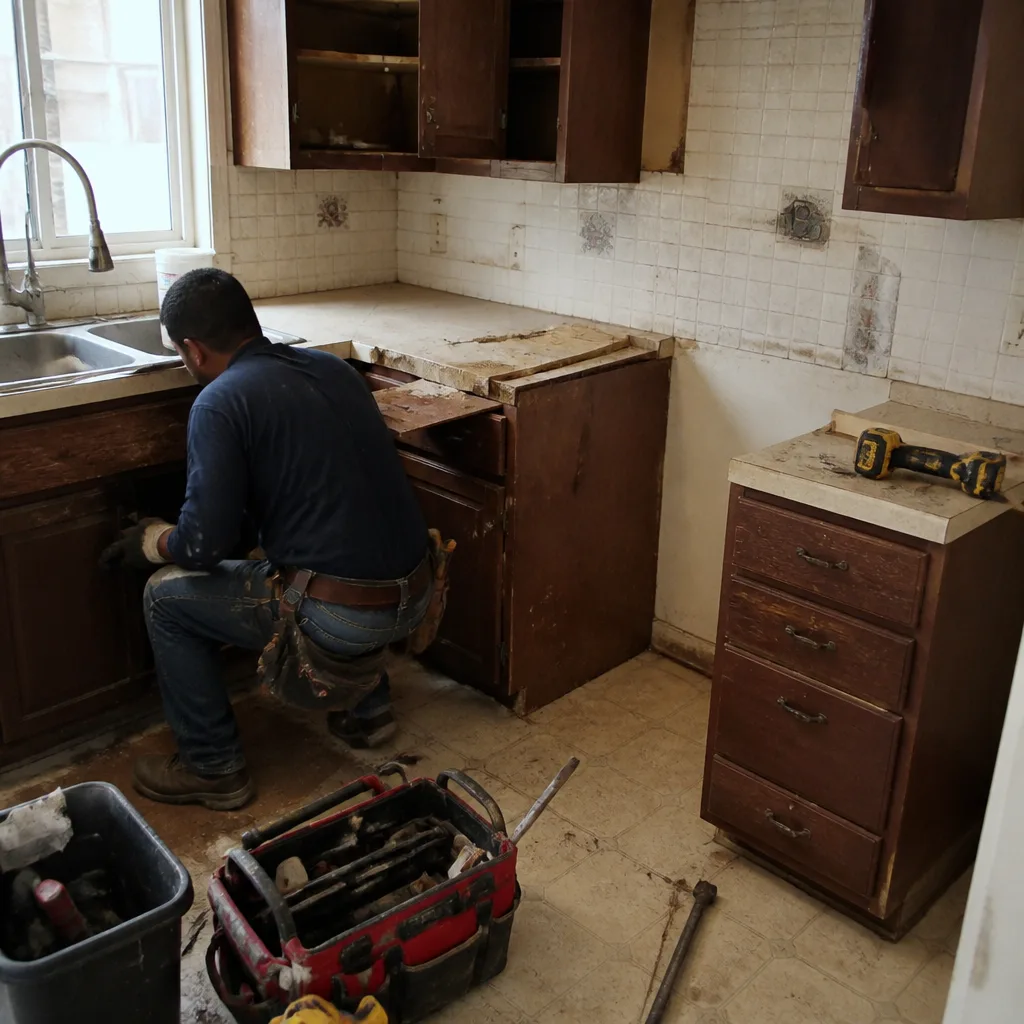 Before
 After
 Before
 After
When to Call a Professional
Some of what’s in this guide is DIY-checkable. Some of it isn’t. Call a professional when: you’ve done the pan test and the water level dropped; you have a ceiling stain below a second-floor bath; a shower wall sounds hollow or moves when you press it; the exhaust fan fails the tissue test even after cleaning the grille; a leak has reached the subfloor or an adjacent wall; or you’re inside the first two years of a remodel and a problem keeps coming back after surface repairs. The high-tension side of this work – demo of a heavy tile shower, plumbing alterations, electrical work on the fan and lighting circuit, and rebuilding a waterproofing assembly – is where trained, experienced technicians need to be on the job. Attempting a shower pan rebuild without understanding the liner and drain clamping sequence is how people create a much bigger problem than the one they started with.
Groundwork Construction Co. of Vacaville offers free estimates in Vacaville – call (888) 276-8078. Our technicians have up to 12 years of experience, they’re background-checked and arrive in uniform, and calls are answered by a live person 24/7. Upfront pricing, no surprises. Free project estimate and design consult. And if you’re ready to plan the project properly, you can start by exploring our Vacaville home construction services.
Frequently Asked Questions
A shower pan repair in Vacaville typically runs $1,200 to $3,800 depending on whether the pan liner was installed correctly, the drain condition, and whether tile has to be removed. If the tile gets matched or replaced, expect the top of that range. A full shower rebuild with proper waterproofing often runs $6,000 to $14,000 in this market, which is why the leak test matters so much – it isolates whether you need the easy fix or the full rebuild. Free estimates for Vacaville homes are available by calling (888) 276-8078.
A musty smell after a remodel is almost always a moisture problem with one of three roots: an exhaust fan that isn’t moving air, water escaping the shower behind the tile, or a drain or wax ring leak around the toilet. It’s not a coincidence that it appeared shortly after the work was completed. Run the tissue test on the fan first, then the shower pan test. If both pass, the smell is coming from a drain or from moisture behind the wall. The fix gets cheaper the earlier you find the source, and the ceiling below will tell you which compartment it’s in.
Powdery residue that crumbles between your fingers, fizzes slightly when white vinegar is dropped on it, and returns in the same spot after cleaning is efflorescence – a mineral salt from water moving through cement. Anything fuzzy, spread-out, staining, and earthy-smelling is mold. The fix differs completely. Efflorescence needs the water path found and closed, then the salt removed. Mold needs a biocide, and generally more airflow. In both cases, someone needs to find why moisture is where it shouldn’t be.
Yes, if the crack is a caulk failure – which it usually is. Remove the old material fully with a plastic scraper, clean the joint, and apply 100% silicone caulk colored to match your grout. Don’t grout the corner or caulk over the top of old grout. If the crack comes back within a few months of new caulk, or if the surrounding tile sounds hollow when tapped, the tile has likely detached from the wall, and that’s a professional fix. Groundwork Construction Co. of Vacaville handles these inspections.
Do the tissue test: hold a square of toilet paper against the grille of a running fan. It should pull flat and stay. If it flutters or slides down, the fan isn’t moving its rated CFM. Common causes are a clogged grille, a kinked or overlong duct run, or a fan that’s simply undersized for the room. A fan that clears the test can still be undersized – bathroom fans should run 20 to 30 minutes after a shower, and a timer switch is the most reliable way to make sure that happens.
Yes. Groundwork Construction Co. of Vacaville diagnoses and repairs the problems in this guide – shower leak isolation, waterproofing failures, ventilation upgrades, tile and caulk remediation – along with full bathroom remodels. We offer a free project estimate and design consult, upfront pricing with no surprises, $1,000 off projects over $10,000, and 0% financing for 18 months. Every project is covered by our 730-Day Done Right Promise. Call (888) 276-8078 to schedule a free estimate.
The Bottom Line
Most bathroom remodel failures aren’t mysteries. They’re waterproofing, ventilation, or material-selection errors that were built in, then slowly became visible. The homeowner’s job is diagnosis: the tissue test, the shower pan test, the vinegar test, and the documentation habit. Do those four things and you’ll know whether a problem is a surface fix, a rebuild, or a warranty claim – and you’ll know before anyone swings a hammer. When the diagnosis points to plumbing, waterproofing, or electrical work, get a trained professional involved. Groundwork Construction Co. of Vacaville will take your call, put the findings in writing, and stand behind the result in writing. Free estimates, upfront pricing, and a 730-Day Done Right Promise. Call (888) 276-8078.
Written by the team at Groundwork Construction Co. of Vacaville.