Last updated November 18, 2026







Free written scope consultation - allowances, timeline, and change-order rules on paper before a single trade is scheduled
Bathroom Remodeling Maintenance Schedule: What to Do and When
Most bathroom remodels show their first signs of failure within 18 months – not because the work was bad, but because nobody told the homeowner what to do after move-in day. A fresh shower looks finished. Behind the tile, a clock is already running on grout, caulk, sealant, and the exhaust fan. In Vacaville, where summer heat regularly pushes past 100°F and winter swings wet and cold, that clock runs faster than the national averages most guides are built around. This guide gives you the exact maintenance schedule we hand to homeowners after a bathroom project wraps, so your investment holds its value and your workmanship warranty stays intact.
Quick Answer
Inspect grout and caulk every 6 months, reseal grout annually (or every 2 years in low-traffic bathrooms), clean the exhaust fan quarterly and replace it when it drops below 80 CFM, and check for water damage around the shower pan and toilet base every spring and fall. In Vacaville’s dry heat, add a wet-season moisture check in October and a grout-line inspection in May. Do these four things on schedule and a well-built bathroom should hold up for decades.
Styles & brands we work with
- Kitchen remodeling
- Bathroom remodeling
- Home additions & ADU
- Roofing
- Windows & doors
- Driveway & pavers
- Fence
Table of Contents
- Why a Maintenance Clock Starts the Day Your Remodel Ends
- Grout and Caulk: Inspection Intervals by Material Type
- Exhaust Fan Performance: The CFM Number That Signals Trouble
- Vacaville-Specific Seasonal Tasks You Won’t Find in Generic Guides
- Water Damage Checks: Shower Pan, Toilet Base, and Supply Lines
- How the 730-Day Done Right Promise Intersects With Owner Maintenance
- The Printable Month-by-Month Checklist
Why a Maintenance Clock Starts the Day Your Remodel Ends
Every material in a bathroom is in a slow, constant fight with moisture. Tile and stone are porous. Grout is a cement-based sponge. Caulk is a flexible seal that degrades in UV light and cycles of heat and cold. None of these materials “fail” all at once – they fail in small, invisible increments until water finds a path behind the surface.
In our experience on Vacaville bathroom projects, the difference between a bathroom that looks new at year five and one that’s growing mold at year three usually isn’t the quality of the install. It’s whether the homeowner did the four or five maintenance tasks nobody tells them about.
Here’s the mental model that makes the whole schedule click:
- Sealants are sacrificial. Grout sealant and caulk are designed to degrade so the material under them doesn’t. They aren’t permanent. Replacing them on schedule protects tile, backer board, and framing.
- Ventilation is the first line of defense. A working exhaust fan removes the moisture that causes 80% of bathroom problems. A weak fan lets moisture settle into grout, paint, and drywall.
- Water damage is cumulative, not sudden. A slow drip behind a shower valve can run for months before it shows on drywall. Regular inspection catches it early.
The good news: a properly maintained bathroom is a 30-to-45-minute commitment twice a year, plus a handful of small seasonal jobs. That’s the whole cost of protecting a renovation that likely cost five figures.
Grout and Caulk: Inspection Intervals by Material Type
This is the section most guides get wrong. Grout and caulk are not interchangeable, and different types have genuinely different maintenance intervals. Using the wrong interval for your material is how bathrooms fail early.
Grout: Sanded vs. Unsanded
Sanded grout contains fine silica sand and is used for joints 1/8″ and wider – typically floor tile and large-format shower wall tile. The sand gives it strength and slight flex. It holds sealant well and is generally durable. Reseal sanded grout once a year on floors and shower walls, and inspect it every 6 months for cracks and dark spots.
Unsanded grout is smoother and used for narrow joints – mosaic tile, glass tile, polished stone. Because there’s no sand aggregate, it’s more prone to cracking and absorbs water slightly faster. Reseal unsanded grout every 9 – 12 months, and inspect every 4 – 6 months. If you have a mosaic or marble shower, put a reminder on your calendar every four months to look at the grout lines.
Caulk: Silicone vs. Latex
Silicone caulk is used in the wettest, most demanding joints – inside shower corners, around the tub edge, behind the toilet base. It’s waterproof, mold-resistant, and lasts 5 – 7 years when applied correctly. But it doesn’t take paint and it fails when applied over old caulk. Inspect silicone joints twice a year, and plan on a full replacement in year five or six.
Latex (painter’s) caulk is used where walls meet trim, along the vanity backsplash, and in dry areas. It’s paintable and flexible, but it’s not waterproof. It cracks in 18 – 36 months in most bathrooms. Inspect latex caulk every 6 months, and re-caulk any joint that’s pulling away from the surface.
The rule of thumb: if it’s wet, it’s silicone and it gets checked twice a year. If it’s dry, it’s latex and it gets checked twice a year too – but it’ll fail sooner.
Exhaust Fan Performance: The CFM Number That Signals Trouble
Your exhaust fan is the single most important piece of equipment in the bathroom for long-term durability, and it’s the one most homeowners never think about. An underperforming fan lets moisture condense on walls, mirrors, and grout. That moisture doesn’t just cause surface mold – it works into the drywall and framing behind the tile.
The CFM Threshold
CFM stands for cubic feet per minute – how much air the fan moves. The industry baseline for a bathroom is 1 CFM per square foot of floor area, with a 50 CFM minimum for a half bath and 80 CFM minimum for a full bath with a shower. If your fan is rated below 80 CFM in a shower bathroom, it’s a moisture-damage risk and should be upgraded.
But a fan rated at 100 CFM when new can drop to 60 CFM after years of dust and lint buildup. That’s the number that matters – actual performance, not the sticker on the housing.
How to Run the Check
- Turn the fan on and hold a piece of toilet paper near the grille. If the paper doesn’t pull tight against the grille and hold, the fan is underperforming. That’s the simplest CFM test a homeowner can do.
- Listen for rattles, squeaks, or grinding. Any noise beyond the normal hum means the bearings are going or debris has built up on the blades.
- Remove the grille and vacuum the blades and housing every 3 months. Most CFM loss is just lint stuck to the blades. This is a 5-minute job.
- Replace the fan every 10 – 15 years, or sooner if it can’t keep up on the toilet paper test after cleaning. Modern fans with humidity sensors or timers are worth the upgrade – they run long enough to actually clear the moisture.
In our experience, an underperforming exhaust fan is behind more “mysterious” bathroom moisture problems in Vacaville than any other single factor. It’s a cheap fix that prevents an expensive one.
Vacaville-Specific Seasonal Tasks You Won’t Find in Generic Guides
Most bathroom maintenance guides are written for a generic national climate. Vacaville isn’t generic. It’s hot and dry from June through September, then swings into a wet, cool winter with fog and rain. Add in the hard water that runs through much of the area, and the maintenance calendar looks a little different than what a national blog will tell you.
Summer Heat: May through September
- Watch for grout cracking along exterior walls. The thermal expansion and contraction from 100°F days and cool nights stresses grout on walls that face outside. Inspect those lines in May and again in August.
- Expect faster latex caulk failure in south- and west-facing bathrooms. UV exposure through windows accelerates caulk degradation. If your bathroom gets strong afternoon sun, check those joints every 4 months, not 6.
- Run the fan longer than feels necessary. In dry heat, humidity feels lower, but shower steam still needs to be vented. Run the fan for 20 minutes after every shower in summer, not 10.
Wet Season: October through March
- Do the fall moisture inspection in October. Before the rains arrive, check the exterior wall of your bathroom for any signs of water intrusion – bubbling paint, soft drywall, or discoloration near the window.
- Check the vent stack and roof penetration. The exhaust fan vents through the roof. A failed roof boot or loose vent cap in Vacaville’s winter rains can send water directly into the bathroom ceiling. This is also the season to schedule a roofing inspection in Vacaville if your home is 15+ years old.
- Expect minor grout efflorescence. The white chalky residue on grout lines is a normal reaction to seasonal humidity. Clean with a 50/50 vinegar and water solution, then reseal once dry.
Hard Water: Year-Round
Vacaville’s water supply is on the harder side, which means mineral deposits build up on fixtures, glass, and grout faster than in softer-water regions. Wipe down the shower glass and fixtures once a week with a squeegee and a mild vinegar solution. Skip abrasive cleaners on polished stone – they etch the surface permanently.
Water Damage Checks: Shower Pan, Toilet Base, and Supply Lines
Water damage in a bathroom is almost always a slow, hidden process. The catastrophic leaks get attention, but the ones that quietly rot out subfloor and wall framing over months are the ones that cost real money to fix. Here’s where to look, every spring and fall.
The Shower Pan
Look at the caulk line where the shower pan meets the wall tile. Any gaps, dark spots, or peeling caulk is a warning sign. Then check the ceiling below the shower if you have a finished floor underneath – a brown ring or soft spot in the drywall means water is finding a path through. A failed shower pan isn’t a cosmetic problem; in many cases it means a partial tear-out.
The Toilet Base
A toilet that rocks slightly, or that has any moisture around the base, is a wax ring waiting to fail. Check by kneeling beside it and looking for stains, discoloration, or softness in the flooring. A loose toilet that rocks should be reset with a new wax ring by a professional – ignoring it is how subfloor rot starts.
Supply Lines and Shut-Off Valves
The braided stainless supply lines behind the toilet and under the sink have a service life of about 5 – 7 years. They’re cheap – replacing them proactively every 5 years is one of the highest-value maintenance jobs in the house. While you’re back there, turn each shut-off valve a quarter turn and back, once a year. Valves that sit untouched for a decade tend to seize, and a seized valve is a plumbing emergency.
What to Check and When
- Every spring and fall: Shower pan caulk line, toilet base, and visible supply lines.
- Once a year: Test every shut-off valve in the bathroom.
- Every 5 years: Replace braided supply lines proactively.
- Every 10 years: Have a professional inspect the shower pan liner and any concealed plumbing if the bathroom is cast iron or copper.
If your inspection turns up tile, drywall, or subfloor damage that’s beyond a reseal, it’s time to talk to a professional before it spreads. A small area of damage caught early is a repair – caught late, it’s a bathroom remodeling project.
How the 730-Day Done Right Promise Intersects With Owner Maintenance
This is the section that matters most, and it’s the one most guides skip entirely. What voids a workmanship warranty, and what doesn’t? The honest answer: routine maintenance is your responsibility, and doing it – or not – determines whether a future problem is a warranty claim or a repair bill.
What Doesn’t Void Coverage
Normal wear and tear does not void your workmanship warranty. Neither does efflorescence on grout, minor hairline cracking in grout joints (which is normal in any tile install), or cosmetic dulling of stone surfaces. Resealing grout, re-caulking, cleaning the exhaust fan, or replacing a supply line are all routine homeowner tasks – none of these affect your coverage under the 730-Day Done Right Promise.
If a genuine workmanship issue arises – a shower pan that leaks because of how it was installed, a tile that comes loose because the substrate wasn’t right, a plumbing joint that was improperly connected – that’s exactly what the guarantee is for. Our workmanship guarantee is one of the longest in the residential construction space: 730 days. If it’s not done right, we make it right.
What Can Affect Coverage
The one thing that can genuinely complicate a warranty conversation is neglect that causes new damage. A shower pan that’s been leaking for a year because the caulk line went unrepaired, and now the subfloor is rotted – that’s a different scenario than a workmanship defect. Documenting your maintenance matters. If you keep a simple log of when you resealed, re-caulked, and inspected, you’re in a strong position if a genuine issue comes up.
One more thing worth knowing: our technicians are background-checked and arrive in uniform on every project, and the same standard applies if you call us back for a warranty visit. It’s the same company you started with, not a random subcontractor.
What to Do if You Spot a Problem
- Stop using the shower or tub if you see active water where it shouldn’t be.
- Take photos of the issue before anything is moved or cleaned.
- Check your maintenance log – when did you last reseal or re-caulk?
- Call us. We’ll assess whether it’s a maintenance issue or a workmanship issue, and we’ll be honest about the answer either way.
Our live-person, 24/7 phone line answers every call with a real human – that’s a commitment, not a marketing line.
The Printable Month-by-Month Checklist
Tape this inside a bathroom cabinet door and work through it as the months come around. It’s the same schedule we hand to homeowners after every bathroom project, adapted for Vacaville’s climate.
Every Month
- Squeegee the shower glass and wipe fixtures dry after each use.
- Check caulk lines in the shower and around the tub for any new gaps.
- Run the exhaust fan for at least 20 minutes after every shower (longer in summer).
Every Three Months (Quarterly)
- Remove the exhaust fan grille and vacuum the blades and housing.
- Do the toilet paper test on the fan to confirm it still pulls air strongly.
- Clean grout lines with a mild vinegar solution; rinse thoroughly.
- Wipe mineral deposits from fixtures with a non-abrasive cleaner.
Every Six Months (April and October)
- Inspect every grout line and caulk joint. Note any cracks, gaps, or dark spots.
- Check the shower pan caulk line, toilet base, and visible supply lines.
- Test every shut-off valve in the bathroom (quarter turn, and back).
- Inspect the bathroom ceiling and any exterior wall for water stains.
- Check the roof vent penetration if your home is 15+ years old.
Once a Year (Choose One Month and Stick to It)
- Reseal sanded grout on floors and shower walls.
- Re-caulk any latex joints that have pulled away.
- Check the bathroom window seals and weatherstripping.
Every Two to Five Years
- Reseal unsanded grout (year two in light use, every 9 months in heavy use).
- Replace silicone caulk in the shower and tub joints (every 5 years).
- Replace braided supply lines behind the toilet and under the sink (every 5 years).
- Consider upgrading the exhaust fan if it’s over 10 years old.
Vacaville Seasonal Add-Ons
- May: Inspect grout along exterior-facing walls for heat-cycle cracks.
- August: Re-check south and west-facing bathroom caulk joints for UV damage.
- October: Pre-wet-season moisture inspection – exterior wall, ceiling, and roof vent.
- December: Recheck silicone joints after several weeks of wet weather.
Common Mistakes to Avoid
- Caulking over old caulk. New caulk applied over a failing bead will peel off within months. The whole joint has to come out, the surface has to be cleaned and dried, and then the new bead goes on.
- Using the wrong caulk for wet areas. Latex caulk in a shower joint is a guaranteed early failure. Wet joints get silicone, dry joints get latex. Don’t mix them up.
- Resealing grout without cleaning it first. Sealant applied over mold, soap scum, or efflorescence traps the problem under a shiny layer. Clean, dry, and then seal – always in that order.
- Ignoring a weak exhaust fan. It’s a $150 – $400 replacement that prevents thousands in moisture damage. In Vacaville’s hot summers, an underperforming fan lets humidity sit against the ceiling and grout for hours.
- Skipping the fall wet-season inspection. The October check catches roof-vent and exterior-wall issues before the rains settle in. Skip it and a small leak becomes a ceiling replacement by February.
- Never replacing supply lines. Braided stainless lines are cheap and easy to swap every 5 years. The water damage from a burst line behind a vanity is not cheap.
- Letting a rocking toilet go. A slightly loose toilet is a wax ring failure waiting to happen. It’s a quick fix when caught early – and a subfloor repair when it’s not.
One more mistake worth naming: assuming your maintenance schedule is the same as a generic national guide’s. Vacaville’s dry-heat summers and wet winters put different stress on a bathroom than a climate that’s mild year-round. Adjust the calendar to match the climate you actually live in.
See the difference
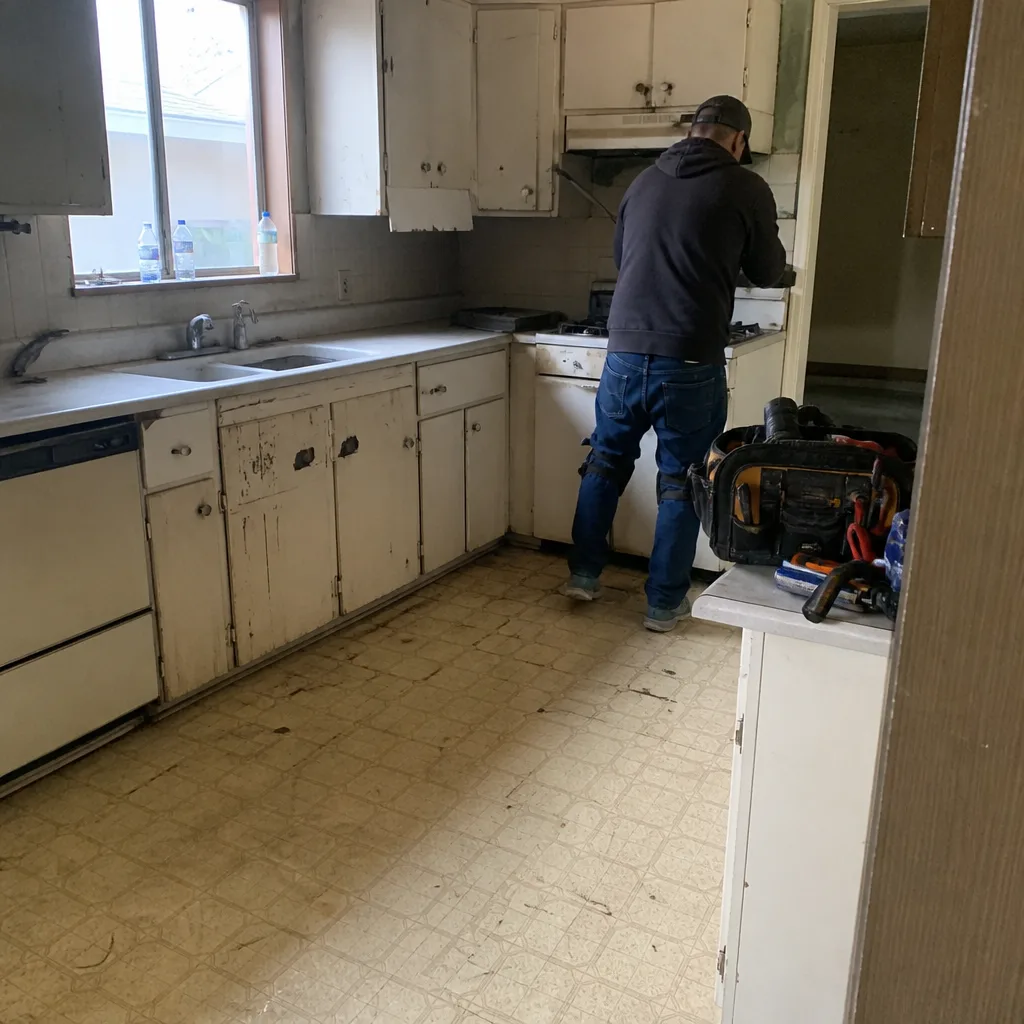 Before
 After
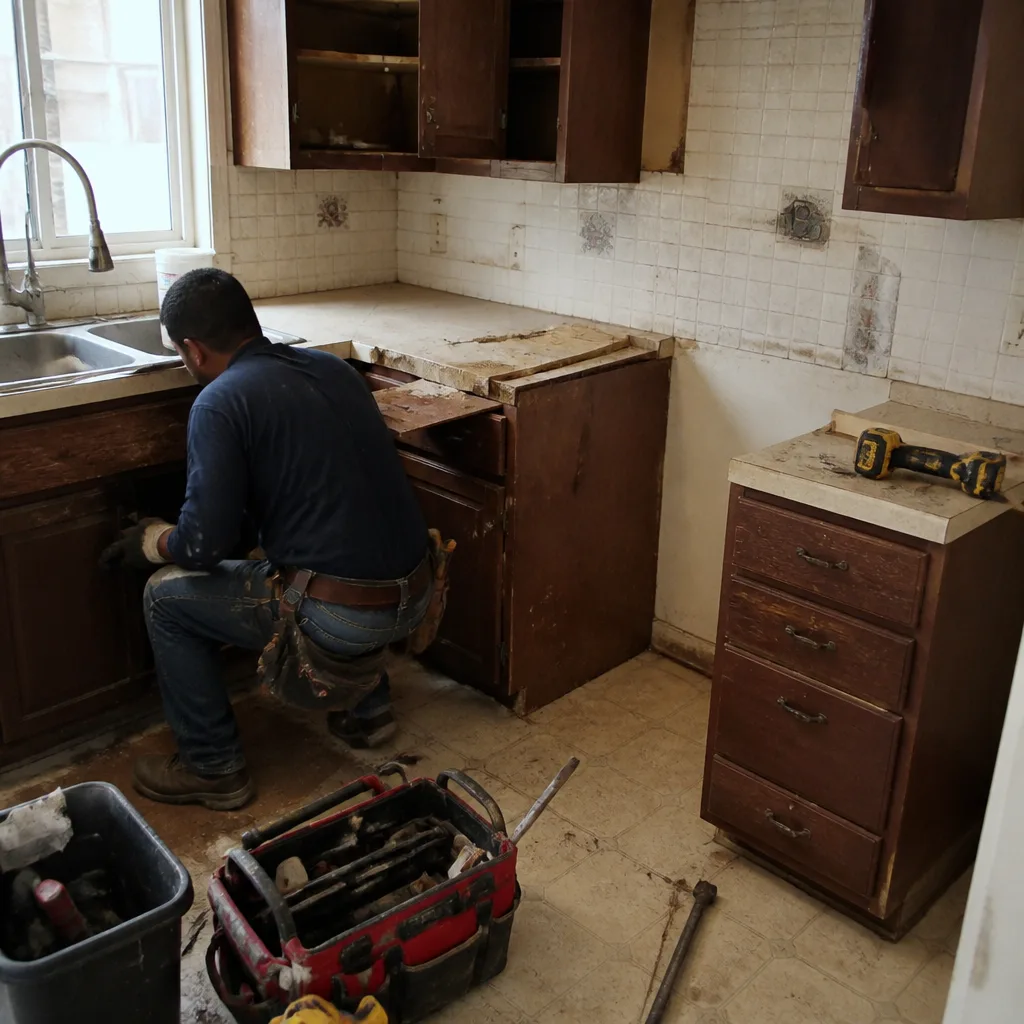 Before
 After
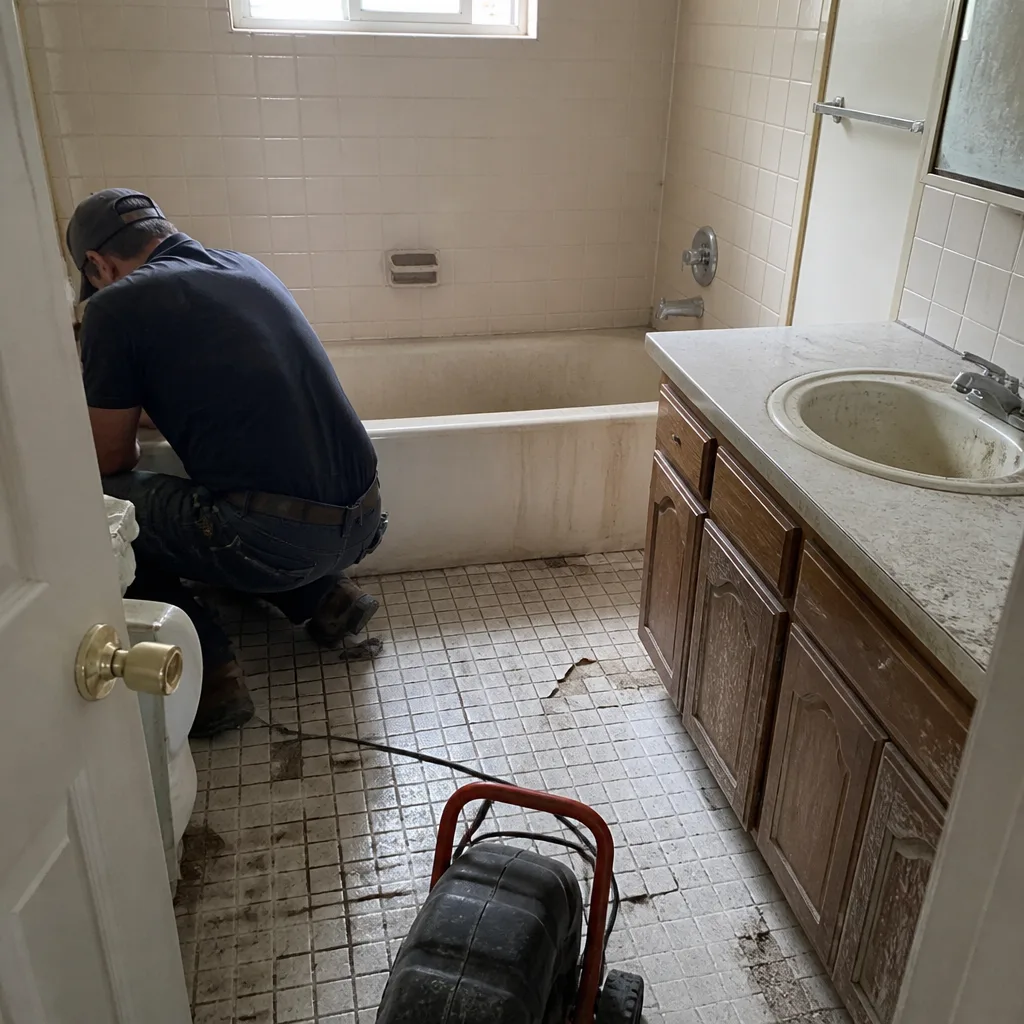 Before
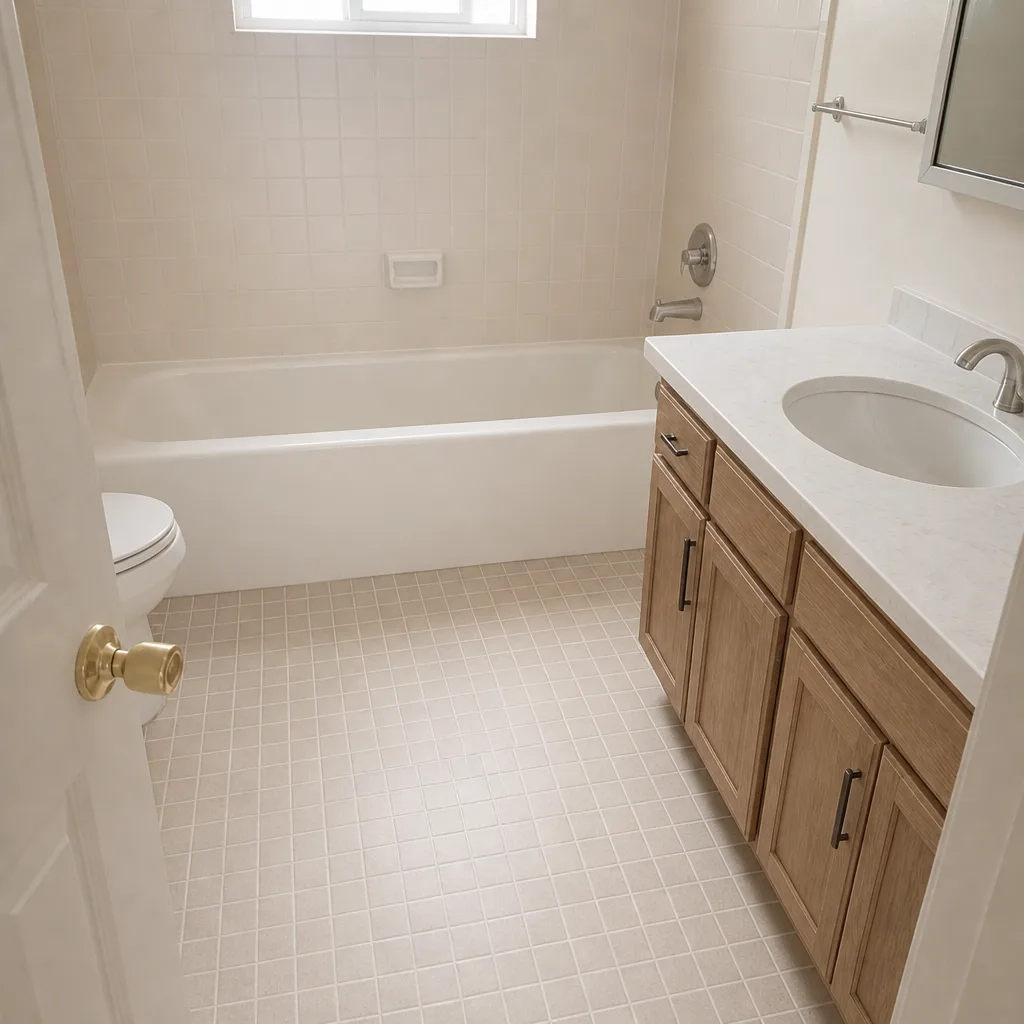 After
When to Call a Professional
Most bathroom maintenance is a homeowner job. Grout resealing, caulk replacement, exhaust fan cleaning, supply line swaps – all doable yourself with a Saturday morning. But some issues should be handled by a trained pro, and calling early saves money.
Call a professional if you find: active water where it shouldn’t be, soft spots in drywall or subfloor, tiles that are loose or hollow-sounding, a shower pan that doesn’t drain properly, a toilet that rocks or leaks at the base, a persistent musty smell that returns after cleaning, or any issue around the roof vent that could be a roof leak. Electrical problems at the exhaust fan or GFCI outlets are also a pro call – don’t open up a circuit you’re not trained on.
Groundwork Construction Co. of Vacaville offers free estimates in Vacaville for anything beyond routine maintenance – whether it’s a single-tile repair, a failed shower pan, or a full bathroom refresh. Call (888) 276-8078 and a real person will pick up, 24/7. No voicemail, no waiting until Monday. Upfront pricing, no surprises – and the number you see is the number you pay.
Frequently Asked Questions

Reseal sanded grout once a year and unsanded grout every 9 – 12 months. Vacaville’s hot, dry summers stress grout on exterior-facing walls, so we recommend inspecting those lines in May and again in August, then resealing in early fall before the wet season. If you use the shower daily, follow the shorter end of every interval.
A full bathroom with a shower should have a fan rated for at least 80 CFM, and the baseline is 1 CFM per square foot of floor area. In practice, actual performance matters more than the rating – a fan rated at 100 CFM when new can drop to 60 CFM after years of lint buildup. If a piece of toilet paper won’t hold against the grille, the fan is underperforming and should be cleaned or replaced.
No. Routine maintenance – resealing grout, re-caulking, cleaning the exhaust fan, replacing supply lines – is your responsibility and has no effect on your coverage. What can affect a warranty conversation is neglect that causes new damage, so keep a simple maintenance log. If a genuine workmanship issue comes up, our promise covers it: if it’s not done right, we make it right.
Replace the fan when cleaning doesn’t restore airflow (the toilet paper test fails), when it rattles or grinds, or when it’s 10 – 15 years old. Modern fans with humidity sensors or timer switches are worth the upgrade. Call (888) 276-8078 for a free estimate if you want a professional opinion on what your bathroom actually needs.
A ring or soft spot on the ceiling below the bathroom means water is getting through the shower pan, the supply lines, or the drain. It’s a sign of a leak that’s been running for a while. Stop using the shower and call a professional immediately – the earlier it’s caught, the smaller the repair.
Handle resealing grout, re-caulking, exhaust fan cleaning, and supply line replacement yourself – all doable in a Saturday morning. Call a professional for active water, soft drywall or subfloor, loose tile, a failing shower pan, a rocking toilet, or anything involving electrical work. Groundwork Construction Co. of Vacaville gives free estimates in Vacaville – call (888) 276-8078.
The Bottom Line
A bathroom remodel doesn’t end on move-in day – it starts a maintenance clock that determines whether the investment holds up for 20 years or starts showing failures in 18 months. The schedule boils down to four things: inspect grout and caulk every 6 months, reseal grout annually, keep the exhaust fan clean and above 80 CFM, and do a spring-and-fall water damage check. Adjust for Vacaville’s climate with a May grout inspection and an October moisture inspection before the rains. Document what you do, and your 730-Day Done Right Promise stays fully intact. That’s how a bathroom stays new.
If you’re planning a bathroom renovation in Vacaville – or you’ve spotted something during a maintenance check that you’d like a professional eye on – call (888) 276-8078 for a free estimate. Real people answer 24/7. From foundation to finish line, built to last, backed in writing.
Written by the team at Groundwork Construction Co. of Vacaville.