Last updated November 18, 2026


Free written scope consultation - allowances, timeline, and change-order rules on paper before a single trade is scheduled
Home Additions & ADU Maintenance Schedule: What to Do and When
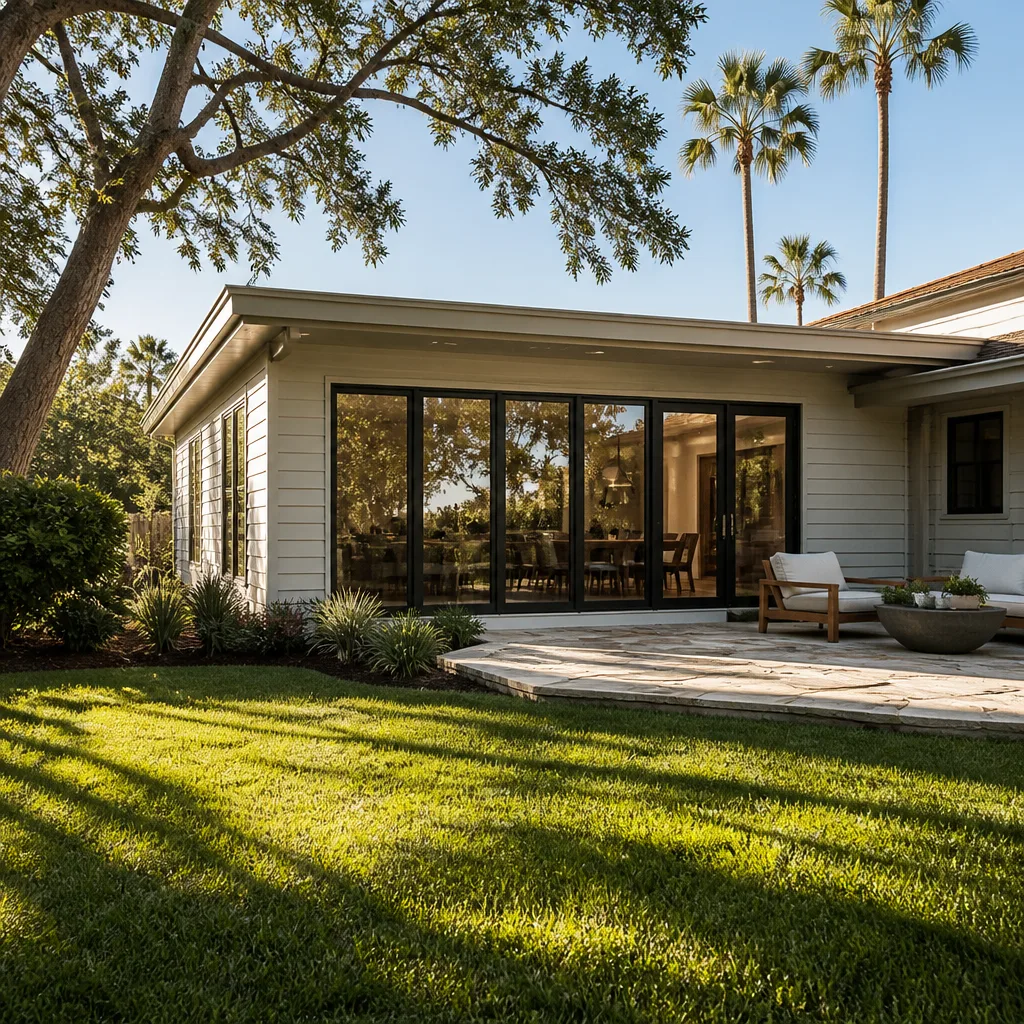
Here’s a pattern we see over and over in Vacaville: a homeowner who’s kept the original house in beautiful shape for years adds a 640-square-foot ADU or a two-story addition, and then treats it exactly like the rest of the house. It doesn’t work that way. New construction has its own rhythm. The seam where the addition meets the original structure settles during the first year, which is why the roof-to-wall flashing and caulk joints at that connection need a real inspection at the 12-month mark, not the five-year mark. Solar orientation, drainage, and how the new foundation cures all play into it. This guide lays out a year-by-year maintenance schedule for Vacaville homeowners who want their investment to outlast the mortgage.
Quick Answer
New additions and ADUs follow a different maintenance calendar than the original house, especially in the first 12 months. The short version: inspect the structural connection points (flashing, caulk, foundation seam, roof transition) at 12 months, then annually every spring; service ADU-specific systems like tankless water heaters annually and mini-splits twice a year (coil clean in spring, filter check in fall); and keep a written log of every inspection to protect your workmanship warranty and document value for resale.
Styles & brands we work with
- Kitchen remodeling
- Bathroom remodeling
- Home additions & ADU
- Roofing
- Windows & doors
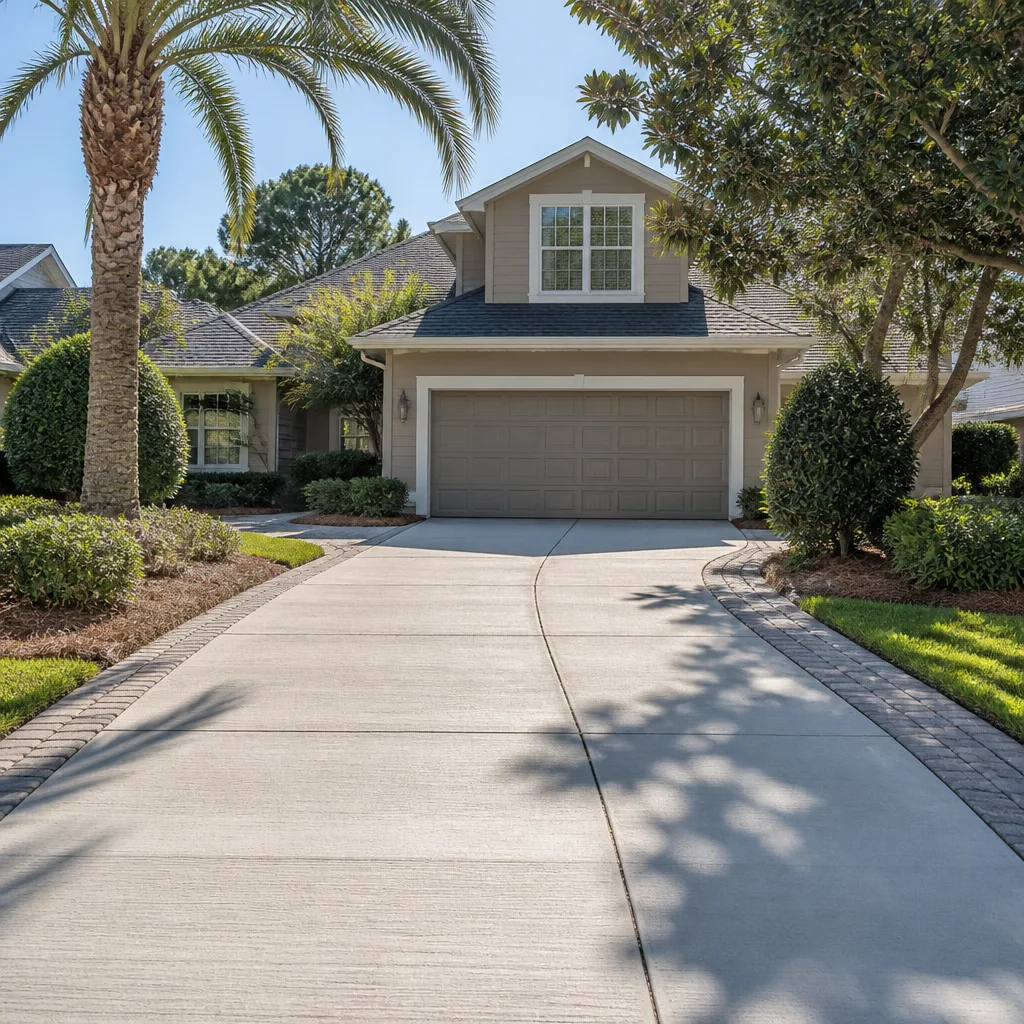
- Driveway & pavers
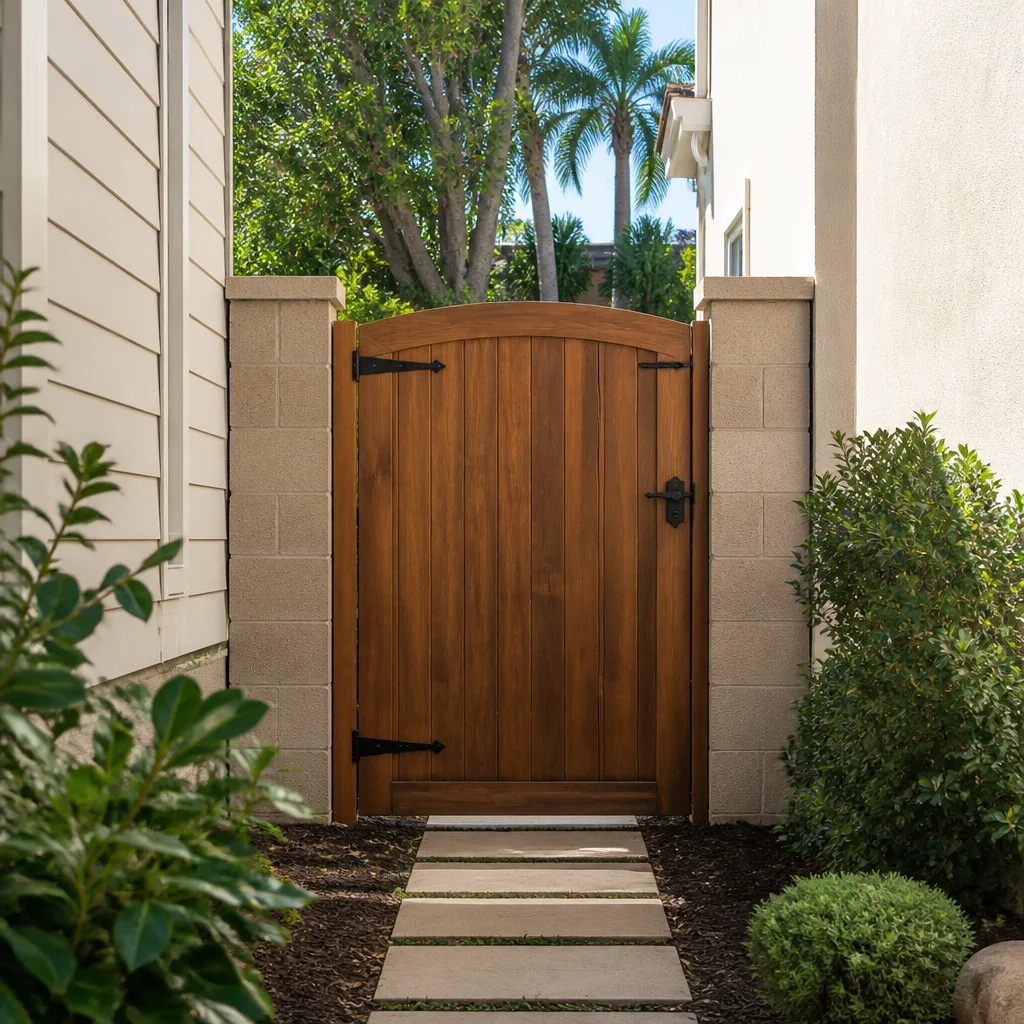
- Fence
Table of Contents
- Why a New Addition Doesn’t Maintain Itself Like the Original House
- The 12-Month Post-Construction Inspection Checklist
- Exterior Caulk and Flashing at the Addition Seam: The Annual Protocol
- ADU-Specific Systems: Tankless Water Heaters, Mini-Splits, and Sub-Panels
- Maintaining a Tenant-Occupied ADU in California
- The Vacaville Seasonal Maintenance Calendar
- Building a Maintenance Log That Protects Your Warranty
- How Documented Maintenance Adds Value at Resale
Why a New Addition Doesn’t Maintain Itself Like the Original House
An addition or ADU is a young building grafted onto an older one. Even when the work is done perfectly, the two structures behave differently. The original house has already finished settling. The new foundation, framing, and roof assembly will move, shrink, and dry out for a full year before they stabilize. That’s not a defect; it’s physics. Wood framing dries and shrinks slightly. Concrete cures. Stucco and trim reach their final tolerances. During that first year, the connection points between old and new are doing the most work, and that’s exactly where water wants to get in.
There’s a second reason additions get neglected. Most of the homeowner’s attention and maintenance habits are tied to the original house. You know the roof age, you know when the HVAC was serviced last, you know which window sticks. The addition is a blank slate. Worse, it introduces new materials and systems you may not have experience with, like a mini-split heat pump, a tankless water heater, or a sub-panel feeding the new space. Those have different service intervals than the whole-home versions.
In Vacaville, the climate amplifies the pattern. We get wet winters and bone-dry summers. Stucco, caulk, and wood trim at the addition seam expand and contract dramatically over that cycle, which is why the inspection cadence here matters more than in a mild coastal climate. We’ve walked into Vacaville additions a few years old where a single failed bead of caulk at the roof-wall transition had been quietly wicking water behind the stucco through two full rainy seasons. The homeowner never noticed a thing until a baseboard swelled.
The 12-Month Post-Construction Inspection Checklist
The 12-month inspection is the single most important maintenance event in the life of your addition or ADU. It’s the point where first-year settlement has largely finished and any latent workmanship issue will show itself. Most homeowners let this window pass without acting. Don’t. Groundwork’s 730-Day Done Right Promise means we want you to catch anything that needs attention well before two years pass, and a documented 12-month inspection is the best evidence you can have.
Here’s what to actually look at:
- Roof-to-wall transition: Check the flashing, counter-flashing, and step flashing where the new roof meets the original wall. Look for lifted shingles, exposed nails, or anything that looks like water has run behind the flashing.
- Foundation and slab seam: Walk the exterior perimeter of the addition and the interior transition line where new slab meets old. Look for diagonal cracks wider than a hairline, or where a prior crack has grown.
- Stucco or siding joints: Check every caulk joint at windows, doors, corners, and the addition seam. Press a fingernail into the caulk; if it’s hard, cracked, or pulling away, it’s due for replacement.
- Door and window operation: Every door and window in the addition should open, close, and latch smoothly. Sticking or gaps at the top of the frame suggest settlement worth investigating.
- Interior drywall and trim: Look for new cracks at ceiling-wall corners, small separations where trim meets drywall, or any stain that wasn’t there at the final walkthrough. Hairline cracks are normal; widening cracks deserve a call.
- Drainage and grading: Confirm the ground slopes away from the addition on all exposed sides. In Vacaville, our clay-heavy soil can shift with winter saturation, so positive drainage is critical.
- Mechanical systems: Test the mini-split in both heating and cooling modes. Run the tankless water heater through a hot-water flow test. Have an electrician confirm the sub-panel is properly labeled and that no breaker is tripping under load.
- Attic and crawl space: Peek into the addition’s attic (if it has one) for signs of roof leak, water stain, or rodent intrusion. Check any crawl-space access for moisture.
Write down what you find. Date it. Photograph the flashing and caulk joints even if nothing is wrong. That log is the difference between “we think it’s been maintained” and “here’s proof” when a warranty conversation or a home inspection happens later.
Exterior Caulk and Flashing at the Addition Seam: The Annual Protocol
The seam where the new addition meets the original house is the highest-risk exterior detail on the entire property. It’s the location with the most joins, the most transitions between materials, and the most trapped water potential. And in Vacaville, the dry summer-wet winter cycle is genuinely hard on it. That cycle is what makes the annual inspection non-negotiable. By contrast, a mild climate might let you get away with an every-two-year check.
Do this once a year, ideally in September or early October before the first rains:
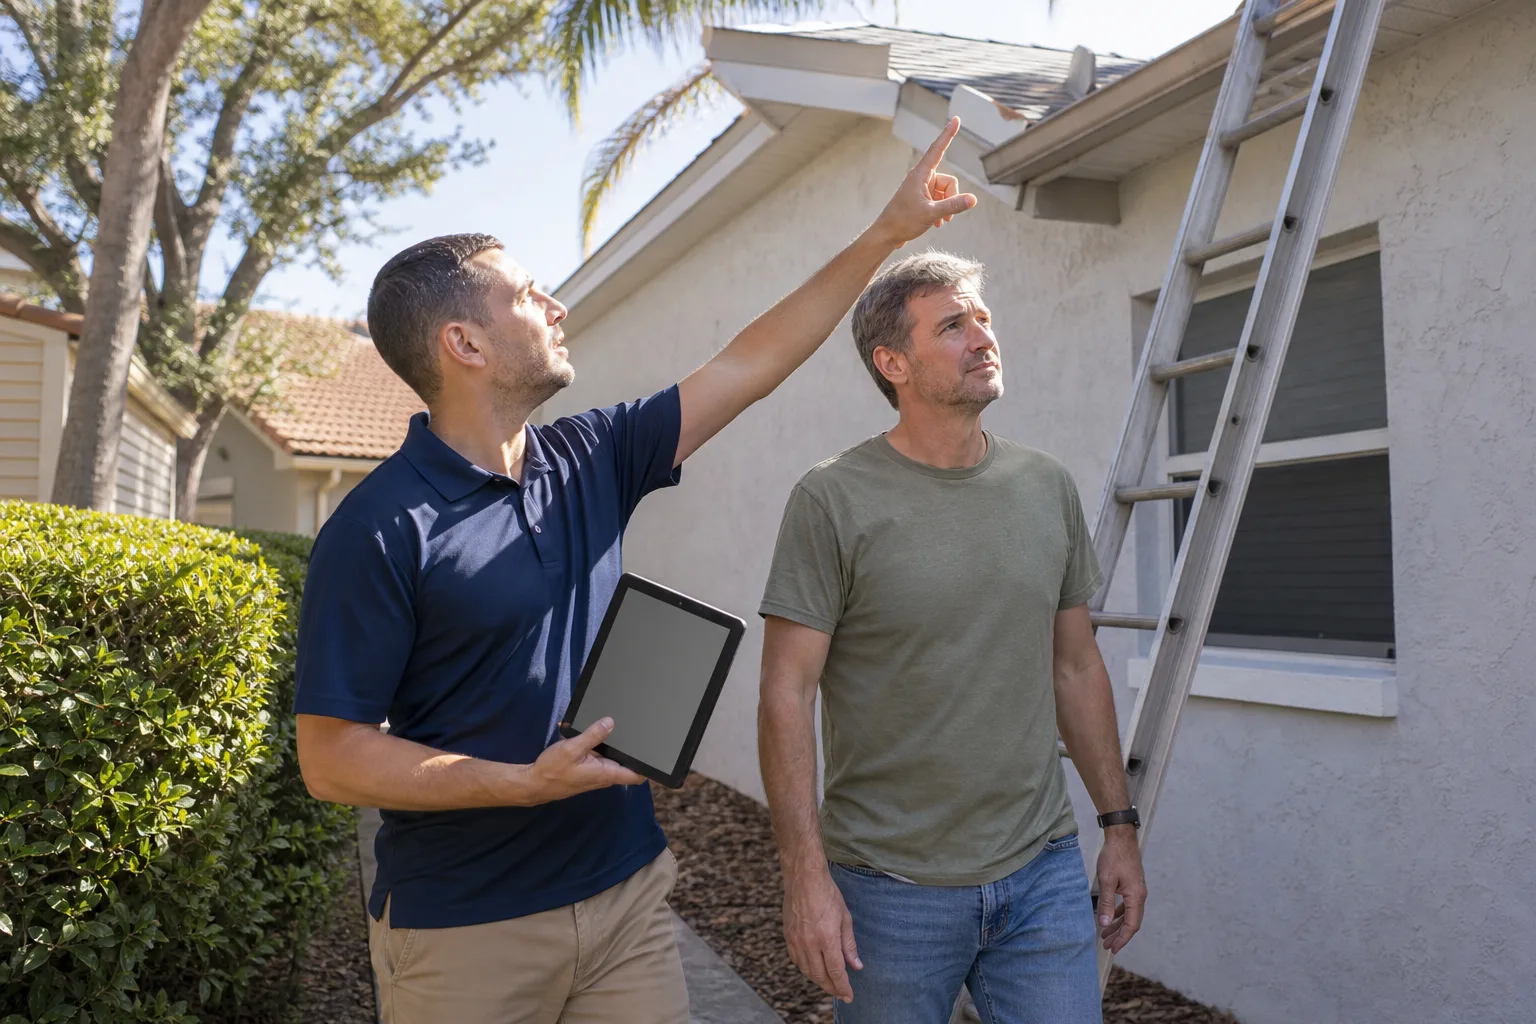
- Walk the roofline transition: From a safe ladder position, look at the flashing where new meets old. If you can’t see it safely, that’s a professional inspection, not a homeowner task.
- Check every caulk bead: Windows, doors, corners, penetrations (hose bibs, dryer vents, AC linesets), and the seam where the new wall meets the old. Look for cracking, voids, or pulling away.
- Test for adhesion: Press a fingernail into the caulk. If it’s plastic and slightly giving, it’s fine. If it’s brittle or peels up with light pressure, replace it.
- Check the roof-to-wall flashing: Confirm the flashing still sits flat, fasteners haven’t backed out, and there’s no sawdust-colored staining on the siding or stucco below (a telltale sign of water tracking).
- Look under eaves and soffits: Water staining or paint peeling on the underside of an eave or soffit near the addition seam is a sign of roof or flashing failure above.
- Check the paint and stain: Paint on trim and siding at the addition seam takes sun on two exposures and dries out faster than the rest of the house. Touch up annually; repaint every 5 to 7 years depending on exposure.
When caulk fails at the addition seam, the failure is usually silent for a season or two. Water gets behind stucco or siding and travels along the framing. By the time you see it inside, the repair is 10 to 20 times the cost of a caulk bead. In our experience across Vacaville, this one annual inspection is the highest-return maintenance task on any addition. If you’re not comfortable on a ladder or can’t safely inspect the roof transition, this is exactly the kind of thing to have a professional handle as part of a free estimate walkthrough – the Home Additions & ADU in Vacaville team does these checks regularly.
ADU-Specific Systems: Tankless Water Heaters, Mini-Splits, and Sub-Panels
Most ADUs run on small-footprint systems: a tankless water heater, a ductless mini-split for heat and AC, and a dedicated electrical sub-panel. Those are smart choices for a small dwelling, but they don’t follow the maintenance calendar most homeowners know. The timing is genuinely different, and missing it shortens equipment life.
Tankless Water Heater
- Annual descaling: In Vacaville, our water is moderately hard, and a tankless unit that isn’t descaled annually will lose efficiency and eventually fail. The process flushes the heat exchanger with a mild acid solution; a plumber can do it in about 45 minutes, or a homeowner can learn it with a kit. If you’ve never done it, have it done the first time so you see the process.
- Annual filter clean: Most tankless units have an inlet filter screen. Pull it, rinse it, replace it.
- Every 3-5 years: Have a plumber inspect the combustion chamber and venting if yours is a gas unit. This overlaps with the annual service in most cases.
Mini-Split Heat Pump
- Filter cleaning every 1-3 months: Yes, that’s often. Mini-split filters clog quickly, and a clogged filter makes the unit work harder. During cooling season in Vacaville, monthly is realistic.
- Spring coil clean: Once a year, before summer, clean the condenser coils on the outdoor unit and clear any debris from the base pan.
- Fall check: Test heating mode before you need it, confirm the outdoor unit is clear of leaves, and check that the line-set insulation isn’t cracked or sun-damaged.
- Professional service every 2-3 years: An HVAC tech should check refrigerant charge, electrical connections, and blower condition on that cycle.
Electrical Sub-Panel
- Annual label check: Confirm the breakers on the sub-panel are still accurately labeled. If you’ve added anything to the ADU (EV charger, hot tub, extra appliances), have an electrician verify the load.
- Annual visual check: Look for discoloration, scorching, or a hot-to-the-touch breaker face. Any of those is an immediate call to an electrician. Don’t open the panel yourself. Panels carry lethal voltage even when the main is off.
- Test GFCI and AFCI breakers monthly: Press the test button and reset. If any breaker won’t reset, that’s a fault to investigate.
This is also the section where quality of materials matters most at install time. Brand partners like Boral for cladding and trim, and PGT for windows and doors on the addition, are chosen because they hold up to the maintenance cadence we’re describing. When the materials are right, maintenance stays routine. When they’re not, you’re chasing problems for years. That’s the whole logic behind Groundwork Construction Co. of Vacaville home and its curated brand slate.
Maintaining a Tenant-Occupied ADU in California
If your ADU is rented, the maintenance rhythm doesn’t change, but the logistics do. California Civil Code 1954 governs when a landlord can enter a tenant-occupied unit. The short version: with proper notice (typically 24 hours written notice for non-emergency inspection or repair, delivered per the code), you have a legal right to enter for reasonable purposes. Ongoing maintenance counts. So does a periodic inspection. You can’t just skip maintenance because the unit is occupied.
A practical cadence for a tenant-occupied Vacaville ADU:
- Quarterly walkthrough (15 minutes): Visual check of the mini-split filter, the tankless water heater exterior, the electrical panel face, and any signs of water intrusion or tenant-caused damage. Notice given in advance, documented in writing.
- Annual systems service: Coordinate the tankless descale and mini-split coil clean. Give the tenant written notice; schedule a time the tech can access the unit even if the tenant isn’t home (property management access is fine with proper notice).
- Annual exterior inspection: Doesn’t require entry, but walk the exterior of the ADU and photograph the addition seam, roof flashing, and caulk joints.
- Move-in and move-out inspections: Fully document condition with photos and a written checklist. This protects both you and the tenant, and it gives you a clear baseline to compare later.
One more state-specific note: California law doesn’t cap the number of inspections you can do, but habitability obligations under Civil Code 1941.1 mean you’re responsible for keeping the unit safe and functional. Routine documented maintenance is how you demonstrate that. If you don’t do it and a problem escalates (say, a mini-split failure in July), you’re exposed.
The Vacaville Seasonal Maintenance Calendar
Vacaville’s climate is Mediterranean: wet winters, dry hot summers, and a spring and fall that swing between. Maintenance tasks work best when you time them to that cycle. Here’s a schedule we recommend for any addition or ADU in Vacaville.
Spring (March-May)
- Inspect roof flashing and the addition seam after the last heavy rain. This is when winter damage shows itself.
- Clean mini-split condenser coils and clear the outdoor unit of debris.
- Walk the exterior, check grading and drainage, and note any settled soil around the addition foundation.
- Touch up paint on any exterior trim that winter dried out or peeled.
Summer (June-August)
- Clean mini-split filters monthly. The unit is under peak load.
- Check exterior caulk joints in full sun; failures show clearly when the material is warm.
- Have the tankless water heater descaled if you haven’t yet this year.
- Test smoke and CO detectors in the addition or ADU. Replace batteries annually at a minimum.
Fall (September-November)
- Full pre-winter inspection: flashing, caulk joints, paint, and roof shingles. Fix anything questionable now, before the first rain.
- Test the mini-split in heating mode before you need it.
- Clean gutters and downspouts on the addition, especially if the addition feeds into the original gutter system. A clogged gutter at the addition is a flashing failure waiting to happen.
- Confirm the sub-panel breaker labels are still accurate if you’ve added anything in the unit.
Winter (December-February)
- Watch ceilings and walls inside the addition for water stains after heavy rain. Act fast; a small stain can become a big repair if the source isn’t stopped.
- Keep the area around the tankless water heater clear and check that the unit isn’t showing an error code.
- Check any exterior drain lines and downspouts for ice or debris blockages (rare in Vacaville, but winter storms do clog things).
Aluminum-clad or painted windows and doors from brands like PGT hold up well to this cycle when they’re installed properly. Caulk failure around a poor install is what wrecks them, not the material. Same story for roofing on the addition – GAF and CertainTeed shingles last decades when the flashing and ventilation are right. Our home page has more on how we select brand partners by trade.
Building a Maintenance Log That Protects Your Warranty
Most workmanship warranties, including Groundwork’s 730-Day Done Right Promise, are structured the same way: if it wasn’t done right, we make it right. But “wasn’t done right” and “was maintained” are two different conversations. A written maintenance log separates them cleanly. When you can show that flashing was inspected at 12 months, re-caulked as needed, and painted on schedule, the conversation shifts from “did this fail on its own?” to “what can we do to fix it?”
Here’s what a useful log includes:
- Date and inspector: Who did the work (you, or a professional)? Company name if applicable.
- What was inspected: Be specific. “Roof-to-wall flashing at addition seam on north side” is better than “checked roof.”
- What was found: Even “no issues” is a data point.
- What was done: Re-caulked two window frames, replaced one shingle, etc.
- Photos: Wide shot plus close-up. Name the files by date so they sort cleanly.
- Receipts and invoices: Especially for professional services like the tankless descale.
A simple three-ring binder or a shared folder in the cloud works. We’ve seen homeowners keep logs on the fridge that were just as effective as ones kept in software. The format matters less than the consistency. The 12-month inspection is the anchor entry, and everything after that builds a defensible history.
How Documented Maintenance Adds Value at Resale
When you sell an addition or ADU, the buyer’s home inspector will look hard at the connection points. Their report will note every crack, every caulk joint, and every flashing detail. If you have a documented maintenance log, the report reads differently: “Recent caulk and flashing inspection, log attached” carries weight. Without the log, the same minor issue reads as “unknown recent maintenance, recommend further evaluation,” which is a negotiating tool for the buyer.
In the Vacaville market, ADU rental documentation also matters because buyers often finance based on potential rental income. A unit with a maintenance log shows a buyer that the space has been cared for, which supports the projected rent. Two identical ADUs can appraise differently when one comes with a maintenance history and the other doesn’t.
The total cost of running the maintenance schedule in this guide is modest. A tankless descale runs $150-$250. A mini-split service runs $120-$200. A professional exterior inspection and caulk touch-up runs $300-$600 in most cases. That’s $600-$1,000 a year in Vacaville for a well-run addition or ADU. Compare that to a single flashing failure repair, which typically starts around $1,800 and climbs quickly, and the math is obvious.
Common Mistakes to Avoid
- Skipping the 12-month inspection entirely. This is the most expensive mistake on the list. By the time first-year settlement issues show up inside the house, they’ve often been developing for months.
- Treating the addition like the original house. The original house’s maintenance habits were built over years of getting to know its quirks. The addition is a different building with a different clock. Assume nothing carries over automatically.
- Caulking over failed caulk. If the joint wasn’t cleaned and dried first, or if there’s rot behind the bead, a new layer of caulk just hides the problem. Remove old caulk completely and inspect the substrate.
- Ignoring Vacaville’s dry summer-wet winter swing. A bead of caulk that would last three years in a mild climate will fail in two here. Set the cadence for our climate, not a generic national average.
- Forgetting the ADU sub-panel. Small panels get forgotten because they’re in a mechanical closet. Confirm labels, check for discoloration annually, and never open the panel yourself if you’re not qualified.
- Not documenting tenant-occupied ADU maintenance. Even if the work gets done, no written record means no protection at warranty time or resale time.
- Skipping the exterior walk after heavy rain. A single 20-minute walk after a big winter storm in Vacaville catches more real issues than any inspection checklist in a calm week.
See the difference
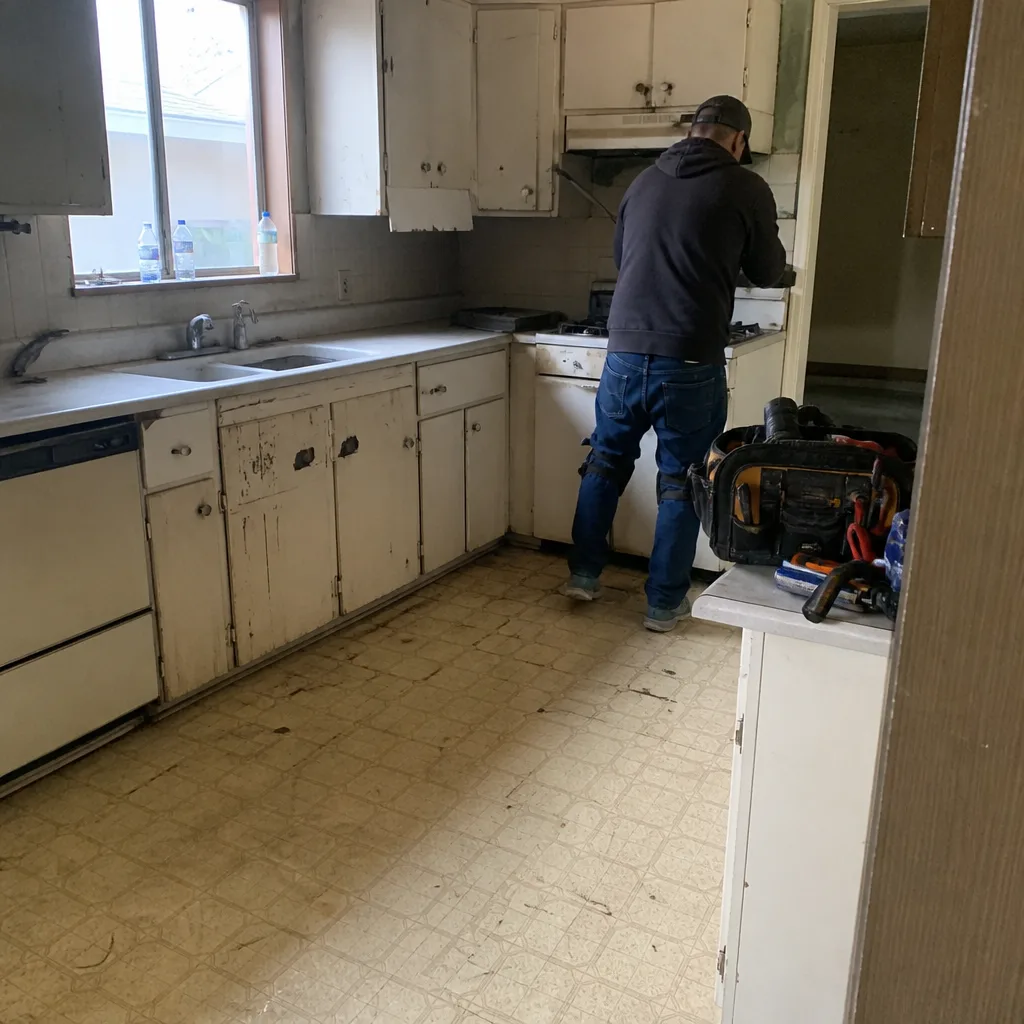 Before
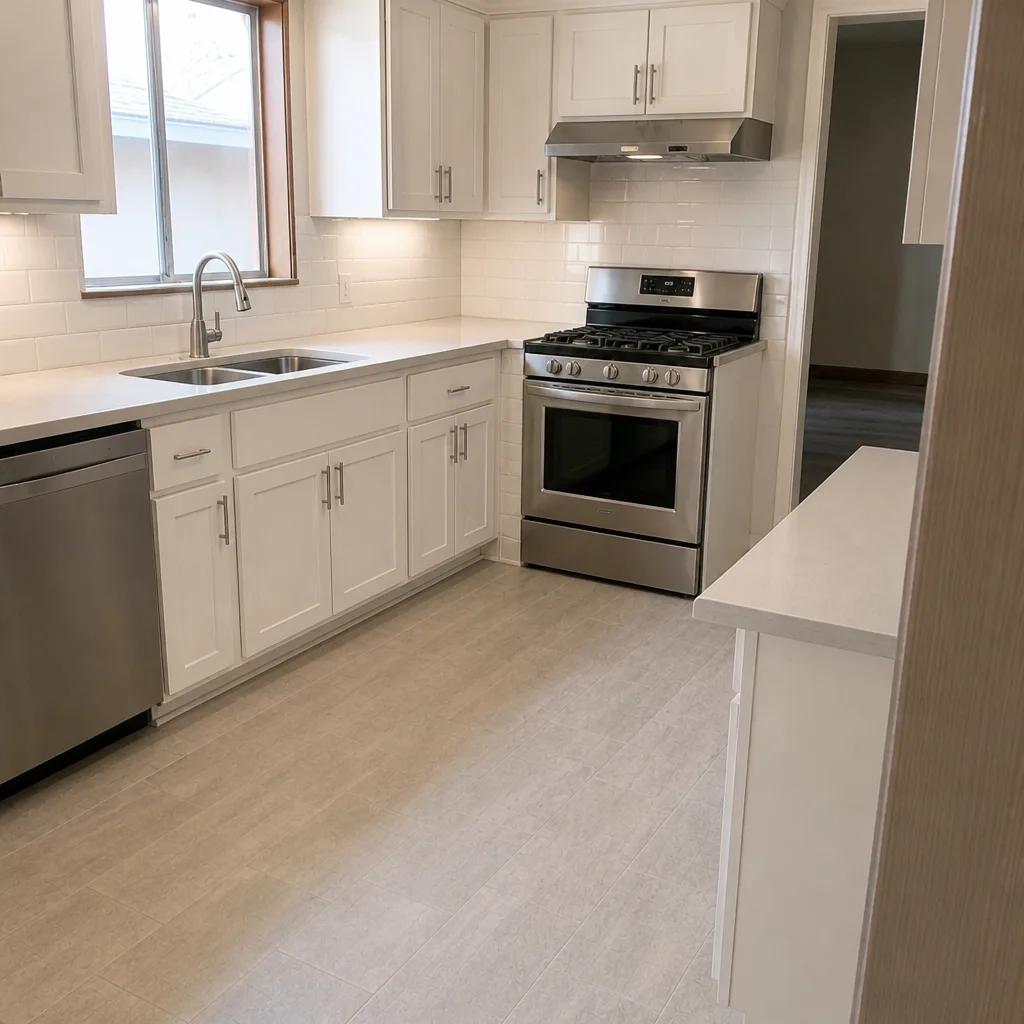 After
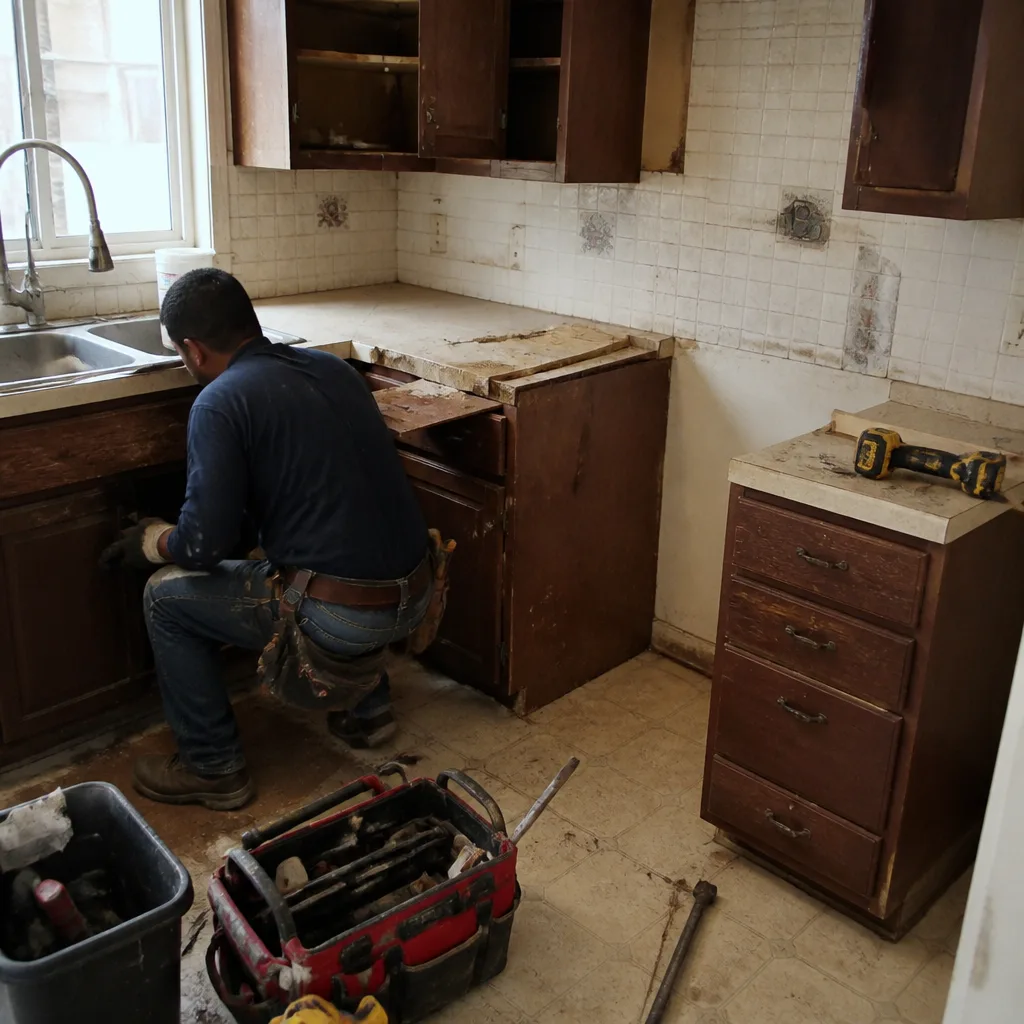 Before
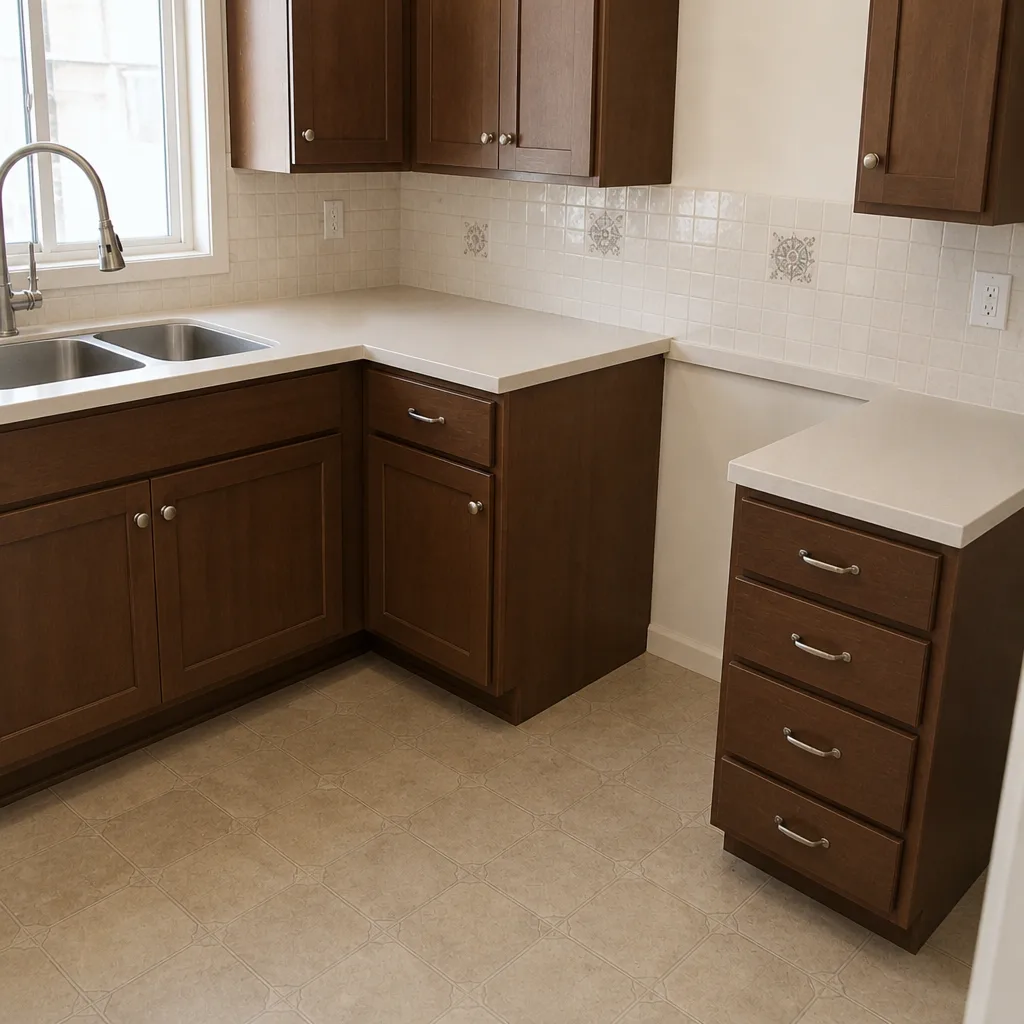 After
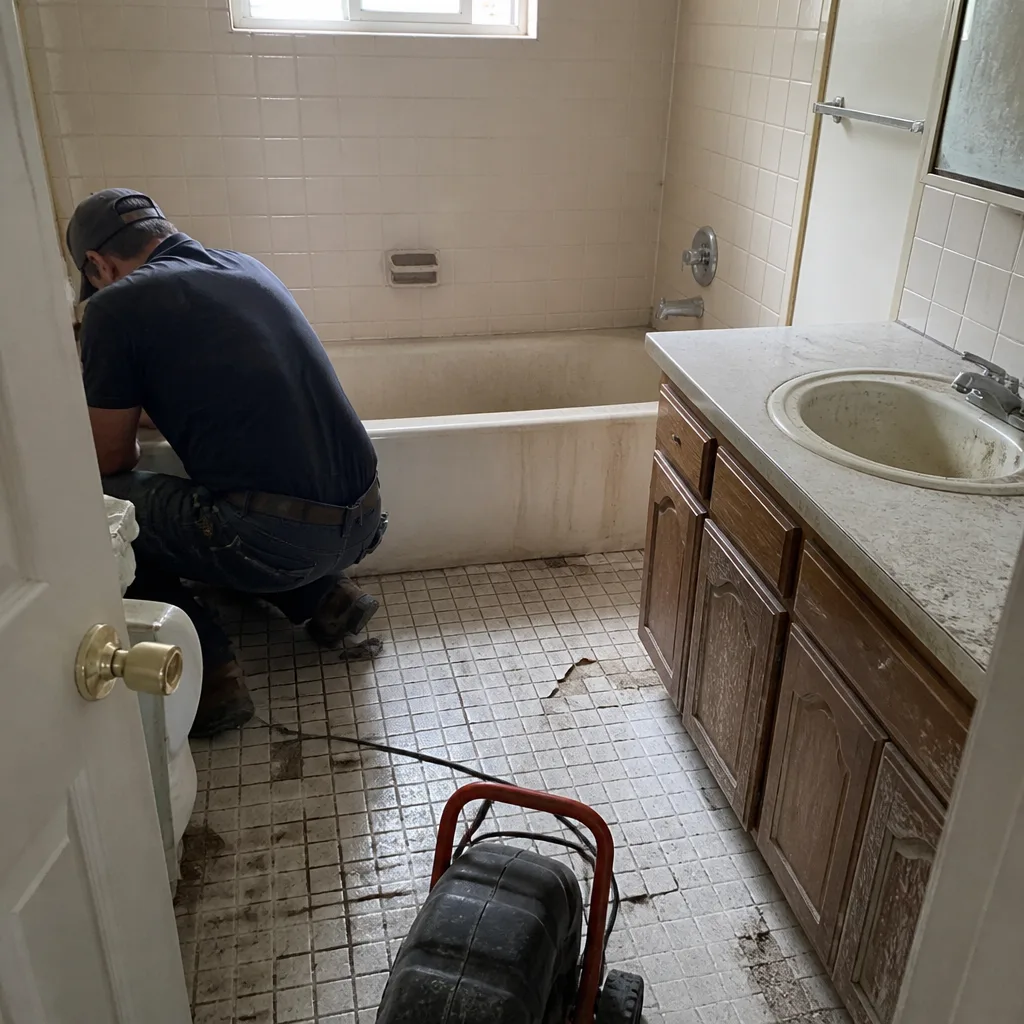 Before
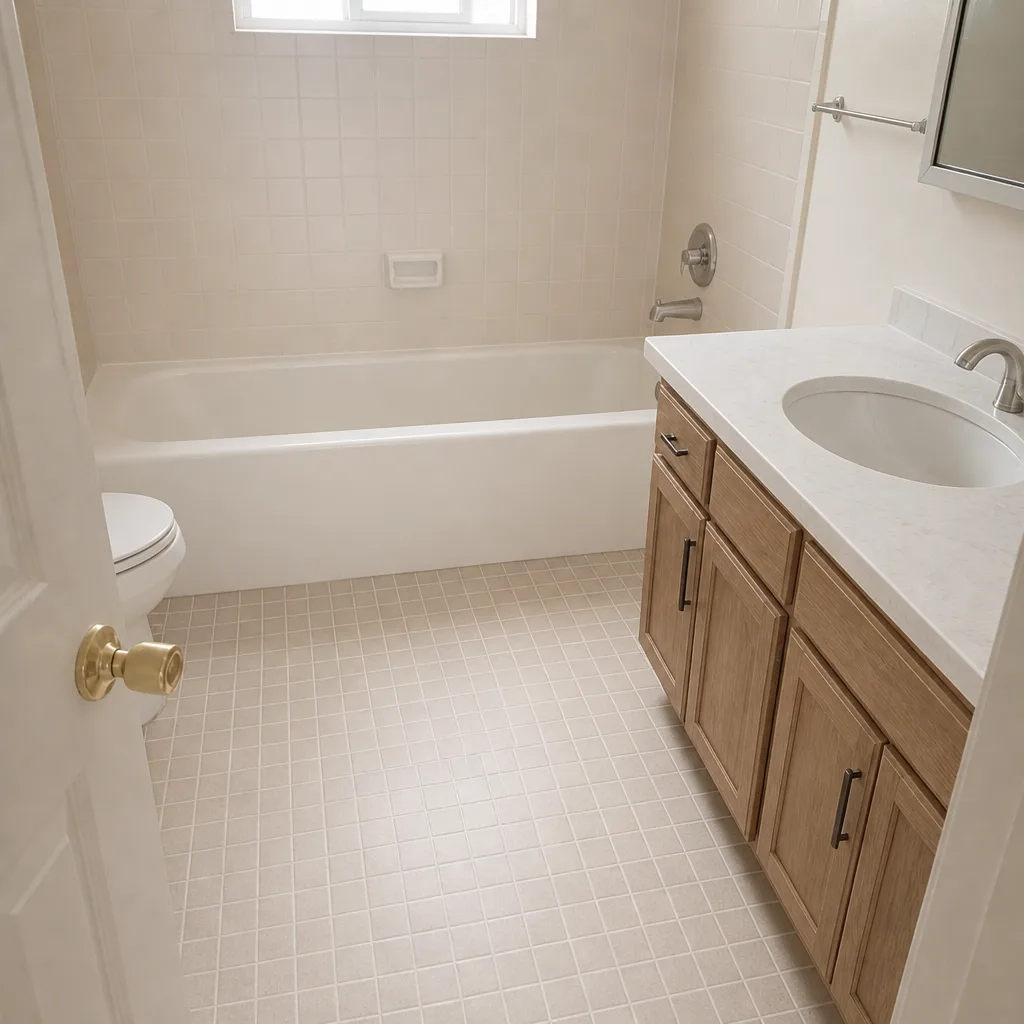 After
When to Call a Professional
Most of this schedule is genuinely do-it-yourself territory: filter cleaning, visual inspections, log updates. But there are scenarios where a professional is the right call. If you’re not comfortable or safe on a ladder at the roof-to-wall transition, have that inspected professionally. If you find active water staining inside the addition, call immediately; the source is almost always more serious than the stain suggests. Any electrical panel concern – discoloration, heat, a breaker that trips repeatedly – goes to an electrician same-week, not “when I get to it.” Structural cracks that are widening, doors that no longer close correctly, or anything suggesting foundation movement are inspection-worthy. Groundwork Construction Co. of Vacaville offers free estimates in Vacaville at (888) 276-8078. Calls are answered by a live person 24/7, and the estimate includes a documented walkthrough of any concern points.
Frequently Asked Questions
Plan for the first full inspection at 12 months after completion, not sooner and not five years later. That’s the window when first-year settlement has finished, and when latent issues at the connection points between old and new will show. Do a shorter check-in at 90 days and 6 months to catch obvious issues early, but the 12-month inspection is the one that genuinely matters.
Once a year, timed to late September before the first rains. In Vacaville’s dry summer, wet winter cycle, caulk and flashing at the addition seam take more wear than in a mild climate. The annual inspection is not optional; it’s the highest-return maintenance task on the property. Call (888) 276-8078 for a free exterior inspection estimate if you want professional eyes on it.
No. Skipping it is the most common reason tankless water heaters fail early. Vacaville’s water is moderately hard, and annual descaling is what keeps the heat exchanger working. It’s a 45-minute service that costs far less than replacing the unit.
California Civil Code 1954 permits reasonable entry for repairs, maintenance, and inspection with proper notice, typically 24 hours in writing for non-emergency work. There’s no hard cap on frequency, but the notice must be delivered per the code, and the reason must be legitimate. Quarterly walks and annual service are both standard and defensible with proper documentation.
Yes. Workmanship warranties – including our 730-Day Done Right Promise – are designed to cover defects that weren’t caused by owner neglect. A maintenance log demonstrates that routine care happened, which removes the ambiguity a claim would otherwise face. It also supports resale, since buyer inspectors and appraisers weigh documentation heavily.
You can do the interior checklist yourself. Have a professional handle the roof-to-wall flashing and any inspection that requires a ladder at height. The consequence of missing a flashing failure is financially significant enough that professional eyes on that one detail are worth it. Free estimates in Vacaville – call (888) 276-8078.
The Bottom Line
An addition or ADU doesn’t maintain itself on the original house’s schedule. It needs a 12-month anchor inspection, then a rhythm of annual exterior checks at the addition seam, spring and fall system service on the tankless water heater and mini-split, monthly GFCI tests on the ADU sub-panel, and a written maintenance log that protects both your warranty and your resale. In Vacaville’s climate, the exterior inspection timing matters more than anywhere mild. Set the schedule, do the annual walk, log what you find. The homeowners who follow this guide spend $600-$1,000 a year on maintenance, and they’re the ones who never have to pay $20,000 for water damage they didn’t see coming.
If any of this feels like more than you want to manage yourself, or if you’re planning a new addition and want the work built to be maintained, Groundwork Construction Co. of Vacaville does full-scope work with the 730-Day Done Right Promise, upfront pricing, and a single point of contact from foundation to finish line. Related work we handle includes Driveway & Pavers in Vacaville and Fence Installation in Vacaville – both come up often when an addition changes the exterior line of a property. Call (888) 276-8078 for a free estimate and design consult. We’ll walk your addition, review your log, and give you a written line-item assessment – no change orders, no surprises.
Written by the team at Groundwork Construction Co. of Vacaville.