Last updated November 18, 2026


Free written scope consultation - allowances, timeline, and change-order rules on paper before a single trade is scheduled
DIY vs Professional Windows & Doors: What’s Safe to Do Yourself
Window replacement looks like a Saturday project until you pull the trim and find out what’s behind it. By then you’re committed: the opening is exposed, the weather is coming, and the trim you carefully removed is in three pieces on the lawn. In our experience across Vacaville, the homeowners who get into trouble aren’t the ones who skipped a step. They’re the ones who never knew the step existed because it happens behind the drywall, under the sill, and inside a flashing sequence that no twelve-minute video ever shows. This guide draws the line for you: which window and door tasks are genuinely yours to handle, which ones hide costs you won’t discover for years, and how to tell the difference before you swing a hammer.
Quick Answer
Screen replacement, hardware swaps, weatherstripping, and caulk touch-ups are safe DIY work. Anything that involves removing a window or door frame, cutting the opening, flashing, or air sealing belongs to a trained professional. That includes insert (pocket) replacements in most cases. Full-frame replacement, new openings, and patio door swaps are permit-and-inspection work that determines whether the assembly lasts twenty years or rots within five.
Styles & brands we work with
- Kitchen remodeling
- Bathroom remodeling
- Home additions & ADU
- Roofing
- Windows & doors
- Driveway & pavers
- Fence
Table of Contents
- What’s Genuinely Safe to DIY
- Insert vs Full-Frame: The Fork in the Road
- The Flashing and Water Barrier Sequence Nobody Shows You
- Vacaville and Solano County Permits: What Skipping Them Costs You at Sale
- The Cost Math: Where DIY Savings Get Eaten
- Doors Are a Different Animal
- Why Vacaville’s Climate Punishes Shortcuts
- Tools and Materials That Actually Hold Up
What’s Genuinely Safe to DIY
There’s real work you can own with confidence, and doing it well stretches the life of an existing window or door by years. These tasks don’t touch the frame, the opening, or the waterproofing layer. They’re maintenance, and no permit is involved.
- Screen replacement. A torn screen on a slider or hung window is a fifteen-minute fix. Buy spline that matches your channel width (usually 0.125″ or 0.140″), a spline roller, and screen cloth in aluminum or pet-resistant polyester. Pet screen costs more but holds up to claws and pushes.
- Hardware swaps. Casement cranks, sash locks, tilt latches, and patio door rollers are wear items. Match the brand and model stamped on the sash or the operator arm. Andersen and Pella both publish part numbers by series, so a photo of the label plus a model search usually finds the right piece.
- Weatherstripping. Door sweeps, foam gasket around a sash, and spring bronze in an older wood window are all fair game. If you feel air moving on the back of your hand at a closed door, this is the fix.
- Caulk touch-ups on exterior trim. Scrape failing caulk, clean with a damp rag, let it dry, and run a bead of paintable exterior sealant. Use a siliconized acrylic, not pure silicone, so it takes paint.
- Glazing putty on older wood windows. Cracked putty lets water behind the glass. Re-glazing a single pane is a patient homeowner’s job.
- Cleaning weep holes and tracks. Blocked weep holes on a vinyl window push water into the wall. A paperclip and a shop vac handle most of it.
That’s the ceiling of safe territory. The moment you’re pulling a sash, cutting a rough opening, or lifting a frame out of a wall, you’ve crossed into work where a single missed detail costs thousands. In Vacaville, where summer heat stresses sealants and winter rain tests flashing, that detail matters more than it does in a milder climate.
Insert vs Full-Frame: The Fork in the Road
Here’s the decision that separates a job you can attempt from one you can’t. Every window replacement comes down to one question: are you keeping the existing frame, or replacing it?
Insert (Pocket) Replacement
An insert window fits inside the existing frame after the sash and stops come out. The old frame stays, which means no siding work, no drywall repair, and no new flashing at the exterior. On the surface, that looks like the DIY path.
It isn’t, for most homeowners. Insert replacement still requires the new unit to be shimmed plumb and level, insulated correctly at the perimeter, and sealed so the existing weeps, sill, and interior trim all work together. Get the perimeter seal wrong and you’ve just built a sealed box that traps condensation inside the wall cavity. We’ve opened Vacaville walls where an insert job from a few years back left the original frame uninsulated and unpainted behind the new window; the wood was soft to the touch.
Full-Frame Replacement
Full-frame removal pulls the entire window out to the rough opening. The trim goes, the flashing goes, the siding may move. This is the process that fixes rot found behind the frame and the one that requires new flashing, new water-resistive barrier integration, and a permit in almost every case.
Full-frame is also where the window’s actual performance gets decided. A premium Andersen or Marvin unit is only as good as the installation around it. The gap between the frame and rough opening, the shim placement, and the sealant joint are what determine whether you get the energy savings you paid for or a slow leak into a wall cavity.
So the fork in the road is this: if you can’t answer whether your replacement will be insert or full-frame, you’re not ready to do the work yourself. And once you’ve pulled the first window, you can’t undo what you find.
The Flashing and Water Barrier Sequence Nobody Shows You
This is the part that decides whether a window lasts twenty years or causes rot in five. Flashing is a sequence, and every step has an order. Do them out of order and the result looks identical from the day you finish until the day you notice a stain on the ceiling below.
- Sill pan first. A sloped sill flashing or pan is installed before the window goes in, with the slope running to the exterior. Water that gets behind the window has to be able to drain.
- Water-resistive barrier cut and folded. The house wrap or WRB gets cut in a specific pattern at the opening, then folded into the opening and temporarily taped. The exact cut matters: the top flap goes over the flashing later, not under it.
- Window set and shimmed plumb and level. Not just level. Plumb, level, and square, with shims at the load points only, not at the sill center where they block drainage.
- Flashing tape on jambs and head. Jamb flashing first, then head flashing, lapped like shingles so water always runs down and out. Head flashing goes over the jamb tape; the top flap of the WRB goes over the head flashing.
- Interior air seal. Low-expansion foam or backer rod and sealant seal the inside perimeter. This is the step that owns your energy bill. Overfill the gap with expanding foam and you’ll bow the frame; underfill and you lose the insulation value you paid for.
- Trim and finish. Only after the seal is verified.
None of this is visible in most online videos. The flashing tape placement is not aesthetic, it’s hydraulic. On the windy, rainy side of a Vacaville home facing the coast range, one wrong lap detail – head flashing tucked under the jamb tape instead of over it – turns a wall cavity into a reservoir. We’ve seen exactly that failure in Vacaville, and the surprise always arrives two winters later, not one.
Vacaville and Solano County Permits: What Skipping Them Costs You at Sale
Replacing a window is not automatically a permit job, and it’s not automatically exempt either. In Vacaville, permit requirements depend on whether the structural frame or opening changes, whether new openings are created, and the specific scope of the work. Like most California jurisdictions, the local building department follows state code and its own local amendments, so the answer for your address comes from the Vacaville building department, not a general rule.
Here’s the practical reality: if the job changes the size of the opening or the frame, it’s typically permitted and inspected. An insert swap where the frame and opening stay can often go without – but “can” means “meets the exemption criteria,” and getting that wrong is expensive.
At sale, an unpermitted window or door replacement can become a title or disclosure problem. A buyer’s inspector flags a newer window with no record, the buyer’s lender requires documentation, and the seller is suddenly applying for a retroactive permit with a finished wall in the way. We’ve walked Vacaville homeowners through exactly that conversation, and it’s always cheaper to pull the permit up front.
- Ask the Vacaville building department in writing whether your scope requires a permit. “The contractor said it didn’t” is not documentation.
- Keep the permit, the inspection record, and the final sign-off with your home file. A future buyer will ask.
- Match the product to California’s Title 24 requirements for the climate zone. Window U-factor and SHGC values matter here, and a mismatched window can complicate the sale.
The Cost Math: Where DIY Savings Get Eaten
The typical pitch for DIY replacement is easy to understand: skip the labor, save the money. On a per-window basis, professional installation in this market often runs in the low hundreds to a few hundred dollars per unit for standard insert replacements, and more for full-frame work with trim and siding. That’s real money across a whole house.
What the pitch leaves out is the very thing you’re buying when you replace a window: air sealing. A poorly sealed replacement leaks. A leaking window raises your energy bill every month. Run the math on a whole house: a few units with poor perimeter seals can quietly cost $15 to $40 a month in extra heating and cooling, and unlike a leak that shows up as a stain, that cost is invisible until you compare utility bills year over year.
- Poor interior air seal: permanent energy loss, not visible.
- Missing or wrong flashing: potential framing rot, visible in 2-5 years.
- Frame not plumb: sash drags, weatherstrip fails to seal, hardware wears out fast.
- Permit problem at sale: retroactive permit, inspection, and remediation, at your cost.
- Broken units or supply issues: a professional installer absorbs the replacement cost; you eat it.
The point isn’t that DIY windows always cost more. It’s that the savings only survive if every hidden detail is right, and the details that matter most are the ones you can’t see when the job is done. That’s what the 730-Day Done Right Promise on professional work actually covers: if a seal or a flashing detail is wrong, it gets fixed, backed in writing. You won’t find a warranty like that on a Saturday afternoon.
Doors Are a Different Animal
A door swap moves weight and structure. Exterior doors are heavy, framed, and tied into the wall’s weather barrier. Three things always go wrong on a DIY exterior door job.
The first is the threshold. The door has to sit at the right height over the rough opening so the sill directs water out and not under the door. On a concrete slab, that’s a level and shim exercise; on a wood subfloor, one mistaken cut and the whole assembly is too low.
The second is the framing itself. New doors often require opening changes: head and jamb framing, trim, drywall and siding. That’s back to the permit question.
The third is the security side of the equation. A door is your home’s first line of defense. We tell Vacaville homeowners that a badly hung exterior door isn’t just an inconvenience; it’s a security risk. Improper shimming leaves gaps at the strike plate, flex at the frame, and a lock that doesn’t fully engage. That’s a real problem on any street, and it’s a particular concern on ground-floor doors visible from the street.
Interior doors are a different story. A pre-hung interior door in an existing frame, on a job that doesn’t touch structure, is a legitimate homeowner project if you measure carefully and shim patiently. If you’re adding walls or openings, that’s construction, not carpentry, and it belongs on the professional side of the line.
Why Vacaville’s Climate Punishes Shortcuts
Vacaville sits where the Central Valley heat meets the coastal air pushing east through the hills, and that combination stresses a building envelope in two directions most of the year. Summer afternoons regularly push past 100 degrees, which means sealants cure fast, expandable foam can bow a frame if you overfill it, and any gap between a frame and wall shows up in a utility bill. Winter swings bring wind-driven rain, which is the harsher test. Wind-driven rain finds laps in flashing that a straight-down rain never touches.
Where you are in Vacaville matters too. Homes on the windward side and older neighborhoods with original wood frames carry more risk than newer construction, where house wrap and detailing are already in place. In older Vacaville homes, we routinely pull trim to find the original flashing was never installed at all: the window was nailed into the rough opening and the siding went straight over. That’s the case where a “just replace the glass” plan turns into a full-frame job you didn’t budget for.
Tools and Materials That Actually Hold Up
If you’re taking on the DIY-safe list, get the right materials. Cheap ones cost you the whole job.
- Caulk gun and exterior sealant. A decent ratchet gun, a siliconized acrylic for paint-grade trim, and backer rod for deep gaps.
- Flashing tape. Butyl or high-tack acrylic flashing tape for any professional-adjacent work; don’t substitute painter’s tape or vinyl tape.
- Screen tools. Spline roller, spline matched to channel width, and pet-resistant screen for doors that get use.
- Weatherstripping. Foam, spring bronze for older wood windows, and a magnetic door gasket for a door that doesn’t want to seal.
- Low-expansion window and door foam. Never standard gap-filling expanding foam around a window.
When a replacement is the right call, the materials matter just as much as the labor. A window or door is a wet-side product first, and the brands that survive Vacaville summers are the ones with proven hardware and service records behind them. That’s why Groundwork works with Andersen and Pella for windows, and GAF for roofing – the flashing and roof interface over a window opening is the same water-management problem, handled across two trades. If your project grows into a larger build, our team handles full-scope construction across Vacaville, and the same water-management logic applies to home additions and ADU projects where new openings are cut into existing walls.
Common Mistakes to Avoid
- Pulling the first window before confirming the scope. Once the frame is out, the “insert or full-frame” question is answered for you, usually at the worst moment and the highest cost.
- Overfilling the perimeter with expanding foam. A bowed frame drags the sash, breaks the weatherstrip seal, and voids your energy performance. Vacaville heat makes the problem worse by expanding the foam faster.
- Tucking head flashing under the jamb tape. This is the one that waits two winters before showing up. If water can’t run down and out over the tape laps, it runs into the wall.
- Skipping the permit because a neighbor did. Retroactive permitting with a finished wall in the way costs far more than the permit. Confirm the scope in writing with the Vacaville building department.
- Sealing the interior without checking the exterior. Interior-only sealing turns a leak into a hidden leak rather than a visible one.
- Buying a window that doesn’t match California’s Title 24 values for the climate zone. A mismatched product can complicate a future sale and undercut the energy savings you’re paying for.
- Ignoring the roof-to-window interface on upper floors. Water from the roof or gutters that dumps onto an upper window is a systematic failure, not a window failure.
See the difference
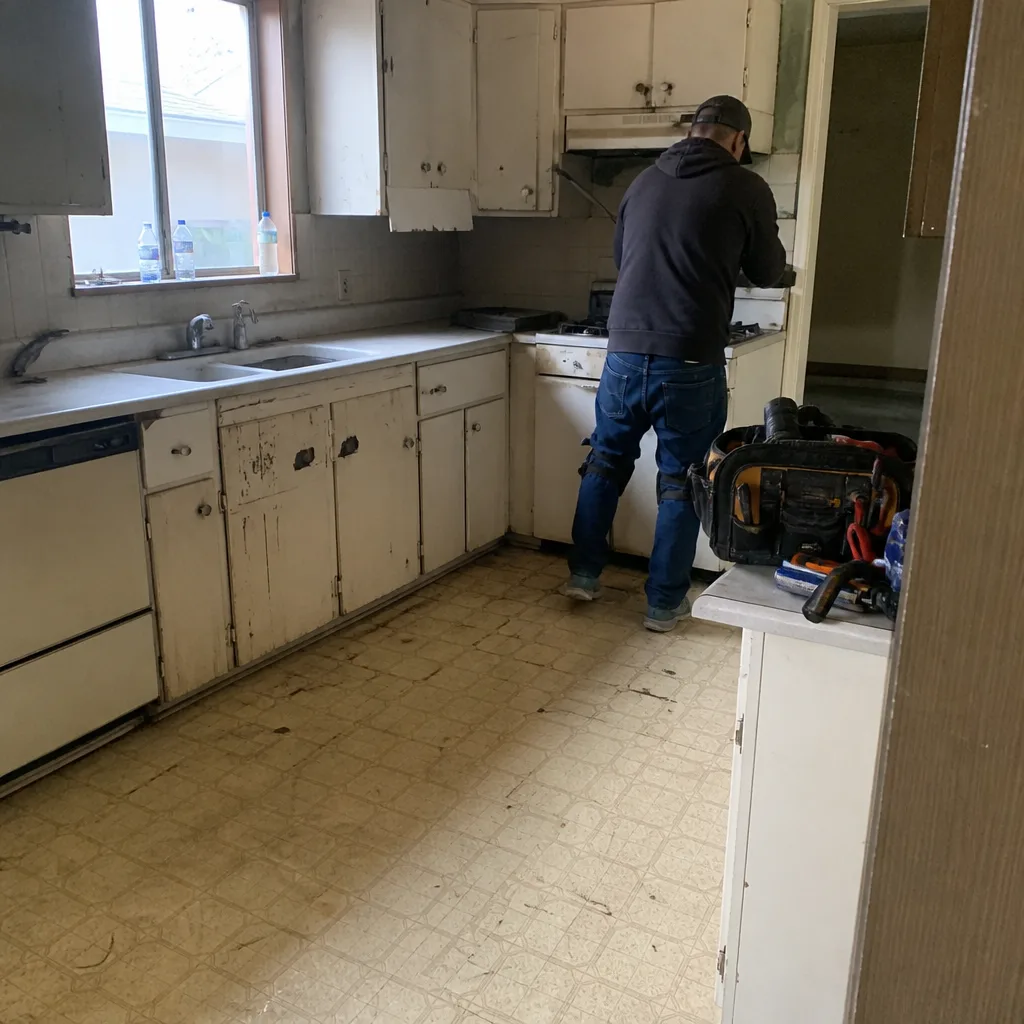 Before
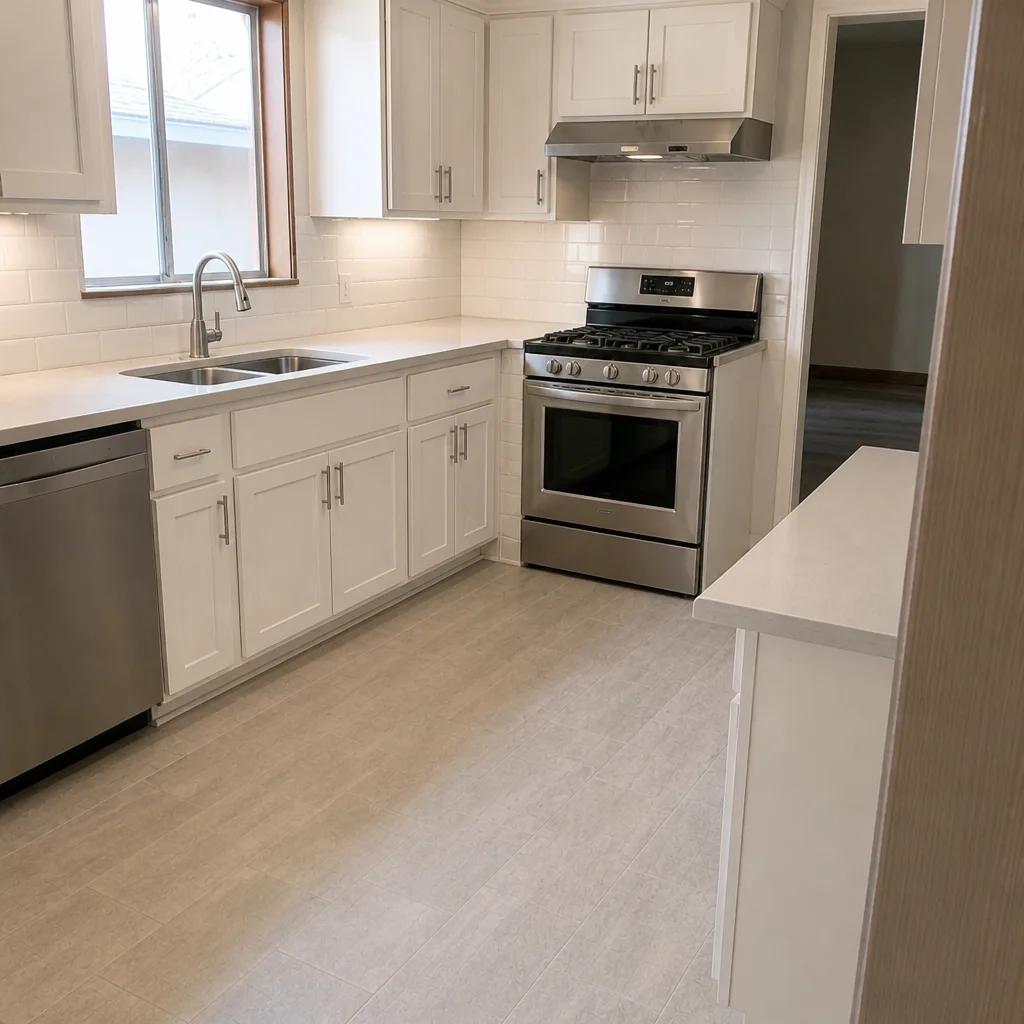 After
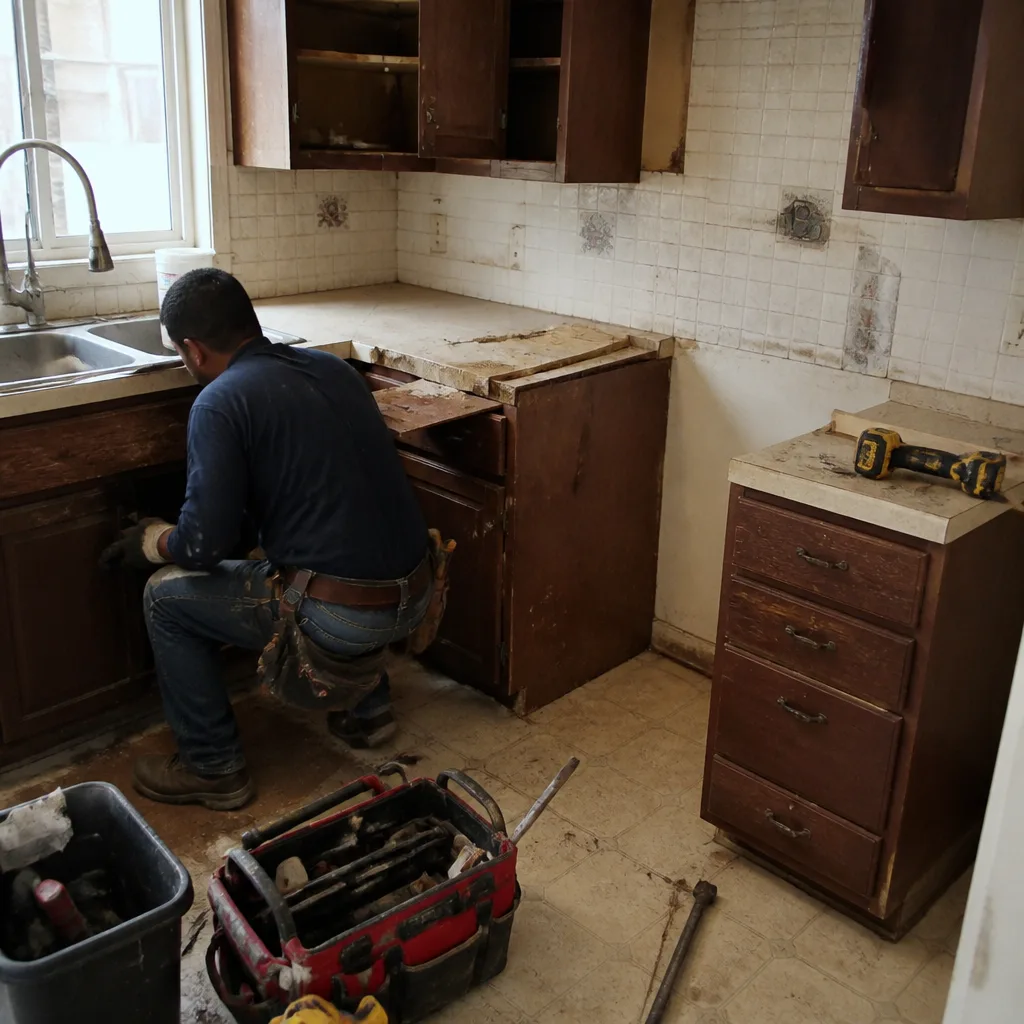 Before
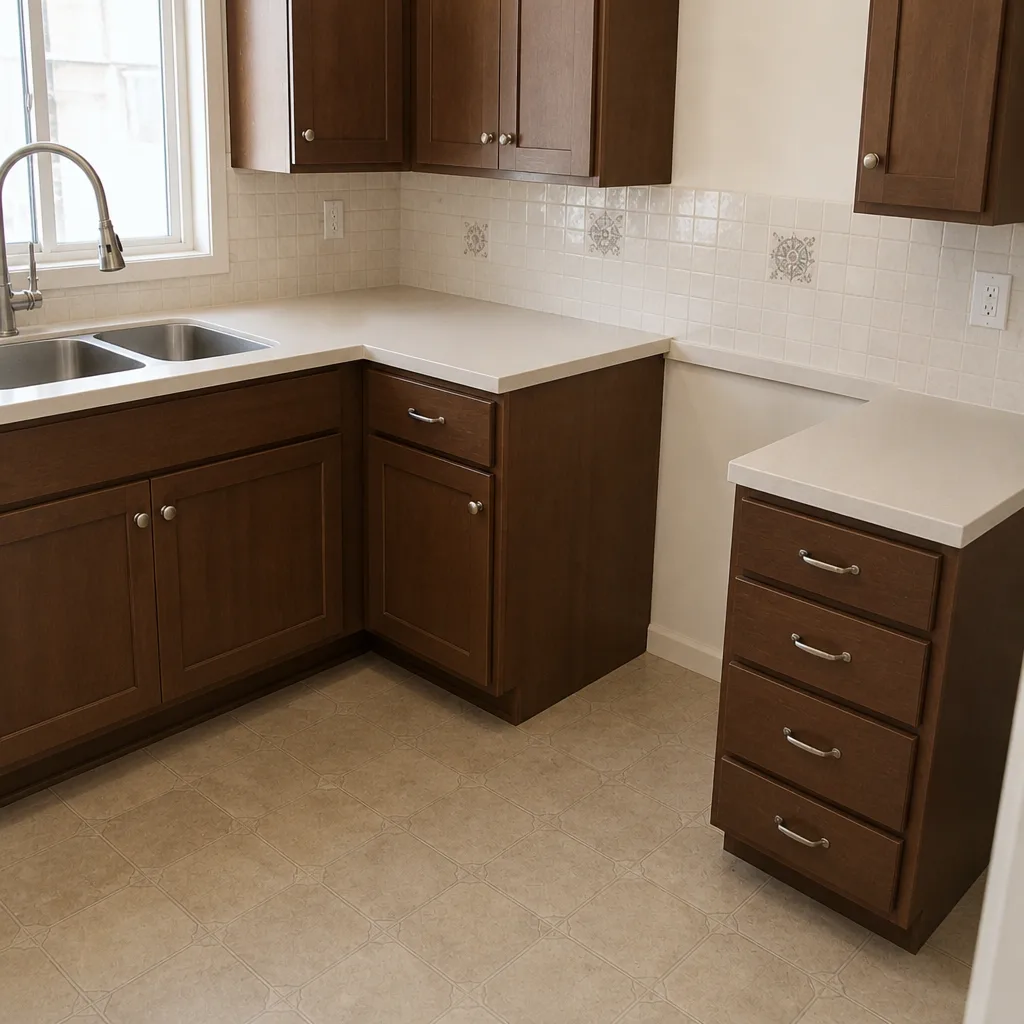 After
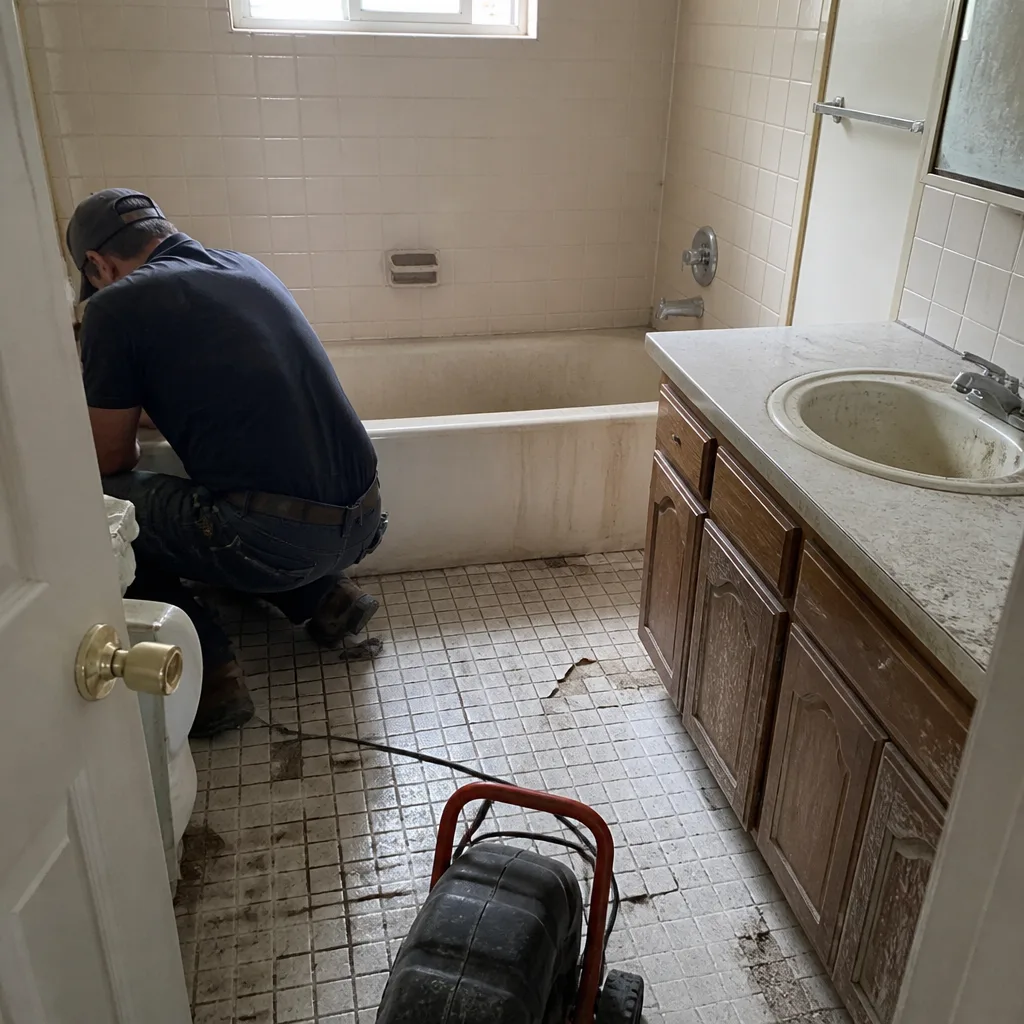 Before
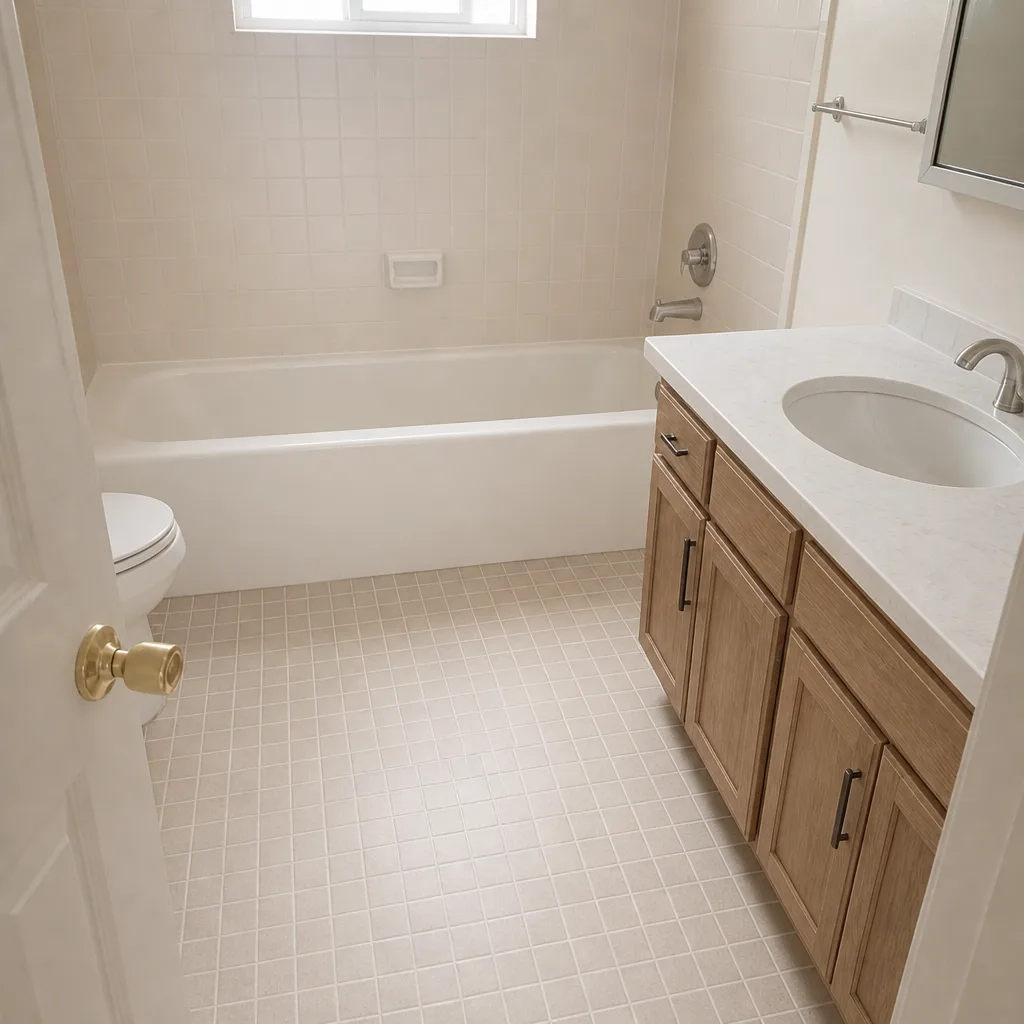 After
When to Call a Professional
The line is not “can I do this?” but “if this goes wrong, can I live with the outcome?” Full-frame replacement is a professional job, every time: it requires permit work, structural framing judgment, flashing and water-barrier integration, and a warranty behind the work. New openings, patio and exterior doors, upper-floor windows over roofs, and any job where you’ve found rot behind the frame all fall on the professional side. So does any house-wide replacement where consistent air sealing is the goal. Groundwork Construction Co. of Vacaville offers free estimates in Vacaville – call (888) 276-8078. A live person answers around the clock, so you’re not leaving a voicemail and waiting until Monday. Plans are backed by the 730-Day Done Right Promise, and every technician arriving at your door is background-checked and in uniform.
Frequently Asked Questions

You can safely handle screen replacement, hardware swaps, weatherstripping, and exterior caulk touch-ups yourself. Full-frame replacement, new openings, and exterior door swaps should go to a professional because they involve permit work, flashing and water-barrier sequencing, and structural framing. The middle ground – insert replacement – is where most Vacaville homeowners should call for guidance, since the perimeter air sealing determines the performance you paid for. Call (888) 276-8078 for a free estimate and a straight answer on your specific scope.
It depends on the scope. In Vacaville, a replacement that keeps the existing frame and opening typically falls under exempt maintenance, while changes to the opening size, the frame, or structure require a permit and inspection under California code. Get the answer from the Vacaville building department in writing for your address. Overlooking the permit creates a problem at sale, when a buyer’s lender asks for documentation and the seller applies retroactively. Call (888) 276-8078 if you want the permit handled for you.
Insert replacement fits a new window inside the existing frame, leaving the exterior and interior trim in place. Full-frame replacement removes the entire window to the rough opening and installs new flashing, a new water barrier tie-in, and new trim. Insert is faster and cheaper; full-frame is what fixes rot behind the frame and is the right call on older Vacaville homes where original flashing was never there. Call (888) 276-8078 for a free estimate that identifies which you actually need.
Most standard Vacaville homes with a typical window count are completed in a single day or two, depending on the number of units, access, and whether the scope is insert or full-frame. Pricing depends on the same factors, and the product you choose (Andersen or Pella, for instance) moves the number more than anything else. We provide a written, line-item estimate before any work starts, with upfront pricing and no surprises. Call (888) 276-8078 for your free estimate and design consultation.
It shouldn’t if the estimate was built on a proper scoping visit. The surprise in window and door work comes from rot or framing damage found behind the trim, which is invisible until the opening is exposed. A written, line-item quote from a company that inspected the opening up front is what protects you from change orders. Groundwork’s Upfront Pricing commitment means the number on your quote is the number you pay. Call (888) 276-8078 to book the free estimate.
Yes. A window without a proper sill pan, with the wrong flashing lap order, or with an unsealed perimeter can let water into the wall cavity with no visible sign until the damage is already done. In our experience, the failure tends to show up two to five years after installation, first as soft trim or a stain on the ceiling below. That’s the exact reason professional installation comes with a workmanship warranty that the DIY job can’t offer. Call (888) 276-8078 for a free estimate with a written scope.
The Bottom Line
The safe DIY list is real and worth taking seriously: screens, hardware, weatherstripping, caulk touch-ups, and putting maintenance on a schedule. Everything from the frame outward, though, is a professional job, because the sequence that makes a window last twenty years happens where you can’t see it. If your plan is insert replacement, ask a professional to scope it and tell you honestly whether the existing frame and flashing can carry a new unit. If you’re in Vacaville and weighing the decision, get a free estimate with a written scope and a real warranty behind the work. Call (888) 276-8078, or visit the Groundwork Construction Co. of Vacaville home page for the full service line. Related projects like driveway and pavers in Vacaville and fence installation in Vacaville follow the same principle: do your own maintenance, hire the structural work.
Ready to get a straight answer on your windows and doors? Call (888) 276-8078 to schedule your free estimate. A live person answers 24/7, and every project is backed by the 730-Day Done Right Promise. From first call to final walkthrough, you’ll know what you’re paying and what’s covered in writing.
Written by the team at Groundwork Construction Co. of Vacaville.