Last updated November 18, 2026



Free written scope consultation - allowances, timeline, and change-order rules on paper before a single trade is scheduled
Driveway & Pavers Troubleshooting: Common Problems and How to Fix Them
If you’ve already re-sanded the same sunken paver section twice, you don’t have a paver problem. You have a base failure problem, and no amount of surface work will fix it. Most homeowners in Vacaville treat driveway trouble with another bag of polymeric sand and a hose, then watch the same dip reappear before the next rainy season. That’s because the visible symptom (a wobbly paver, a stain, a crack) almost never sits on top of its own root cause. Read on and you’ll learn to tell a bedding failure from a base failure, recognize edge migration before it spreads, and know exactly which repairs you can handle yourself and which ones need a full pull-and-reset.
Quick Answer
Most driveway paver problems, including sinking, shifting, edge migration, and re-appearing cracks, come from a failure below the surface: a compacted base that was never deep enough, a missing or broken edge restraint, or water finding a weak spot in the drainage. Patching the sand surface only hides the symptom for a few months. The lasting fix is to diagnose the root cause and repair the base, restraint, or drainage layer, not just the pavers you can see.
Styles & brands we work with
- Kitchen remodeling
- Bathroom remodeling
- Home additions & ADU
- Roofing
- Windows & doors
- Driveway & pavers
- Fence
Table of Contents
- How to Tell a Base Failure from a Bedding Sand Failure
- Why Pavers Sink and Shift (and What Actually Stops It)
- Why Edge Pavers Migrate Outward
- Efflorescence: Cosmetic Stain or Water Damage Symptom?
- Crack Patterns: Tree Roots vs. Freeze-Thaw vs. Overload
- Drainage and Runoff in Vacaville’s Clay Soils
- DIY Repairs vs. Full Pull-and-Reset
- Keeping Pavers Healthy Between Repairs
Before we get into the diagnosis, one thing holding steady beneath everything here: Groundwork Construction Co. of Vacaville home is a full-scope construction partner that handles driveway and paver work alongside the rest of the house, and every repair is covered by the 730-Day Done Right Promise.
How to Tell a Base Failure from a Bedding Sand Failure
The single most expensive mistake in paver troubleshooting is treating a base failure as a bedding problem. They look similar from the surface. They are wildly different to fix. A bedding sand failure is local and shallow: the sand layer under the pavers has washed out or settled at a single joint, usually after heavy runoff. The pavers above it rock slightly, but the section around them stays flat and true. A base failure is deep and spreading: the compacted crushed stone underneath the pavers wasn’t compacted enough, wasn’t deep enough, or was laid over soil that never got stripped and rolled properly, so a whole region of pavers pitches toward a low point.
Three quick diagnostic tests
- The two-inch drop test. Look across the driveway from a low angle. If a single paver or a small patch sits low but the surrounding plane is flat, you’re probably looking at bedding sand. If five or six pavers form a shallow bowl together, that’s base movement.
- The recency test. If the dip reappears within weeks of re-sanding, the problem is below the sand. Bedding failures stay fixed for months; base failures don’t.
- The gap test. Wider-than-normal joints across a whole section, especially near a curb or garage apron, point to the bed under the pavers softening and letting them migrate. Joints that open only at one spot, with the rest tight, usually mean local sand loss.
Why the distinction matters: bedding failures are a same-day fix involving lifting the affected pavers, re-leveling the sand, and resetting. Base failures require pulling back a whole panel of pavers, re-excavating to a proper depth of compacted stone, and re-compacting in lifts. In Vacaville’s clay-heavy soils, we’ve seen base failures spread from a single low corner into a 6-by-10-foot section within two winters once water finds the soft spot. Catch the base failure early and the repair stays small.
Why Pavers Sink and Shift (and What Actually Stops It)
Sinking pavers are almost always a compaction or drainage story, rarely a paver story. The pavers themselves are dense and stable; they don’t deform. What deforms is the ground holding them up. We see four common root causes in Vacaville driveways.
- Under-compacted base. Crushed stone compacted in a single thick lift rather than in 2- to 4-inch lifts. The lower stone never locks together, so it settles unevenly under load and shifts over the years.
- Soft subgrade. Clay soil that was wet when the base was built, or a layer of topsoil that was never stripped. The base stone sinks into the soft spot every time the ground gets saturated.
- Water running under the pavers. A downspout pointed at the driveway, a grading problem, or a missing edge restraint that lets surface water dive into the sand layer.
- Regular vehicle weight. Large trucks or heavy equipment parked on a residential drive accelerate settling in any area where compaction was marginal, which is exactly why the corners closest to the garage apron go first.
The fix, step by step
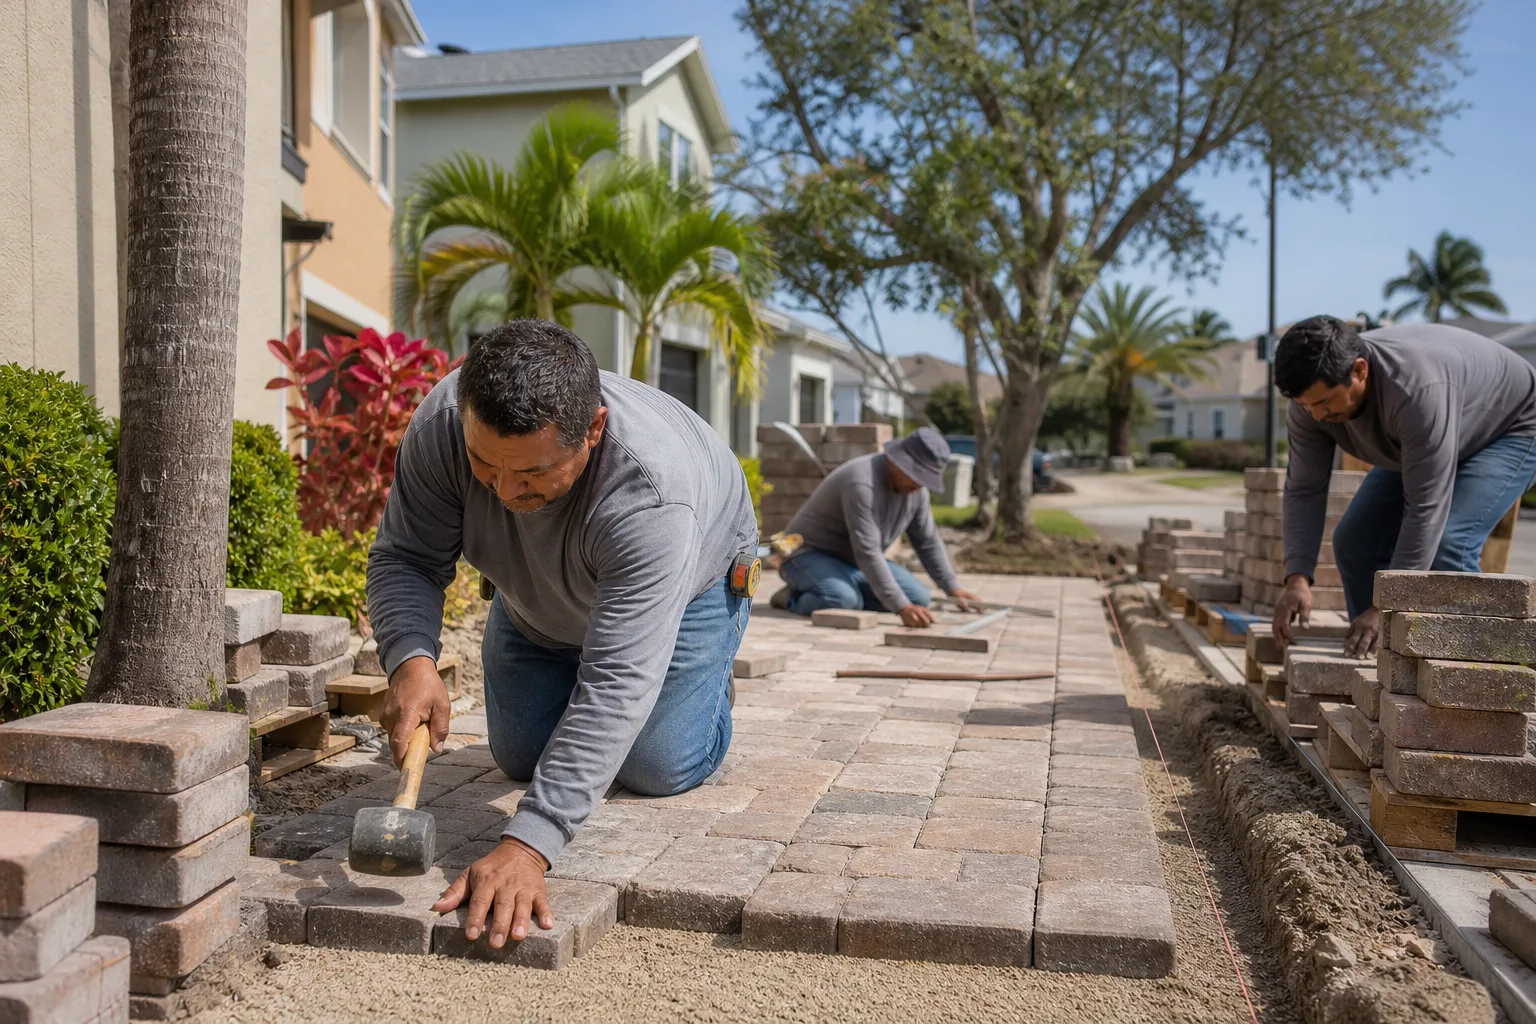
- Lift and stack the affected pavers, keeping them out of the way and re-usable.
- Dig down to solid subgrade, removing loose sand and any soft soil.
- Re-fill in lifts of 2 to 4 inches of crushed base, compacting each lift with a plate compactor.
- Re-lay bedding sand at roughly 1 inch, screed flat, and reset the pavers.
- Re-sand the joints with polymeric sand, mist, and let it cure fully.
That last step is where most DIY re-dos break down: polymeric sand needs a specific amount of water to cure, and too much or too little leaves it either crumbly or hazy on the surface. Get the compaction right and the patch will last. Get it wrong and you’ll be back to re-sanding by next spring.
Why Edge Pavers Migrate Outward
Pavers at the outer edge of a driveway don’t walk outward because they’re bad pavers. They migrate because nothing is holding them back. Every paver driveway is a system under lateral pressure: cars pushing down and outward, water expanding joints, and freeze-thaw in colder months. A paver driveway built to standard uses an edge restraint (a rigid concrete curb or a spiked plastic or aluminum edge) that locks the perimeter and holds the field tight against that pressure. When the restraint fails, the entire outer row starts moving outward within weeks, joints open, and the surface loosens.
You can spot restraint failure before the pavers walk:
- The outer row of pavers overhangs the edge of the driveway by a half-inch or more
- You can see daylight or loose soil where the pavers should meet a curb or a landscaped border
- Joints at the edge open wider than joints in the middle of the drive
- A concrete edge curb is cracked, tipped, or has separated from the pavement; a plastic spike edge has spikes that have popped or rusted through
The fix starts with the restraint, not with the pavers. Pull the outer two rows, install or rebuild the restraint so it’s spiked or pinned into compacted base, re-seat the edge pavers tight to it, and re-sand. Skipping the restraint repair and just pushing the pavers back is like fixing a bulging wall by repainting it: it will look fine for a month and open back up the first time a car tire rolls over the edge.
If your driveway has a fence or gate at the edge, the same restraint principle applies to fence posts and their footings, which is why we often recommend homeowners look at their Fence Installation in Vacaville plan at the same time as driveway repairs.
Efflorescence: Cosmetic Stain or Water Damage Symptom?
Efflorescence is that white, powdery haze that shows up on paver surfaces and the sides of concrete curbs. It’s a salt deposit: water moves through the paver or the concrete underneath, dissolves salts, and leaves them on the surface as the water evaporates. It’s a symptom of water movement, not a problem on its own. The question isn’t whether you have efflorescence; it’s whether the water behind it is coming from a harmless surface wetting or from a deeper infiltration problem.
How to tell the difference
- Cosmetic efflorescence appears at the surface after rain or irrigation and disappears with a light rinse or a dry brush-and-vinegar scrub. It doesn’t come back as soon as the surface dries.
- Recurring, hard-crust efflorescence that shows up in the same spots week after week, or that accumulates on the side of a curb or a wall, usually means water is moving through the concrete or base from underneath. That’s an infiltration issue.
- Efflorescence paired with a green-tinted or black residue (algae or mold) tells you water is standing under the pavers and not draining, which is a drainage or base failure in progress.
A paver system that effloresces hard at one spot in your driveway is trying to tell you where water is pooling under the surface. That’s worth opening up, especially in Vacaville where the clay soils trap water against the base instead of letting it drain away. Cleaning the stain is fine, but the durable fix is finding the water. That usually means checking grading, extending a downspout, or opening the base at the affected spot to confirm it’s moving water correctly. If you clean the stain and it’s back in a month, don’t clean it again. Call someone to look at what’s underneath.
Crack Patterns: Tree Roots vs. Freeze-Thaw vs. Overload
Cracks aren’t just cracks. The shape and location tell you the cause, and the cause dictates the fix. Look at where the crack runs, how it branches, and what’s around it. Concrete crack patterns, paver joint opening, and paver spalling all carry different signatures.
Tree root intrusion
Root-related damage shows up as a crack or upheaval radiating outward from a nearby tree, often in a straight or gently curved line that points at the trunk. The surface tends to lift rather than settle, and you’ll see a slight hump near the tree side. Roots grow under the base chasing moisture and push the pavement up as they thicken. The fix depends on the tree: sometimes it’s a root barrier and a localized repair, sometimes it’s a full section reset. Removing the tree is a last resort and worth a conversation with an arborist first.
Freeze-thaw damage
Freeze-thaw is less common in Vacaville than in colder climates, but we do get morning freezes, and it’s the explanation for hairline cracks that open a little in winter and close in summer. If a crack or a joint width swings open and closed with the seasons and shows no other clue, it’s thermal cycling. The right fix is usually flexible joint filler or re-sanding the joints with polymeric sand, not a structural repair.
Overload damage
Overload damage looks like a settlement halo or a spider-crack cluster starting at a heavy-load point: where the delivery truck parked, where the RV sits, or where the garbage truck turns around. On pavers, overload shows as a fan shape of widened joints and local sinking radiating from one spot. On concrete aprons, it starts as a corner crack and migrates inward. The fix is to repair the base at the load point and, if heavy vehicles will keep using the drive, to build the pavement section heavier than a standard residential spec.
If the crack runs along a seam between your driveway and the garage apron or the sidewalk, don’t assume a base failure; that’s often just a joint detail. In our experience the driveway-to-garage seam in Vacaville is the first place water gets under the pavers, so it’s worth checking before a small seam issue becomes a base repair.
The same load and drainage thinking applies indoors when you’re doing a hard-surface renovation. If your checklist includes a Driveway & Pavers in Vacaville project, it’s often the right time to plan a bigger exterior change in a single scope.
Drainage and Runoff in Vacaville’s Clay Soils
Vacaville sits on soils with a lot of clay content, and clay doesn’t accept water quickly. That’s fine during the dry months and less fine when a wet storm rolls through and the ground underneath your pavers is saturated and can’t accept any more water. When the base stays saturated, compaction settles, joints widen, and efflorescence blooms. Nearly every paver problem we see in Vacaville neighborhoods like Browns Valley, Nut Tree, and the older parts of downtown can trace some part of its failure back to water that wasn’t managed.
What good drainage looks like
- The finished driveway pitches at a shallow slope away from the house and the garage, not toward them
- Downspouts extend at least 4 to 6 feet past the edge of the driveway, or discharge into a drainage line
- If the driveway meets a curb, there’s a clearly defined path for water to reach the street or a yard drain
- The base stone is graded stone, not a mix with fines that clogs once wet
- Edge restraints are continuous at the downhill side, so water can’t get under the pavers
If your driveway is a bowl with no positive slope, you’re one heavy rain away from the same sinking corner every year. Fixing the slope may mean re-setting a whole section of pavers to re-grade the base under it, which is more involved than a patch. It’s also the only repair that stops the annual cycle.
Clogged grading and runoff problems are a full exterior concern. If your driveway repair uncovers a backyard slope issue, that’s the kind of thing that gets easier to handle in one scope with a Home Additions & ADU in Vacaville plan than in piecemeal parts, since the water management plan for the site is part of the broader design.
DIY Repairs vs. Full Pull-and-Reset
Some driveway problems are genuinely within reach of a homeowner who likes working around the house, and some are not. Getting the split right saves you weekends and prevents the small repairable problem from becoming the big expensive one.
Repairs you can reasonably do yourself
- Re-sanding joints. If the pavers are tight and the joints have just dried out, refilling with polymeric sand (following the bag directions on water volume exactly) is a DIY job.
- Cleaning surface efflorescence. A light dry brush and a diluted white vinegar rinse handles cosmetic staining without hurting the pavers.
- Resetting a single loose paver. One paver, one spot, no wider settlement, is a lift-and-reset job you can do with hand tools.
- Diverting a downspout. Adding an extension to move water off the driveway is easy, cheap, and prevents about half the problems in this guide.
Repairs that need a full pull-and-reset
- Any base failure. Re-compacting base in lifts with the right equipment is not a hand-tool job; a poorly re-compacted base fails again within a season.
- Edge restraint rebuilds. Getting the new restraint truly anchored into compacted base and correctly spiked takes the right tools and a firm eye on the finished grade.
- Anything involving drainage re-grading. Re-sloping a driveway section means removing pavers, re-grading, and re-compacting a large area rather than patching a spot.
- Tree root intrusion underneath a hard surface. Roots and pavement removal are both risky to do by hand and often require rebuilt base underneath where the root was.
- Widespread sink or dip affecting a vehicle-load area. A large low spot that vehicles roll over will keep failing until the panel underneath is rebuilt properly.
The litmus test we use on the job: if the fix requires opening up the base, or if the problem covers more than roughly 10 square feet, it’s a pull-and-reset. If it’s a surface issue in a tight, contained spot, it’s likely a same-day repair, and in our experience most single-spot paver repairs are done in a single visit.
Keeping Pavers Healthy Between Repairs
Once a driveway is repaired properly, the goal is to keep the base stable and the water moving off the surface. You don’t need to fuss over the pavers. You need to keep water out from under them and keep the joints locked.
- Re-sand joints every 2 to 3 years, or when you notice sand missing near edges and low spots. Polymeric sand holds a joint tight; once it’s gone, water has a path in.
- Look at the downspouts every fall. A single extension pushed off the edge of the driveway is the cheapest fix on this page and prevents the most expensive problem on it.
- Wash and spot-clean annually; don’t power-wash aggressively. High-pressure washing blasts the joint sand out and strips the surface salts, both of which accelerate the failures we’ve just walked through.
- Check the edge every spring. If the outer row of pavers has moved, address it before it pulls the field loose.
- Don’t park heavy equipment on a residential drive repeatedly. A one-off delivery is fine; a dumpster or an RV pad over the same spot every month will find the weak corner.
None of that is glamorous. It’s just the work that decides whether a paver driveway looks like new at year fifteen or needs a rebuild at year eight. It’s the same principle behind why we back our driveway work with a 730-Day Done Right Promise: the repair should stay done.
Common Mistakes to Avoid
- Re-sanding without checking the base. If the joint sand keeps disappearing in the same spot, the base underneath is likely moving and the sand is just escaping through a gap. Re-sanding hides it for a few months and makes the failure larger.
- Resetting a single sunken paver with fresh sand underneath. Lifting one paver and dropping in fresh sand over the same soft spot means it sinks again within weeks. The base under it needs compacting, or it’s not fixed.
- Ignoring a walking edge. Homeowners in Vacaville’s summer-dry climate sometimes don’t notice edge migration until a whole row has moved, because there’s no water to make the joints visibly wet. Check the perimeter on a dry day; that’s when the gap is clearest.
- Power-washing to “clean” the efflorescence. Aggressive pressure strips joint sand and pushes more water under the pavers, so the efflorescence comes back worse. A dry brush and a diluted vinegar rinse is the safer cleaning.
- Adding soil or mulch against the edge of the driveway. Extra material pushes on the edge restraint or buries it, and the lateral pressure from a full edge is what causes pavers to walk. Keep the edge free and clear.
- Assuming a crack means “concrete problem.” A crack in a concrete apron or a widened paver joint is a symptom; the cause is usually water, load, or a root. Addressing the symptom alone doesn’t stop it from spreading.
- Skipping the permit question. Most paver repairs don’t require a permit, but any repair that changes grading, moves a curb, or modifies drainage near a property line can. In Vacaville, a quick call to the city before a grading change is worth ten minutes; if a permit is needed, it’s better to know at the start than to fix it twice.
See the difference
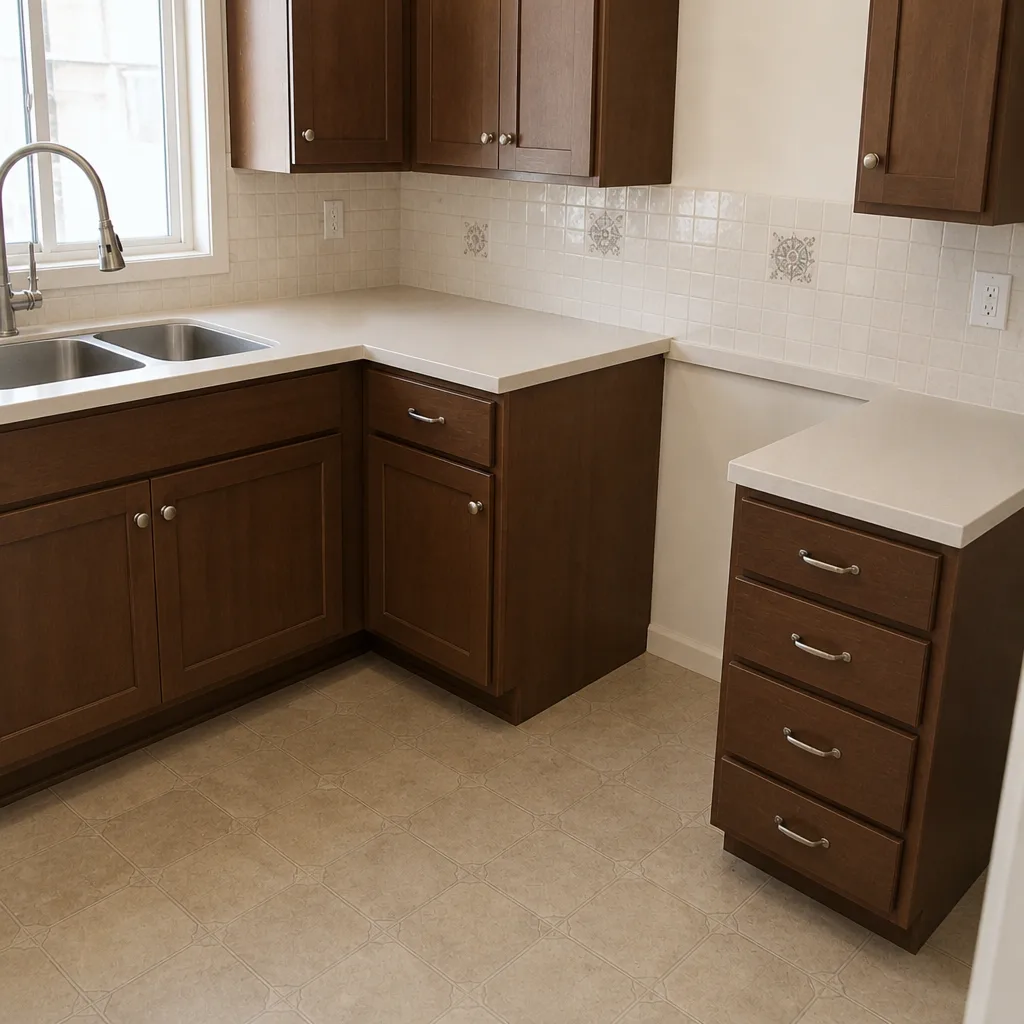
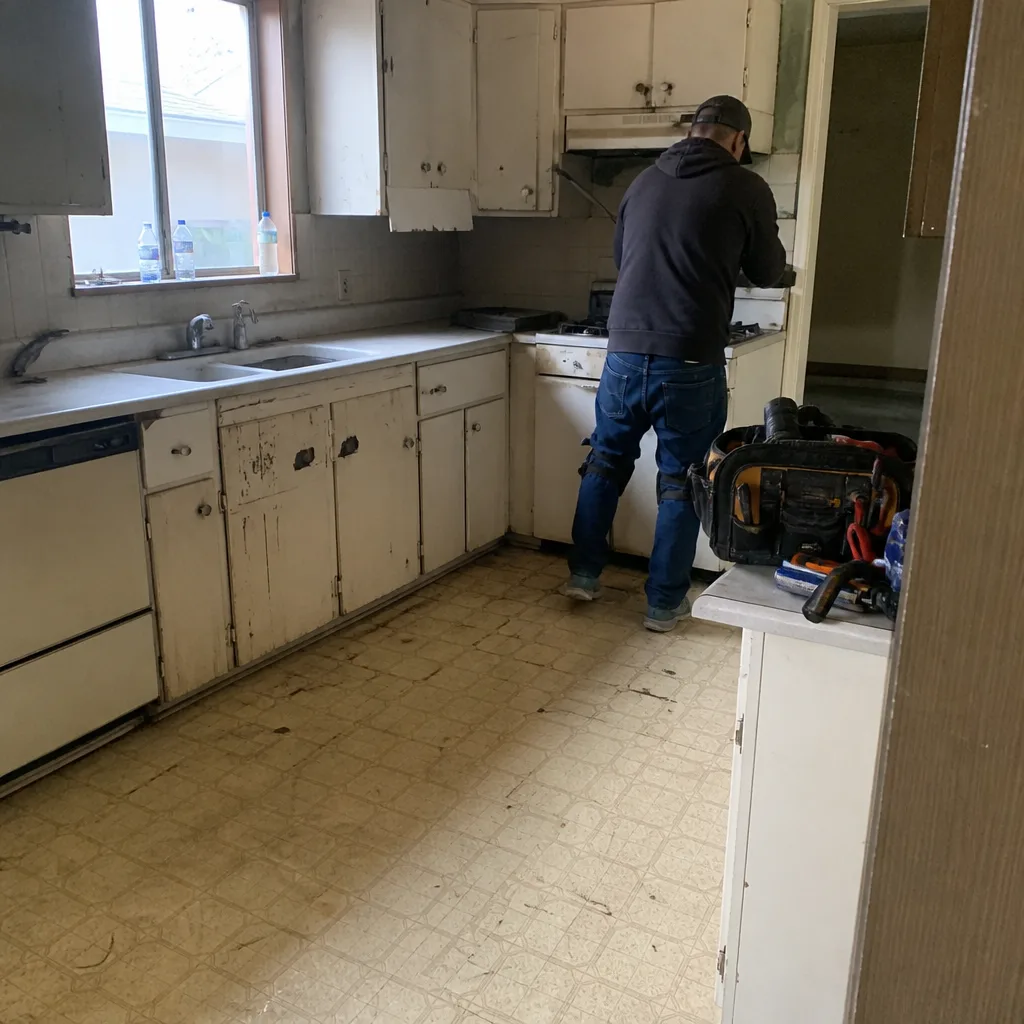 Before
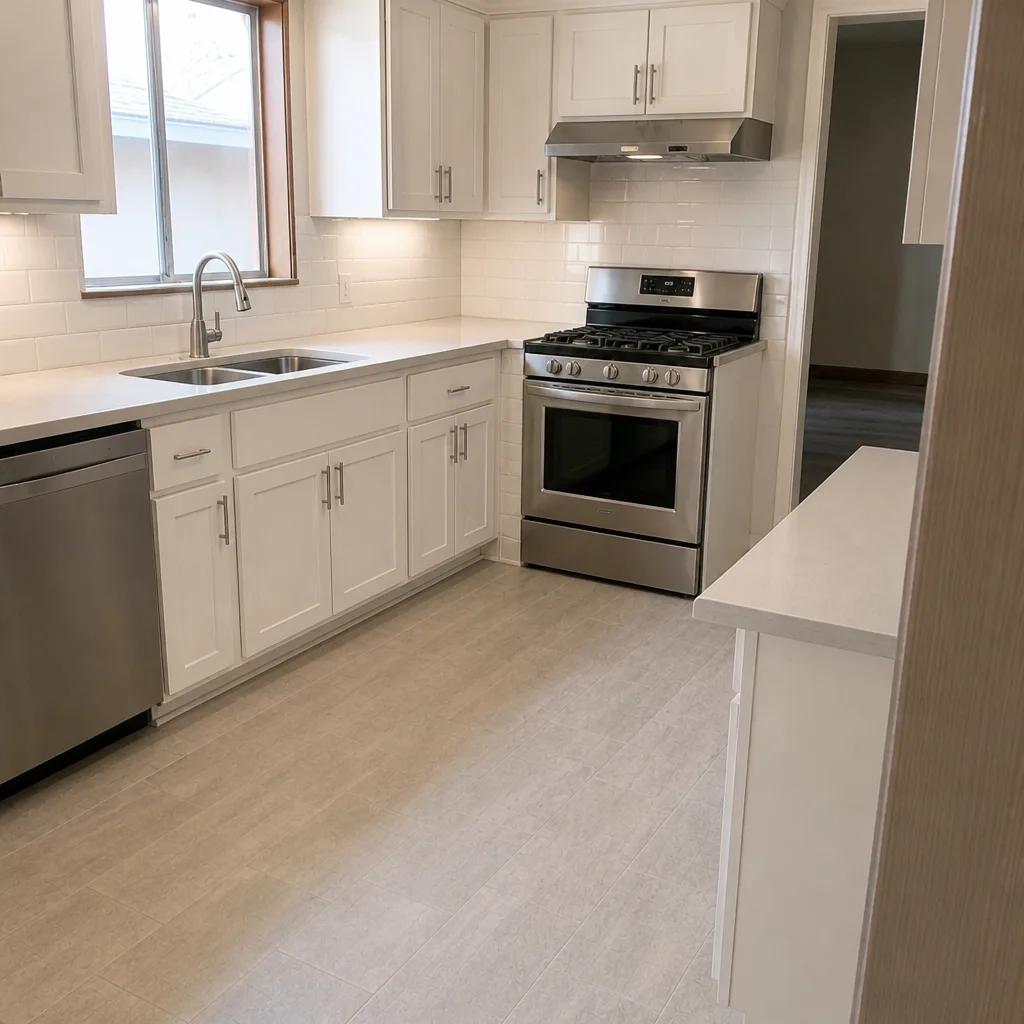 After
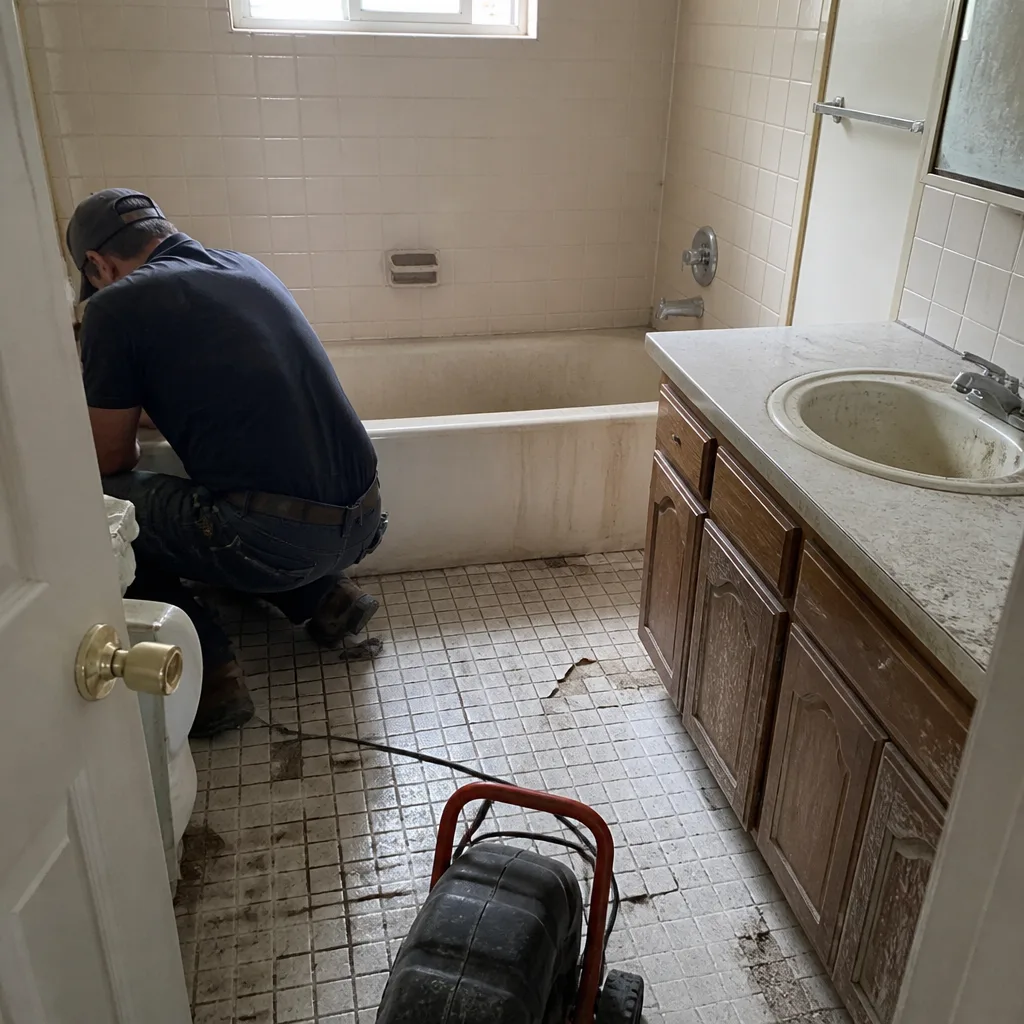
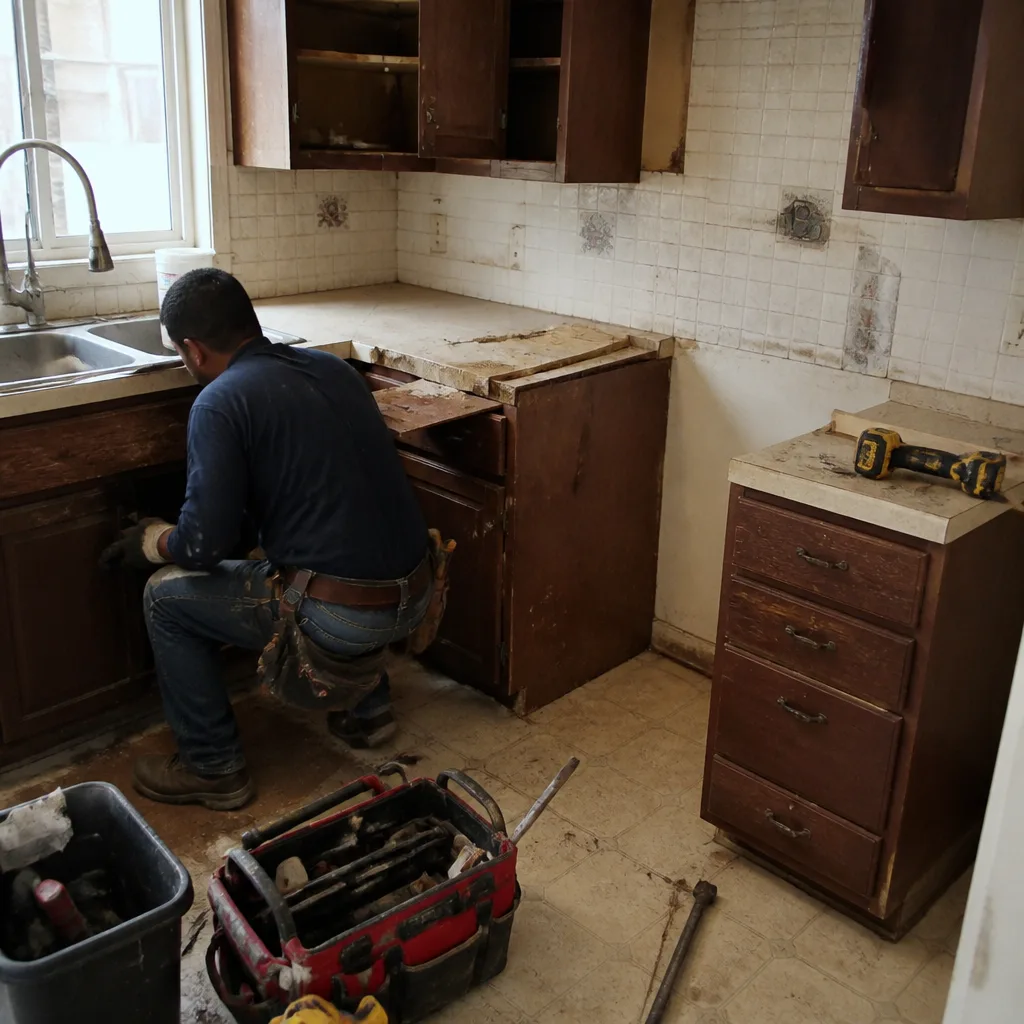 Before
 After
 Before
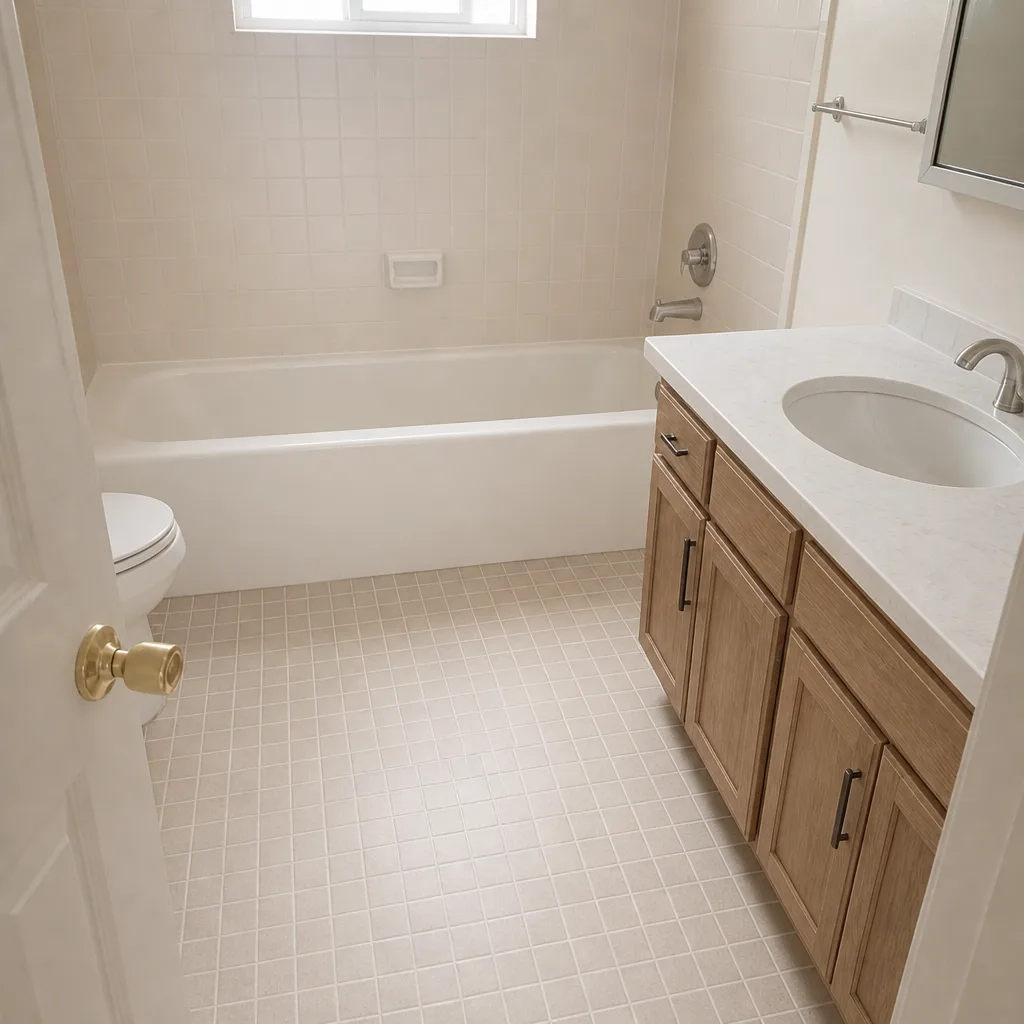 After
When to Call a Professional
Call a professional when the problem goes below the surface. Sinking sections larger than a single paver, an edge that has walked outward more than half an inch, efflorescence that comes back after cleaning, cracks that spread from season to season, or any spot where water has visibly pooled under the pavement all point to base, restraint, or drainage work that can’t be patched from the top. If you’ve already re-sanded the same spot twice and it’s still sinking, that’s the signal.
Groundwork Construction Co. of Vacaville offers free estimates in Vacaville, and our technicians have up to 12 years of experience on driveway and hardscape work. We pull permits where the city requires them, we write the estimate with the line items visible so you can see exactly what’s being repaired, and every repair carries the 730-Day Done Right Promise. Call (888) 276-8078 and we’ll walk the driveway with you rather than guess at it.
Frequently Asked Questions
Most paver driveway repairs in Vacaville fall into one of two bands depending on whether the base is involved. A surface-level repair (joint re-sanding, single paver reset) is a modest same-day job. A base or edge restraint repair, which requires lifting pavers, re-compacting and re-setting the base, is a larger line item because it involves more labor and more matching. Call (888) 276-8078 for a free estimate on your specific repair; we write a line-item quote so you can see the labor and material broken out, and we don’t change the number once work starts unless you ask for a scope change.
No. We use upfront pricing, so the number on the estimate is the number you pay. If, once we open the pavement, we find a problem the walk-through couldn’t show (a broken utility line, a root deeper than it looked, an area of soft soil under a corner), we stop and show you the conditions and the price to fix them before we continue. You never get a surprise bill for a discovery you didn’t approve.
We do, when the project requires one. Most simple repairs do not require a permit. Work that changes the site grading, alters drainage ways, or touches the right-of-way near a curb or a sidewalk may need a permit from the city, and we handle that as part of the project scope, including the inspection. We’ll tell you up front whether a permit is needed, so you’re not caught by a code inspector halfway through.
Small, contained repairs (a single paver reset, joint re-sanding, edge restraint spot repair) are usually done in a single visit. A larger base repair or a full section pull-and-reset that involves re-compacting a panel of pavers, matching the finish and re-sanding, typically runs longer. We’ll give you a schedule in writing on the estimate so you can plan around it.
Because the base under them is most likely allowing water in during the wet months, and the winter saturation is loosening joints that looked tight in summer. Vacaville’s clay soils hold water against the base and don’t drain quickly, so the wet-season cycle finds any soft spot. A single season’s missing joint sand becomes a lost paver or a sinking section by the second spring. Fixing the water movement and re-compacting the base stops the cycle; replacing sand each spring doesn’t.
If a repair we perform fails within 730 days and the failure traces to our workmanship, we make it right. That includes the compaction, the edge restraint anchoring, the joint sanding, the level of the reset pavers, and the grading we changed. It does not cover damage from tree roots growing after the repair, vehicles far heavier than the driveway was designed for, or unrelated water issues from another part of the property. We walk through the exact coverage before work starts, so you know what’s protected.
The Bottom Line
Every paver problem you see on the surface has a cause you can’t see, and that hidden cause is the only thing worth fixing. Base failures need the base rebuilt; restraint failures need the edge re-anchored; efflorescence and cracks are symptoms worth a diagnosis rather than a coat of cleaner. Homeowners in Vacaville can handle the small, tight, surface-level repairs, and should call a professional for anything that involves opening the base or re-grading. Get the diagnosis right, and the repair lasts. Skip it, and you’ll be re-sanding the same spot again next spring. Groundwork Construction Co. of Vacaville brings 12 years of technician experience, upfront pricing, permits pulled and inspections passed, and the 730-Day Done Right Promise to every driveway and paver repair.
Call (888) 276-8078 to schedule your free estimate. Our phones are answered by a live person, 24/7 – no voicemail, no delays – and if your project runs over $10,000, you can use $1,000 off, with 0% financing for 18 months available to spread out the rest.
Written by the team at Groundwork Construction Co. of Vacaville.